
 2 months ago
38
2 months ago
38
PROTECT YOUR DNA WITH QUANTUM TECHNOLOGY
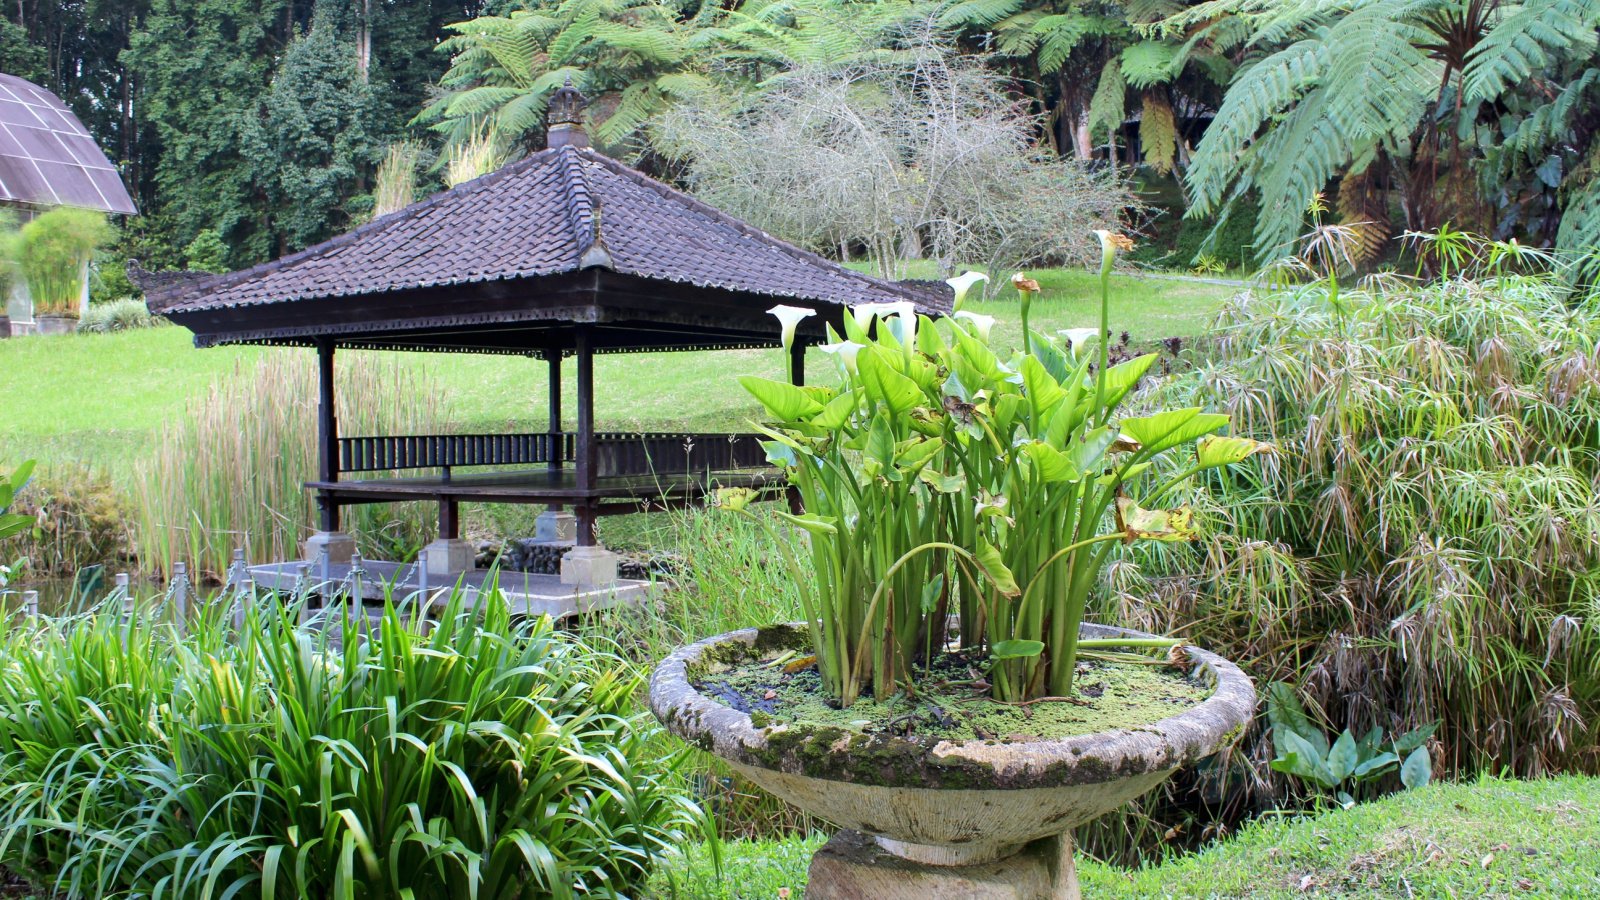
Orgo-Life the new way to the future Advertising by AdpathwayThe graceful swirl of a calla lily’s spathe is unmistakable. This is one of those flowers that manages to hold its own in a bouquet. Particularly popular for weddings, it is all class and elegance with a hint of exotic flair.
While calla lilies have a substantial vase life, you can also grow them in a pot. This way, you can keep them nearby and enjoy the fanciful flowers for up to three months if cared for properly.
While these plants tend to perform better in the ground, you can provide them with the right environment in a pot. If you get it right, you’ll have glorious callas to adorn your front porch, dining room table, or another well-lit spot in the home and garden. Here are some tips on keeping potted calla lilies happy.
Choose the Right Container
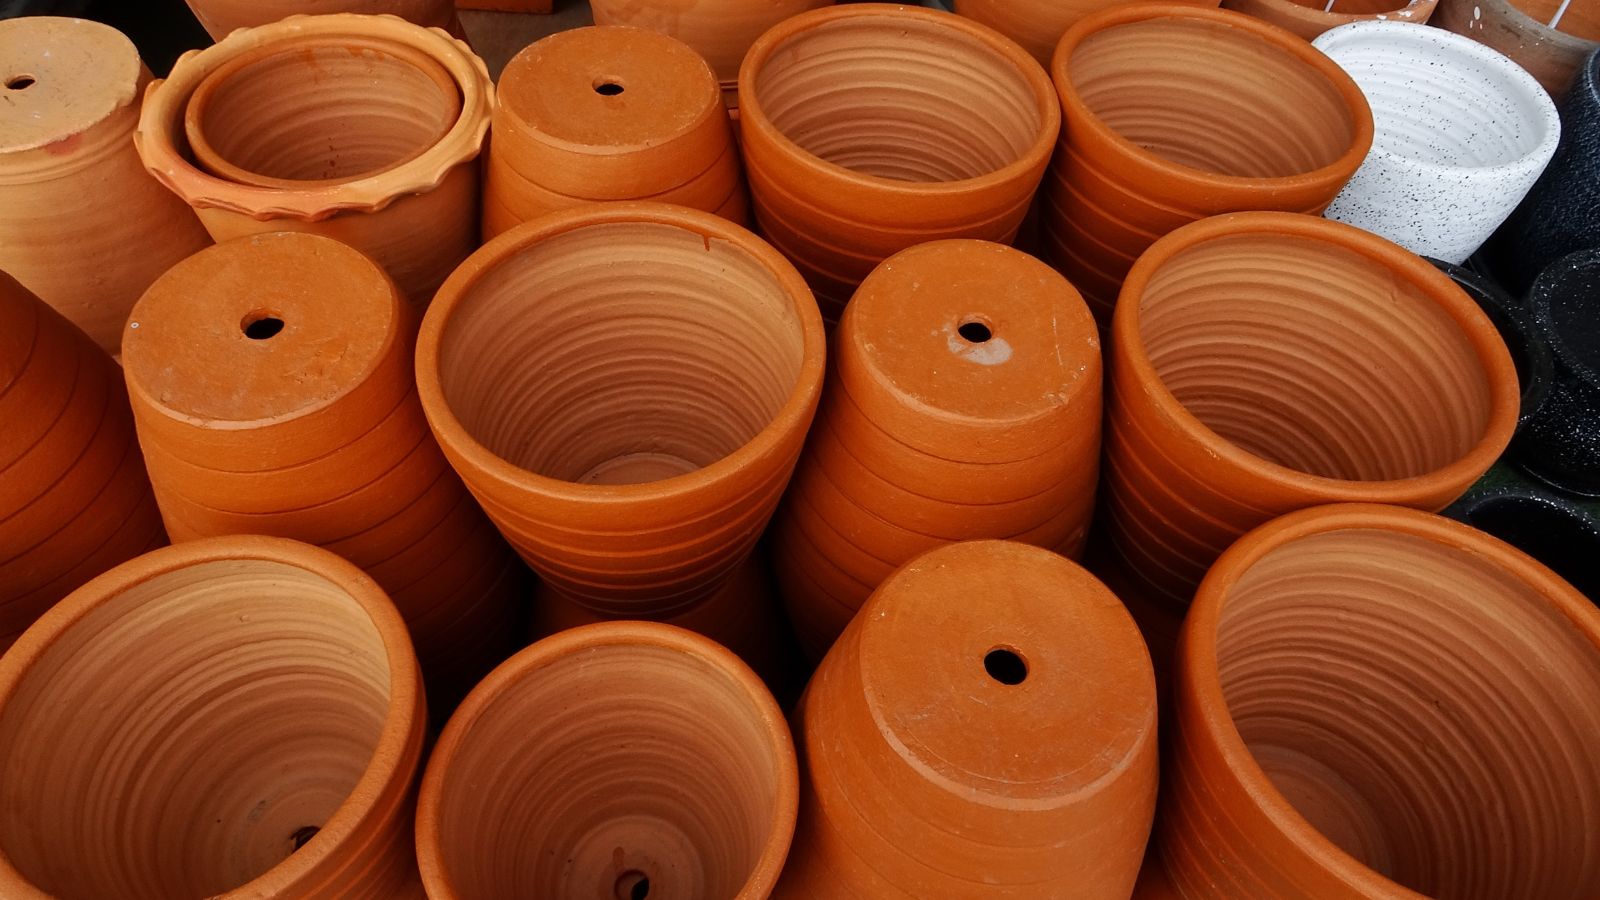 Select a container with an unobstructed drainage hole, as the plants thrive in moist soil.
Calla lilies are native to Southern Africa, where you can find them growing in grasslands and coastal marshes. They often grow near water, preferring moist soil; however, they can also adapt to drier conditions.
Moist soil is ideal, but because of this, they need excellent drainage. It’s important to choose your container with this in mind. If you keep the soil moist, as the plant prefers, a container with poor or no drainage will almost certainly lead to root rot.
Callas grow from bulb-like rhizomes. They are large and fleshy, similar to a caladium. They are not true lilies, so their roots are different from the type of bulbs you find on other lilies and plants like tulips, daffodils, and amaryllis. These are tougher, with a woody exterior.
Choose a pot with a drainage hole in the bottom, and make sure to leave it unobstructed. Paired with the right type of potting medium, this will prevent those bulbs from rotting away.
Additionally, ensure that you select the correct pot size for your plant. Most of the time, these come in pots that are one gallon or smaller, or you can buy the bulbs on their own. Give your calla some space, but not so much that the soil takes too long to dry. A 12″ to 16″ container is a good size to encourage growth, but not to stay soggy.
Use the Right Potting Mix
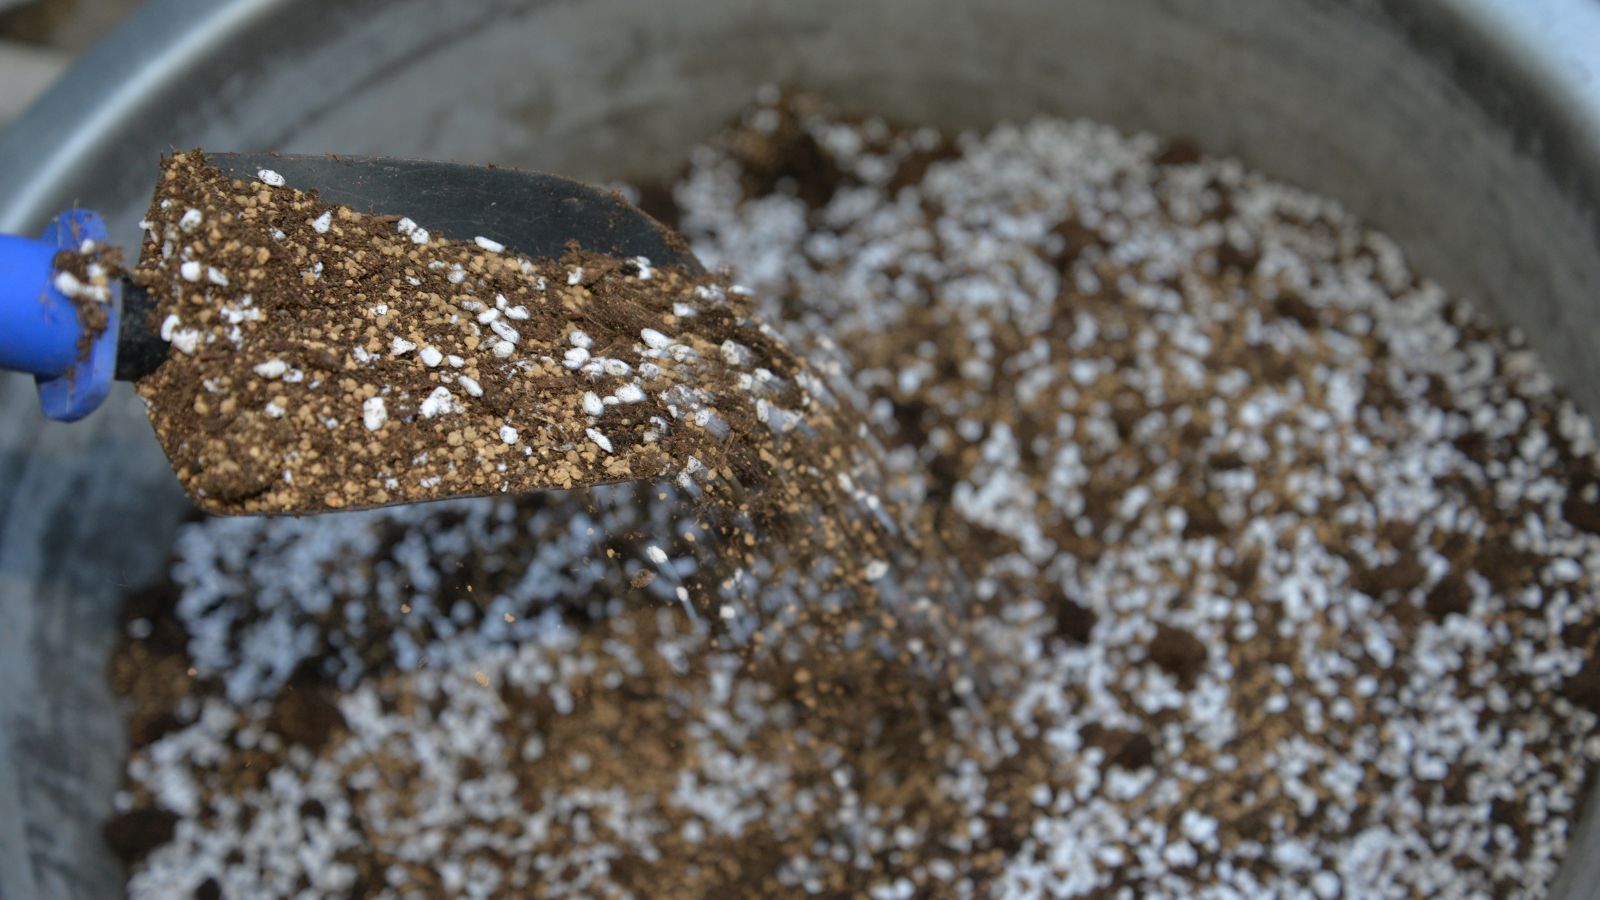 Use a standard potting mix with a perfect ratio of peat moss, sand, and perlite.
Calla lilies prefer loose, well-draining soil that retains some moisture while allowing for free drainage. They also like a pH that is slightly acidic and rich in organic matter. While you can technically use a standard potting mix, it’s generally accepted that a more specialized formula is appropriate for this plant.
Drainage and aeration are the key factors in keeping them alive. Therefore, they require a foundation that both retains moisture and remains light and airy, while also containing adequate nutrients. A combination that is best created by peat moss.
Use your peat moss as the base, and add coarse sand and perlite, which help with drainage and aeration. Aim for a ratio of two parts peat moss, one part sand, and one part perlite. This will keep those rhizomes from rotting or drying out.
Plant Them Right Side Up
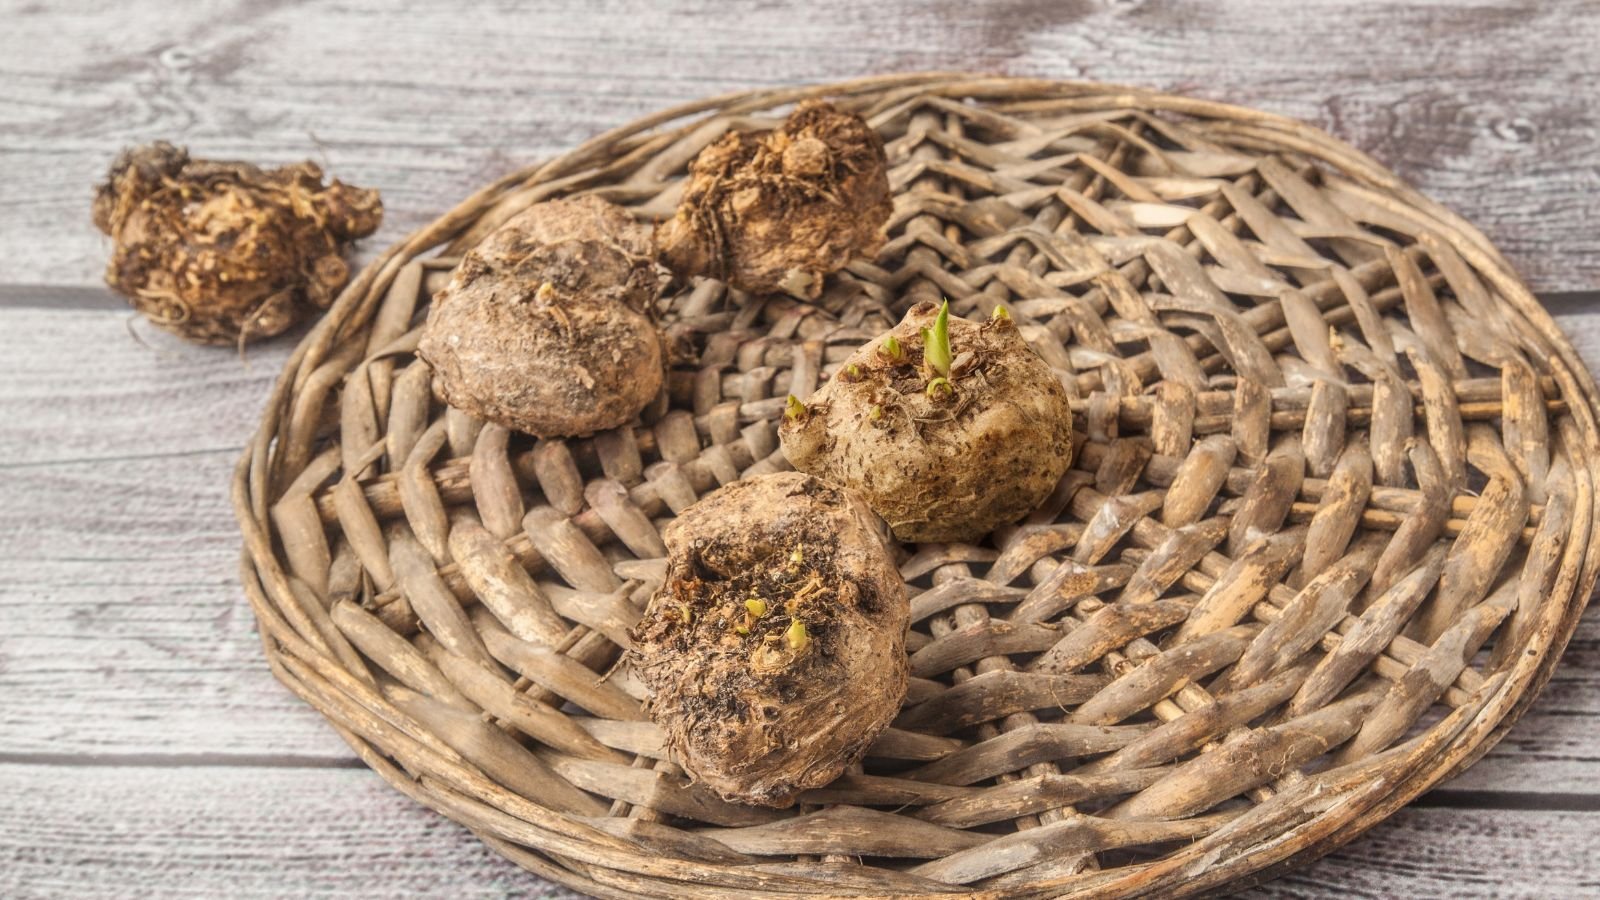 Ensure to plant the flower upright so that the roots grow downward.
When it’s planting time, if you’ve bought a live plant, you don’t need to worry about direction. It should be fairly obvious which side is up. That would be the one with the leaves and flowers!
If you’ve opted for bulbs, it’s a bit more complicated, but not significantly so. You just need to ensure that you plant them so that the roots grow downward and the leaves grow upward.
The side of the bulb with growing tips, which are small pointed growth points, should face upward. These small points will ultimately turn into leaves and flowers. The underside will be smooth and rounded.
Dig a hole about three inches deep and place the smoother side down. You can plant approximately three bulbs per square foot of surface area.
Place Them in the Right Light
 Generally, the plant requires full sun exposure, but it will largely depend on the climate.
The amount of sun exposure your callas get is another important factor in the success of potted calla lilies. The exact exposure conditions vary, with climate and temperature being the most significant determining factors.
In warmer climates, you’ll want to find your plant a spot that gets plenty of sun in the morning; about six hours is perfect. It will benefit here from some shade in the afternoon, as the afternoon direct sun can be really harsh.
My climate has hot summers, and that intense heat is hard on these beauties. Afternoon sun tends to fade the leaves and cause the flowers to wilt quickly.
In cooler climates, you can give your callas full sun exposure. Just keep an eye on those leaves. If they get a bleached or faded appearance, move them so that they get some relief from the intense afternoon sunlight.
Keep Them Warm
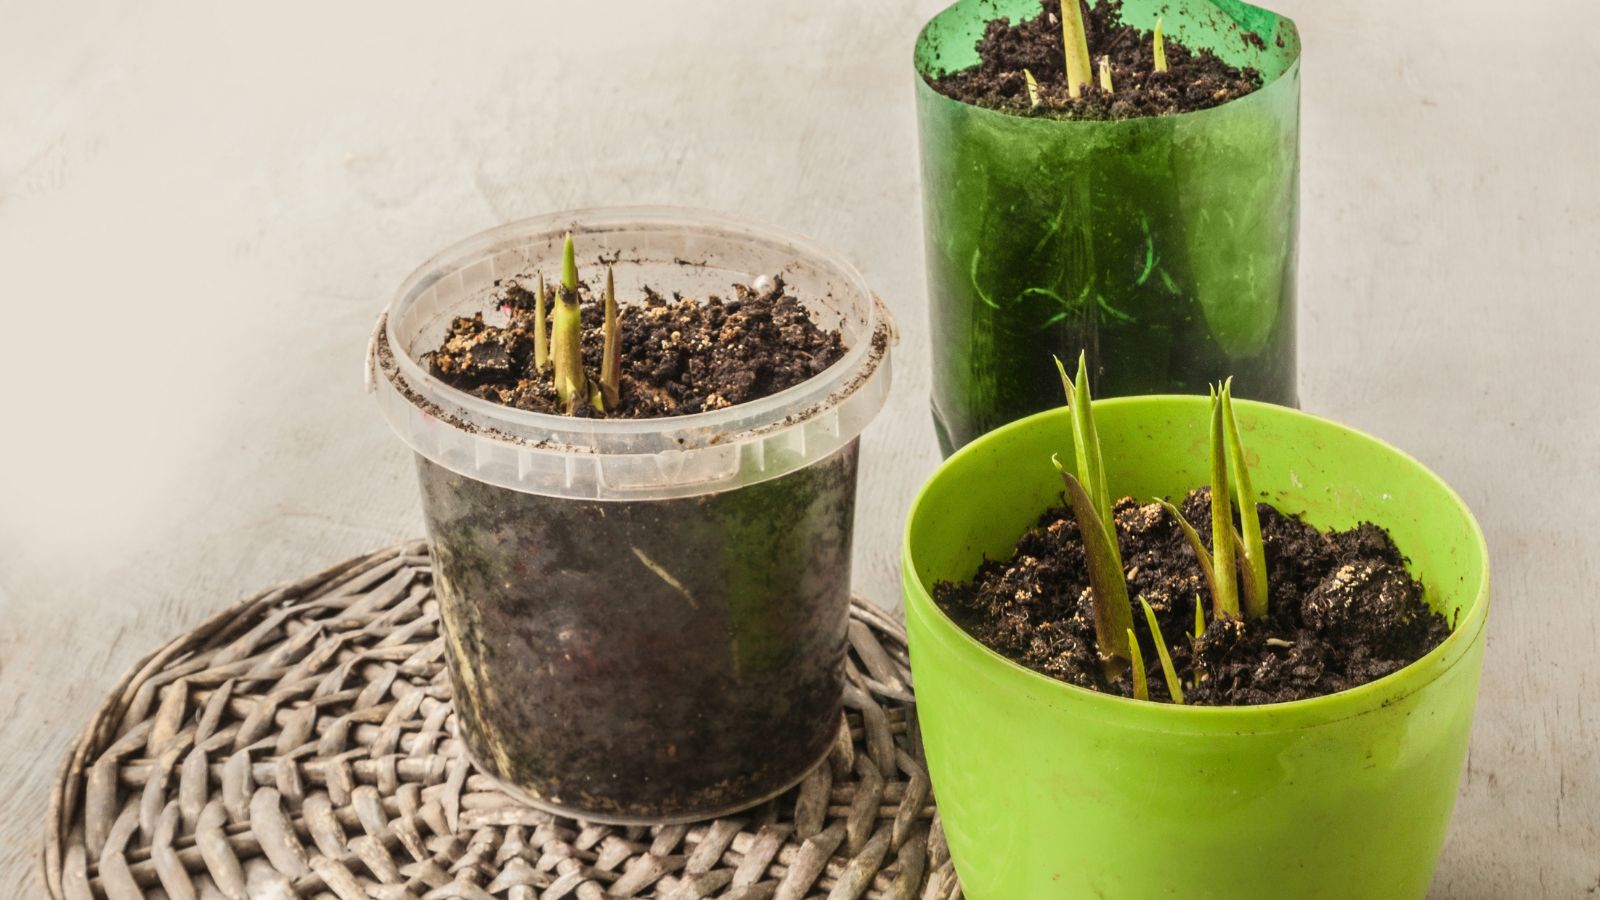 Ensure to keep the sprout warm with nighttime temperatures consistently above 55°F.
This applies mainly to potted calla lilies that you keep outdoors. Indoor temperatures usually fall in a healthy range for these plants. If you’re planting outdoors in a container that you can’t move around, be sure to wait until nighttime temperatures are consistently above 55°F (13°C).
The bulbs will survive colder temperatures, but once they sprout, they need warmth to get growing. If you start them too early, expect them to get off to a slow start. Alternatively, you can bring them indoors and place them in a sunny window if unexpected cold weather arrives.
Water Often, But Not Too Often
 Water the flowers so their soil remains moist but not soggy.
This is possibly the most important factor in keeping your calla lilies happy in a pot. As I mentioned earlier, they are moisture-loving plants, but have fleshy bulbs that are prone to rotting if exposed to constant, high moisture levels. That sounds contradictory, but if you use the right potting mix and container, it’s not as difficult as it sounds.
The soil should remain moist to the touch, but not soggy. While they often grow near bodies of water in nature, in a container, the moisture level becomes more of an issue because of drainage. The location of your lily will make a difference in evaporation, so there is no universal rule for how often you should water.
For this plant, I use my finger as a guide. If the soil is moist, I leave it alone. If it’s dry at the top, I water. Monitor to make sure you don’t let it dry out completely, or become soggy or wet.
The amount of water they take in depends on evaporation and growth. During times of rapid growth and flowering, your plant will use water more rapidly. As their growth slows down, they will take in water more sparingly, and you should adjust your habits accordingly.
Fertilize Properly
 Fertilize the plants every 2 to 3 weeks with a balanced formula.
Callas appreciate rich soil that provides them with ample nutrients. It’s a good idea to throw in some starter fertilizer at planting time to get them off to a strong start. In the ground, they need fertilizer about once per month to do their best growing and flowering.
In most cases, potted plants require more fertilizer than those in the ground. This is because they have less soil to draw from, so they use those nutrients up faster. In containers, aim to fertilize your calla every two to three weeks to keep it producing blooms.
Avoid overdoing it with the fertilizer, as this can lead to excess green growth and limited flowering. A balanced formula of 10-10-10 or 20-20-20 works well for this plant. You can also opt for a bloom-boosting formula if you want more energy applied to the flowers than the leaves.
Since you’re applying twice as often, use half as much fertilizer as recommended. Dilute your fertilizer to half-strength and apply it first, and then water the plant thoroughly. This will help direct the fertilizer to the roots and keep your calla looking beautiful all season long.


 English (US) ·
  French (CA) ·