
 3 days ago
35
3 days ago
35
PROTECT YOUR DNA WITH QUANTUM TECHNOLOGY
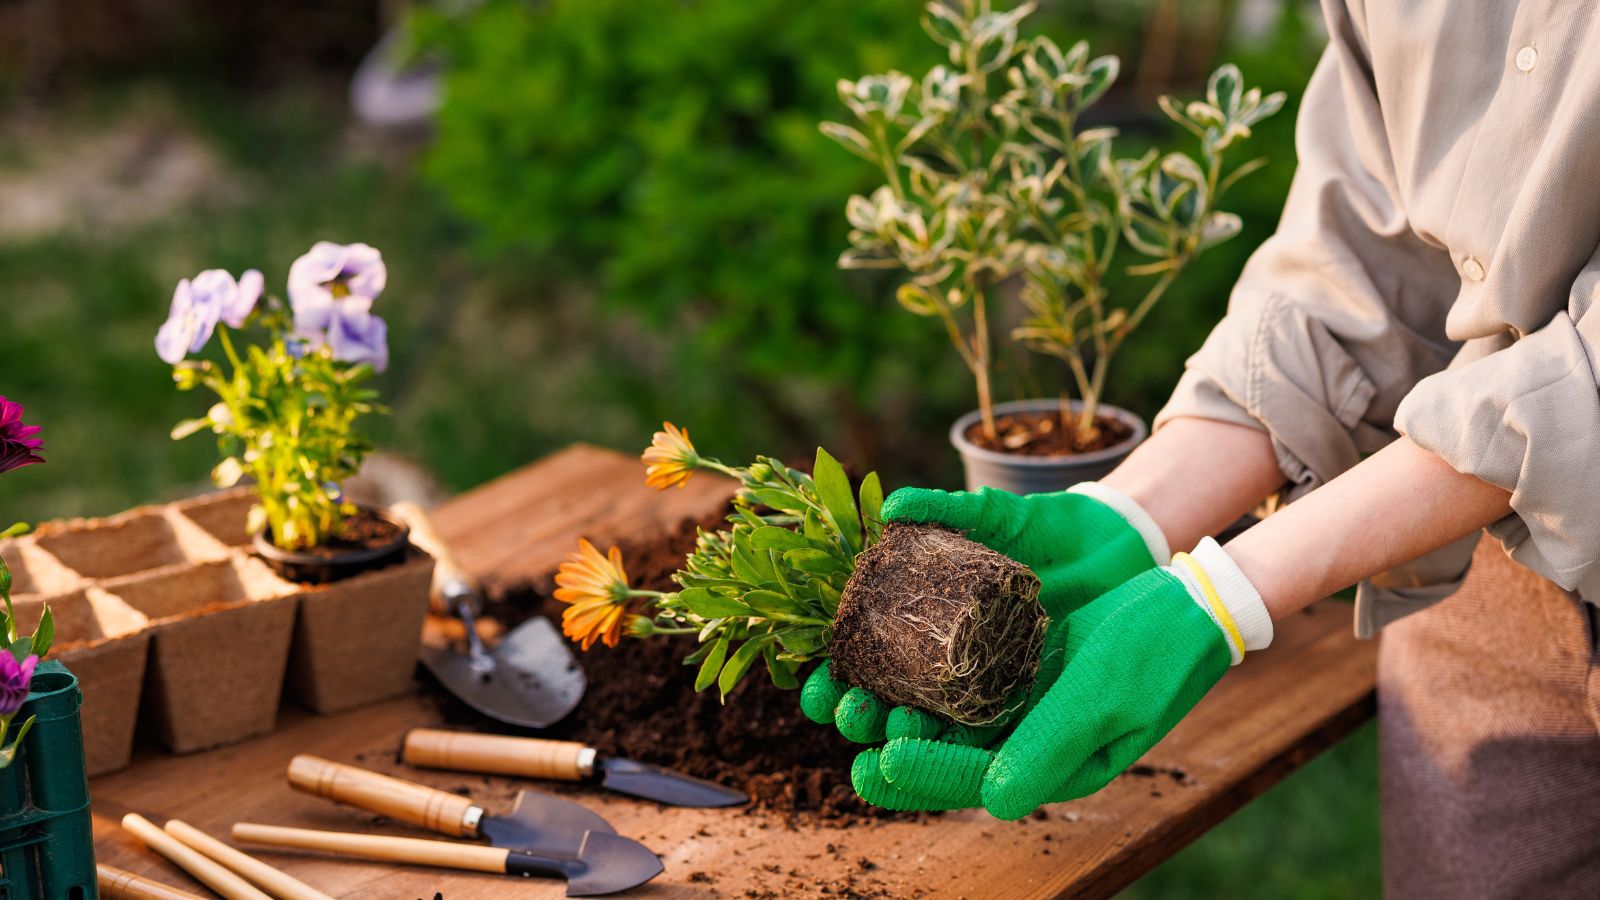
Orgo-Life the new way to the future Advertising by AdpathwayFall seed collection and storage is a prime garden task for fall. Our warm-season crops are yielding their final rounds, and ornamentals have their final show of blooms. As the bounty winds down for the cool season, next year’s crop is in the making. Capture the best of the best now to plant elsewhere before winter, to store until spring, or to share.
Some trees, shrubs, and perennials produce seeds over several weeks, while others have a much shorter collection window of only a few days. Capturing them before they naturally drop, scatter, or explode to carry on the breeze means keeping an eye on those fading flowers and drying seedheads and pods. Let some remain on the stem if you want them to reseed in place to expand the colony.
In addition to creating new plants, fall seed collection and storage is also a means of controlling the spread if you want to keep unwanted volunteers in bounds or reduce competition from a dominant species. Deadhead aged blooms and collect seeds for intentional placement.
In the fall, native perennials are rife with seeds and among the best to save and store. This is the time they naturally finish flowering and focus on seed production for natural drop. They’ll scatter in place, or birds and wildlife forage on the seeds for dispersal. Trees and shrubs, too, are candidates with a longer development process, but they offer viable seeds and landscape value in the long run.
Milkweed / Butterfly Flower

Milkweed / Butterfly Flower Seeds

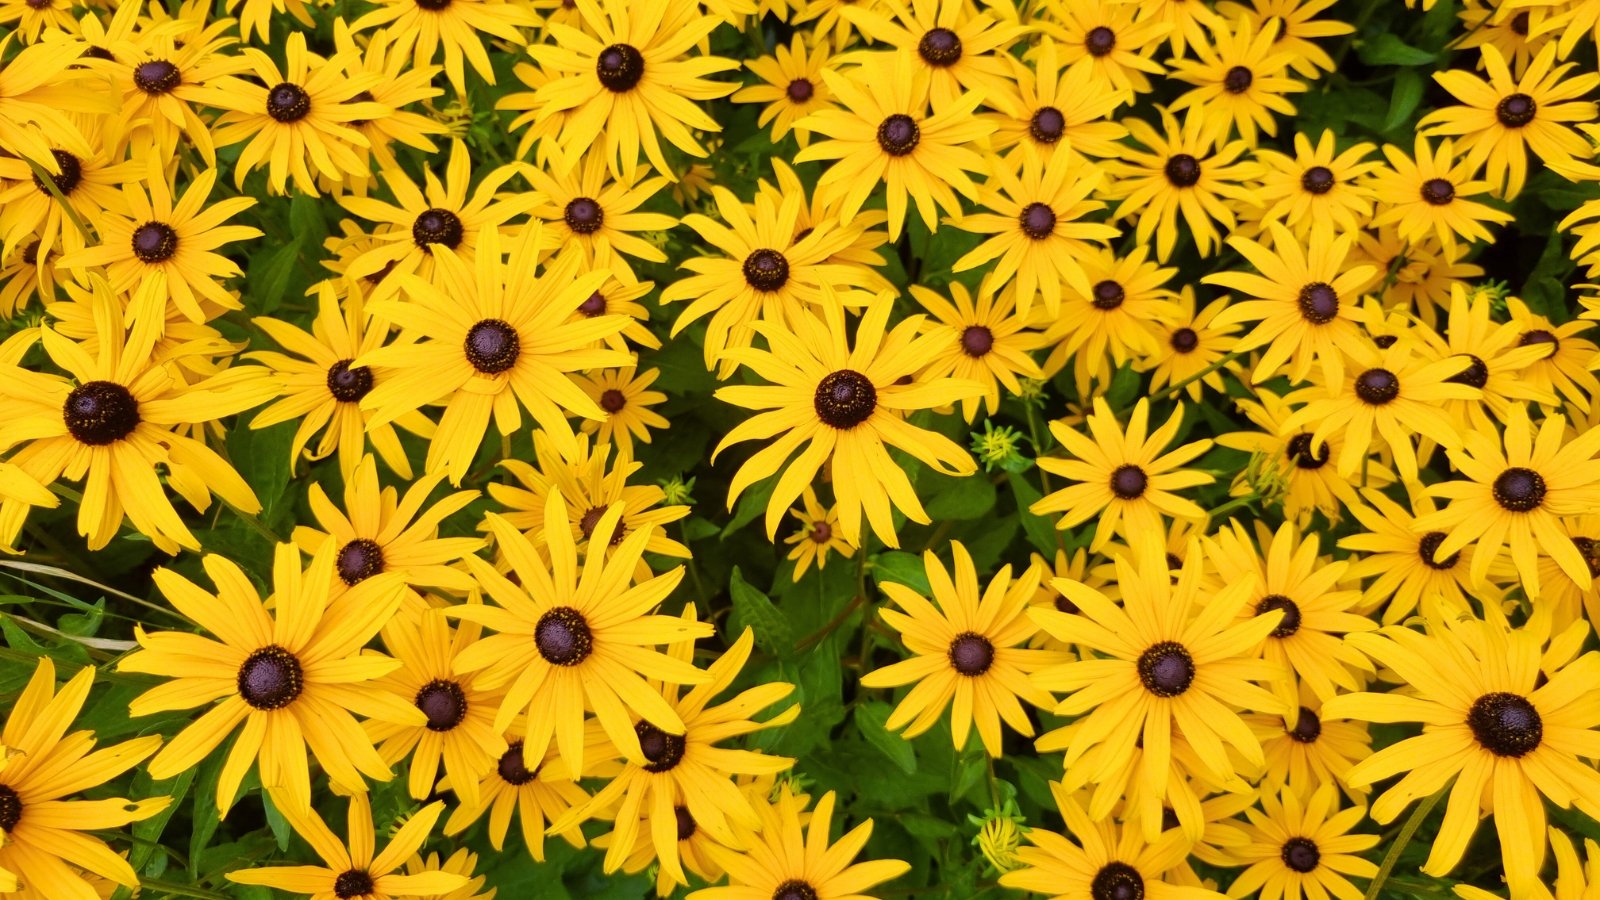
Purple Coneflower Echinacea

Purple Coneflower Echinacea Seeds
Plant Selection
 It’s best to know the variety you’re collecting seeds from.
 When it comes to which seeds to collect, it’s helpful to keep in mind hybrids and open-pollinated varieties.
Due to their breeding, hybrids rely on a specific cross and won’t come true to type from seed. Seedlings that pop up may not reflect the characteristics of the parent plant in color, form, leaf and flower shape, vigor, etc. Hybrids are also sometimes bred to be sterile or produce few seeds. Without going to seed, the plant continues to direct energy into flowering in an effort to reproduce. If you want to mirror the parent plant of a hybrid cultivar, cuttings and division are the best strategies.
If you do collect and sow hybrid seeds, you’ll gain a garden surprise. Dahlias and hollyhocks, for example, will bring a selection unique to your garden as bees and other pollinators travel between plants. Some, like petunias, often revert to a muted tone of one of their wild parent species (soft purple/mauve for petunias).
Heirloom and open-pollinated varieties are more genetically stable, meaning the seed will show similar traits to the mother plant. Choose the best specimens for fall seed collection and storage in terms of health and characteristics (big blooms, impressive height or form, disease-resistance), for offspring tailored to perform well in your garden.
In addition to herbs, fruits, and vegetables from our edible landscapes, popular seeds to collect in fall include:
- Aster
- Beautyberry
- Coneflower
- Cosmos
- Coreopsis
- Helenium
- Hickory
- Hollyhock
- Milkweed
- Liatris
- Lupine
- Monarda
- Joe Pye Weed
- Oak acorns
- Pines
- Roses
- Sunflower
- Yarrow
- Zinnia
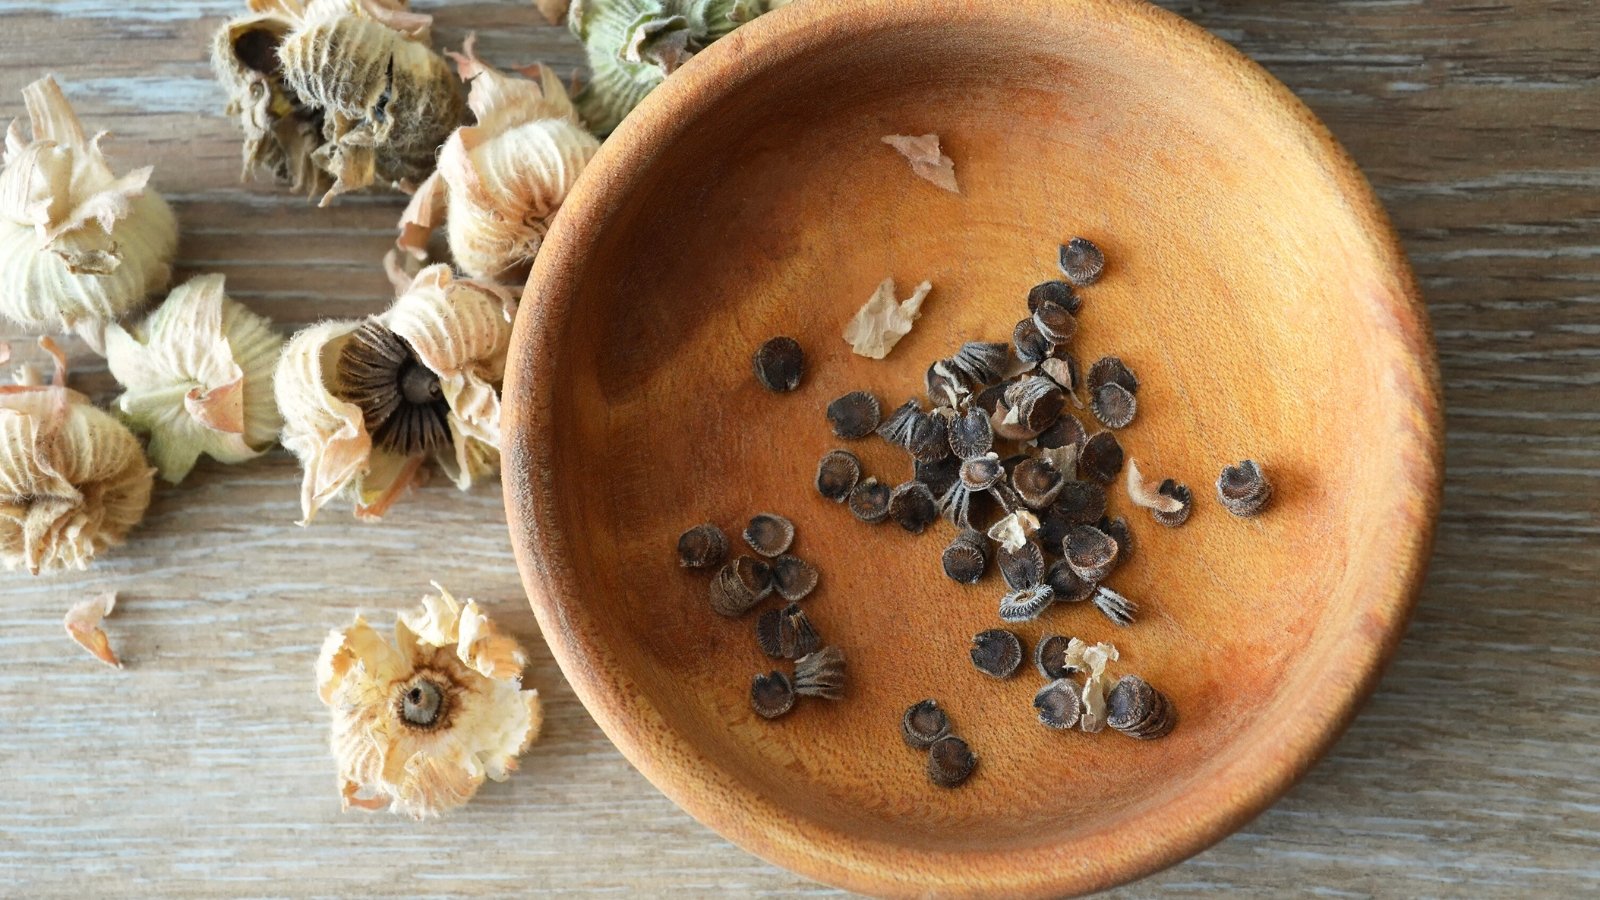
Collecting Seeds
 Collect seed heads or leave them for natural reseeding.
 With pruning shears or snips in hand, head out with separate containers or paper bags to collect spent flowers (now seedheads), pods, and nuts. Collect as many as you want to process for fall seed collection and storage, leaving some for natural reseeding if desired. Fall seeds also provide forage for birds and wildlife heading into the cool season.
Perennials with central discs like coreopsis, rudbeckia, and coneflower make it easy to collect and store seeds in the fall. Yarrow, with its large seedheads, does, too. Clip off the dried disc or head into a paper bag for processing, or run your finger over the surface to dislodge the seeds.
To target a small number for collection, use tweezers to extract the seeds, leaving the rest on the stem. For pods like lupine, Joe Pye weed, and baptisia, snip them off to easily crack open for storing.
For woody shrubs, pick or shake seeds off the branches. Place a tarp beneath them to capture those that fall. Taller specimens like trees may need clipping with pole pruners to capture the pods. Or, capture nuts and pods as they drop, but before they rot.
What to Look For
 Look for signs that seeds are ready to collect.
 For flowering shrubs and perennials, keep an eye out for fading petals and drying, dropping blooms. As the flower fades, a central pod, disc, or multiple seeds mature with the drying plant material. Seed structures vary by species, but it helps to catch them when the pods and seeds are dry and brown.
If the seedhead or pod snaps off easily from the stem, or seeds drop easily, it’s a good sign the seeds are ready to harvest.
Processing
 Crack open the seed pods to store them.
 To prepare the seeds for storage and increase their viability for sowing, crack open their seed pods or outer hulls. Separate the seeds from the chaff (surrounding material).
Some only need an easy cracking open or a shake in the paper collection bag to separate from their shell. Others, like fleshy, pulpy fruits, need a quick pulsing blend in the food processor with water to separate the materials. Other dry seeds are minute or surrounded by silky tufts, making the process more tedious but worth it to expand our valuable specimens.
Sift through the material by hand or use a colander or mesh sieve (depending on material size) to garner only the seeds for storage. If you plan to collect bulk seeds over multiple seasons, consider investing in seed separator equipment (though improvisation through experimentation works well for many home gardeners).
When Not to Save Seeds
 Avoid saving seeds from diseased plants.
 Some plant problems, like certain viral, bacterial, and fungal diseases, are passed on from the parent to their seeds. Seed-borne pathogens include mosaic viruses, Fusarium, and Pythium fungi. There are also plant-specific diseases like hollyhock rust that infect seeds and future host populations.
To avoid collecting and spreading a bigger garden problem, skip fall seed collection and storage from specimens plagued by disease. Choose those that perform reliably in your specific siting and conditions.
Storing
 Correct storage ensures your seeds will remain viable next season.
 Choose a spot that’s dry, cool, and out of direct sunlight for seed storage. Avoid high heat and humid locations, as fluctuations can render seeds inviable. Too much moisture can lead to mold and seed damage.
Make sure seeds are completely dry before storing. An optional step after fall seed collection is to lay them in a single layer on wax, parchment paper, newspaper, or a paper plate to dry in a warm spot for a few days to be on the safe side.
Save the seeds in an envelope, paper bag, plastic baggie, or airtight container (glass or plastic). Envelopes and paper bags make good storage options to allow ventilation for seeds without a hard coat. Tiny seeds may do best in a glass jar or plastic bag. Label and date the selection for easy sowing.
With proper storage, seeds may last for two years or as many as five, depending on the selection. Cool temperatures (35-45°F or 2-7°C) and low humidity increase the shelf life.
Refrigeration
 Some seeds benefit from refrigeration to help them last longer.
 Refrigeration can help seeds last longer. It also provides cold stratification for those perennials that benefit. Cold stratification breaks internal dormancy in seeds. The interior tissues need exposure to cold temperatures for a sustained period of time (species dependent), followed by a warming spell, to initiate sprouting.
In cold climates, stratification occurs naturally by direct-sowing seeds in the fall or winter. They receive the necessary exposure to cold temperatures followed by spring’s warmth, which indicates favorable growing conditions. In mild climates or to start seeds indoors before spring, we can mimic the cold period by putting seeds in the refrigerator before sowing.
Place the seeds in a resealable bag or container of moist sand or seed starting mix. A damp paper towel works well, too. Partially seal the bag or container (keeping it slightly open) and put it in the refrigerator at temperatures near 40°F (4°C).
The length of chill time varies by species; some plants need only a few days, while others need several months. Aim for at least a month, and check periodically to make sure the surrounding material remains moist. The moisture prevents seeds from drying out and withering, and softens the coat in the storage process. After chilling, start them immediately indoors in a warm spot or outdoors if conditions suit.
Perennials and natural reseeders that rely on cold stratification include:
- Rudbeckia
- Catmint
- Echinacea
- Larkspur
- Lobelia
- Milkweed
- Lupine
- Penstemon
- Prairie coneflower
Sowing
 When the planting season arrives, take out your stored seeds to sow again.
 Seeds are little, self-contained units that hold all they need to produce seedlings. Each relies on certain conditions to germinate, including water, oxygen, light, and optimal temperatures. They remain dormant until conditions are just right for the seed to develop into a seedling.
To skip storing fall-collected seeds altogether, direct sow them to overwinter in place. Prep the new site for expansion by removing existing vegetation and weeds from the bed. Lightly turn in compost if needed to enrich the existing soil.
Plant the seeds according to the species’ requirements. With natives, it’s often a simple scattering on the surface, followed by lightly tamping the seeds for surface contact. Some seeds need light to germinate and don’t require soil cover. Others need only a light layer.
Winter Sow
 For plants that need stratification, try winter sowing.
 Winter sowing makes for easy seeding and is a fun, low-maintenance way to propagate seedlings. The technique involves sowing seeds in repurposed plastic containers, like transparent gallon jugs. Placed outside, the seeds receive exposure to natural elements over the winter, with protection. Germination occurs when temperatures warm.
Winter sowing saves indoor seed-starting space and resources. It also allows cold stratification for those perennials that benefit. And, it makes for sturdy seedlings without the need for hardening off (due to their outdoor exposure).
Scarification
 Tough seeds need to be scuffed to boost germination rates.
 Before sowing our stored seeds in spring, some species benefit from nicking or scuffing the seed coat as a pre-treatment to promote germination. Roughing up the surface allows water and oxygen to penetrate the exposed areas and reach the central embryo. This signals spring is coming, and the conditions are right for growth.
Scarifying involves scratching or cracking the seed coat, soaking it in hot water or sulfuric acid, or exposing it to fire/heat (mechanical, chemical, or thermal exposure).
Some wildflowers, legumes, and trees benefit from scarification. Plants that show high germination rates with scarification include:
- Sweet peas
- Beans
- Spinach
- Winter squash
- Nasturtium
- Lupine


 English (US) ·
  French (CA) ·