
 3 days ago
17
3 days ago
17
PROTECT YOUR DNA WITH QUANTUM TECHNOLOGY
Orgo-Life the new way to the future Advertising by AdpathwayAttracting pollinators and other beneficial insects to our gardens supports a well-rounded garden system. The partnership between plant selection, local birds and insects, and the whole of the food web helps boost our crops and flowers and manage pest populations.
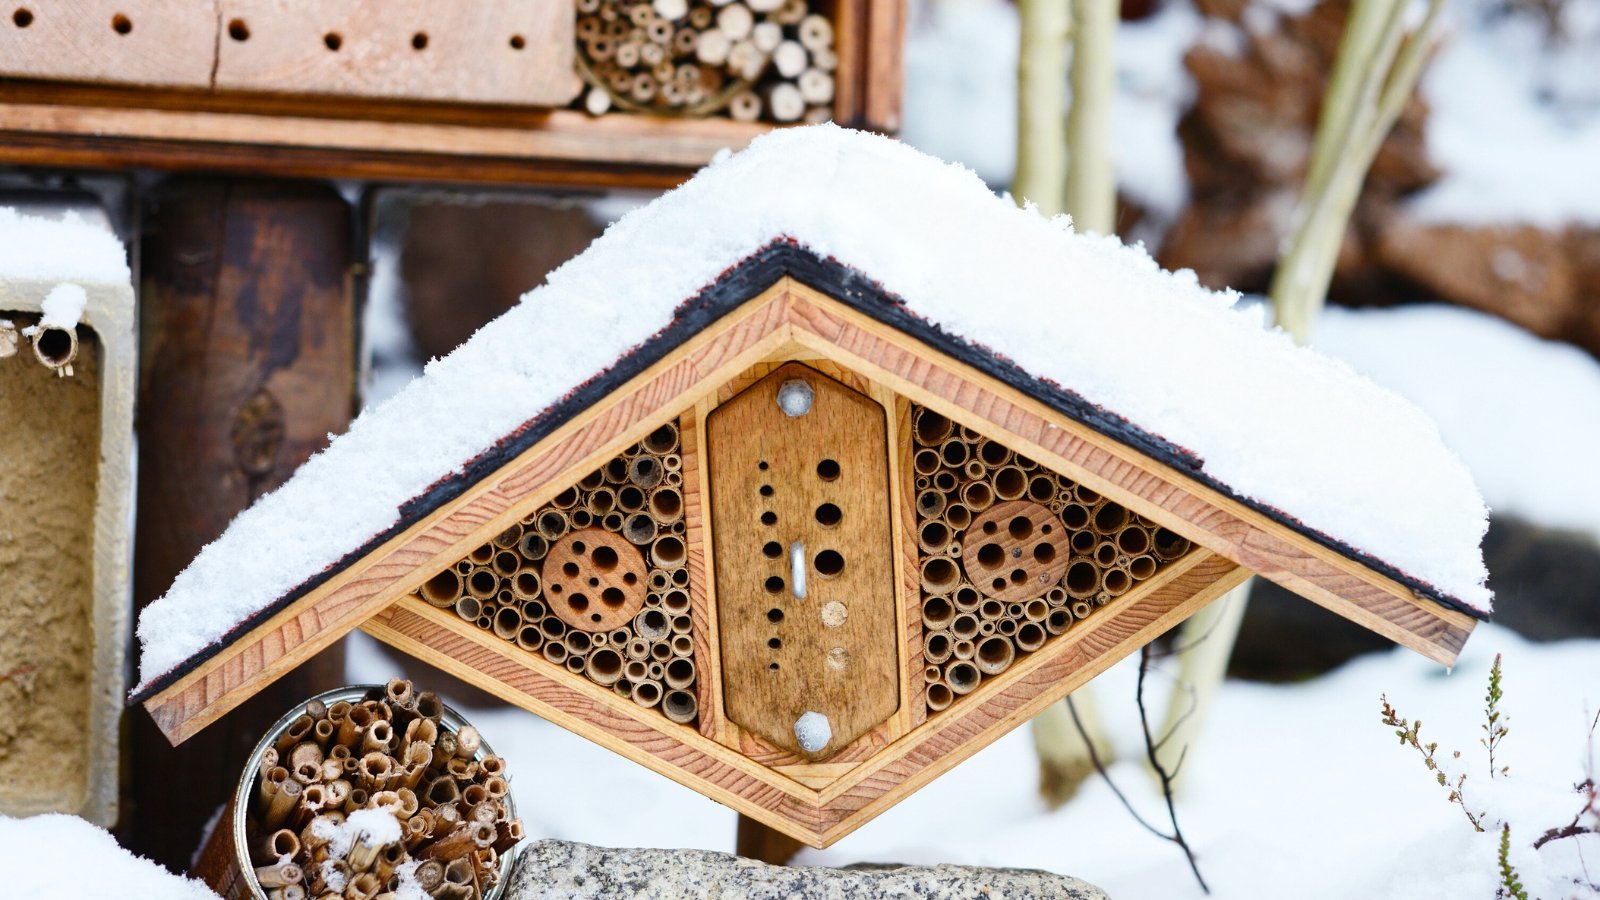
Many of our garden inhabitants remain nearby all year, overwintering in protective spaces to emerge in spring to forage for nectar and pollen. To foster our year-round residents, a pollinator hotel is a fun way to offer shelter suited to a diversity of insects, including native bees.
With cozy coverage tailored to support specific pollinators, we can draw and support a continued population throughout the seasons. The insects use the hotel “rooms” as a refuge for nesting and even as incubators for the next generation.
Pollinator hotels can be simple or elaborate. They rely on affordable materials and those we have around the house and in nature. And, they make excellent projects for kids, who can help build the spaces and monitor the buzz of activity.
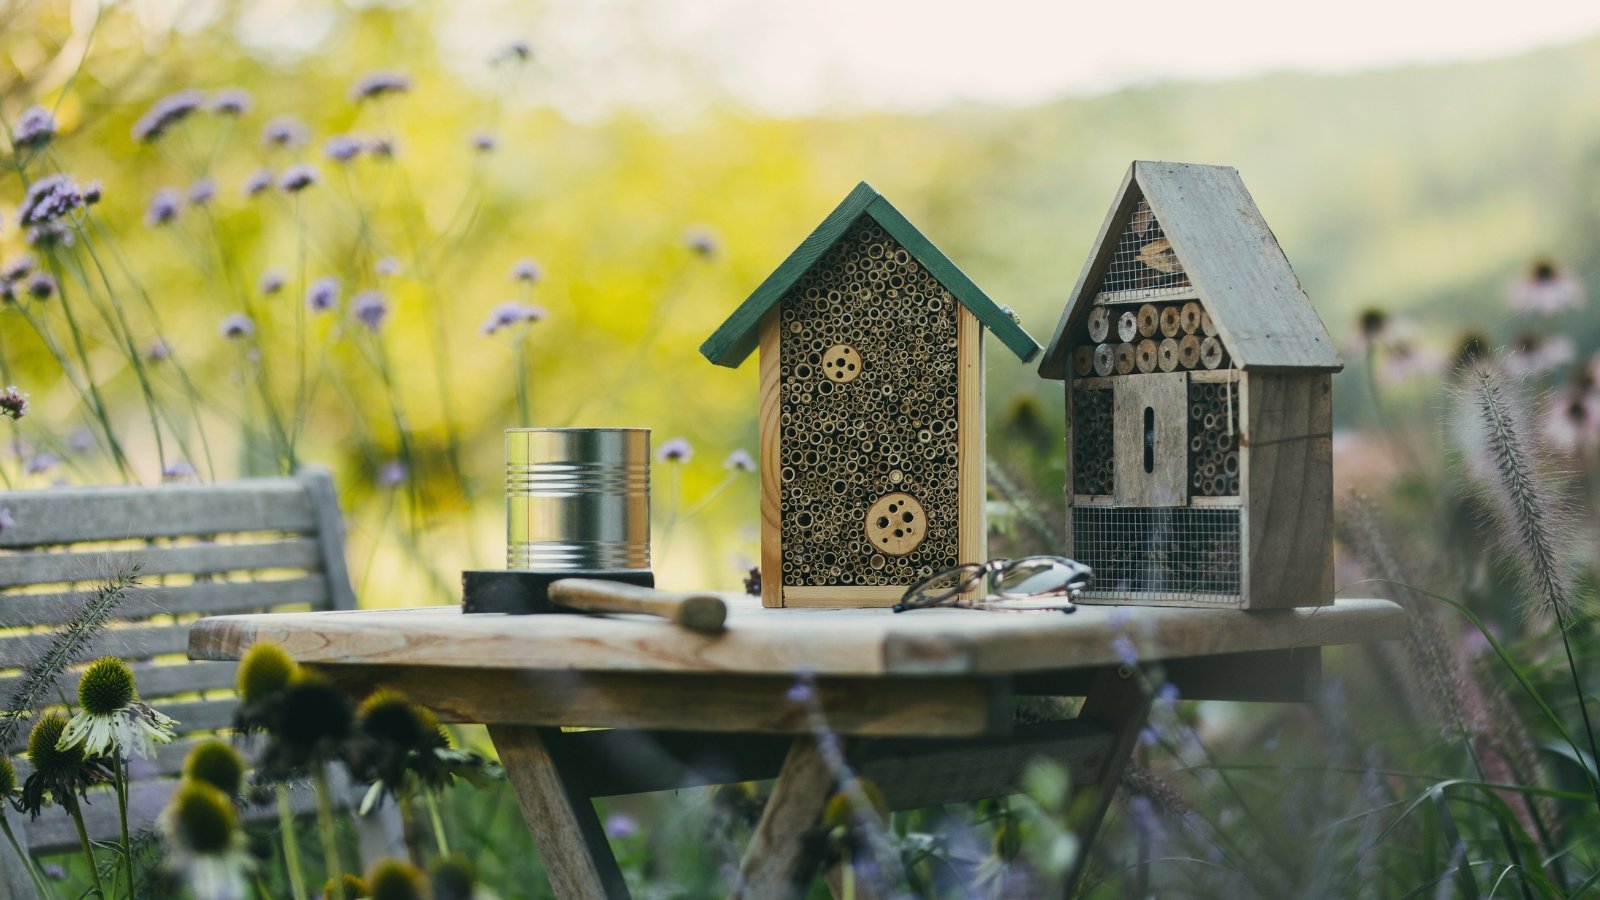
Pollinator Hotel Basics
 Providing tiny homes supports healthy pollination all season.
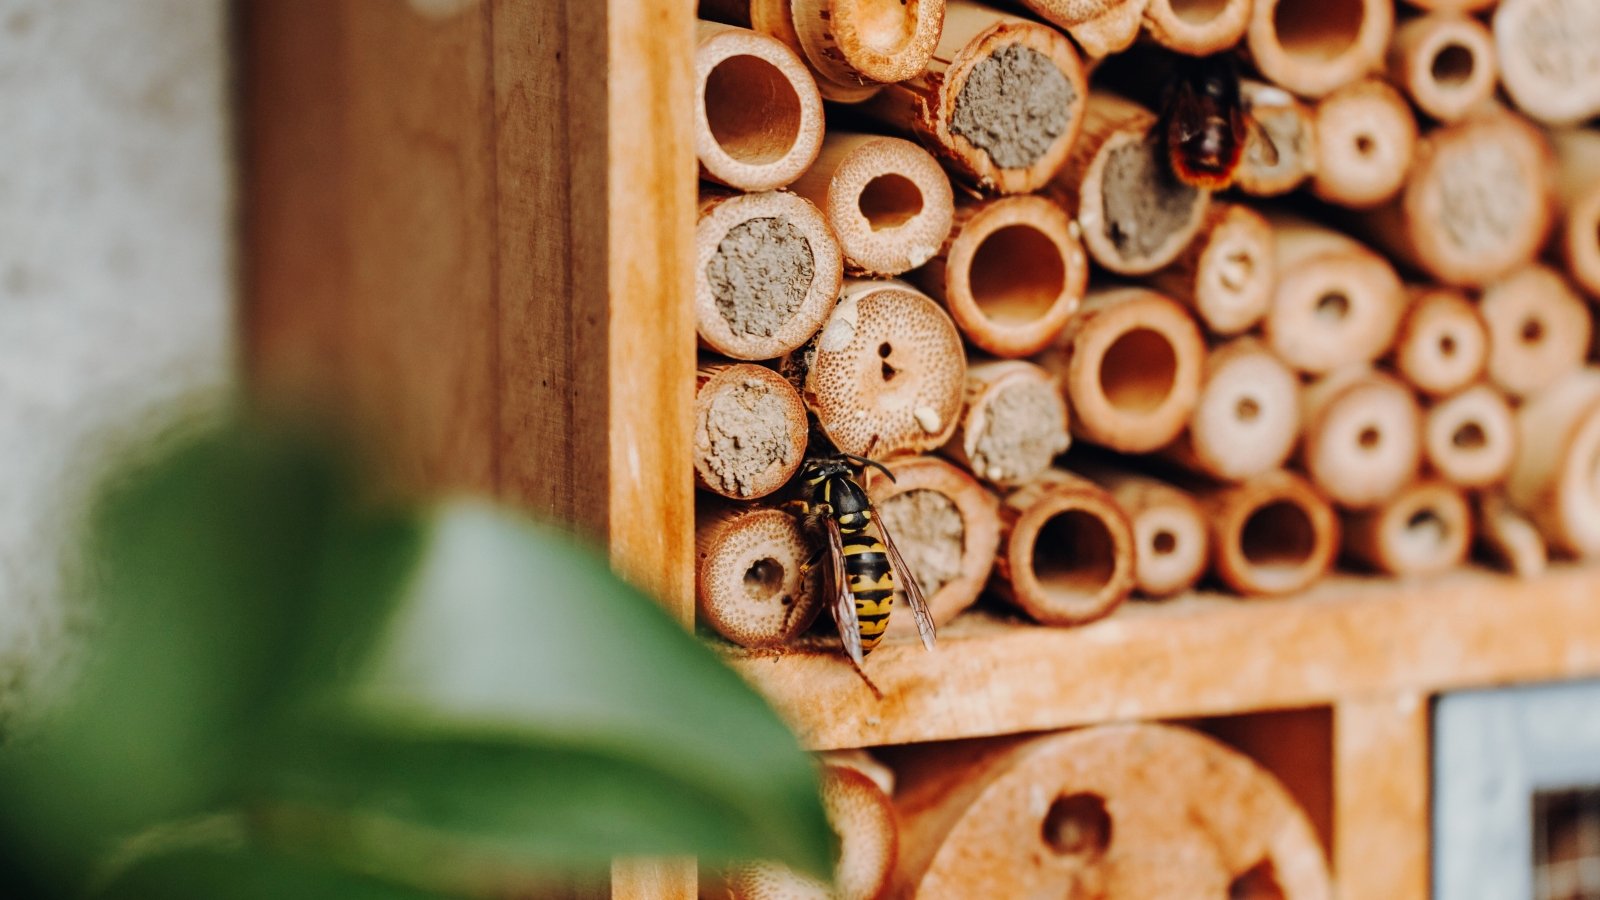
Pollinator hotels serve as shelter spots for all-important garden insects like non-aggressive solitary bees and wasps. These pollinate crops and ornamentals, and some also serve to prey on common pests like aphids, Japanese beetles, and spider mites. Spaces for easy shelter provide refuge for cavity-nesting insects.
Insects that may take up residence include:
- Leafcutter bees
- Carpenter bees
- Orchard mason bees
- Potter wasps
- Mason wasps
You’ll likely start to see nesting within a few weeks of building the pollinator hotel.
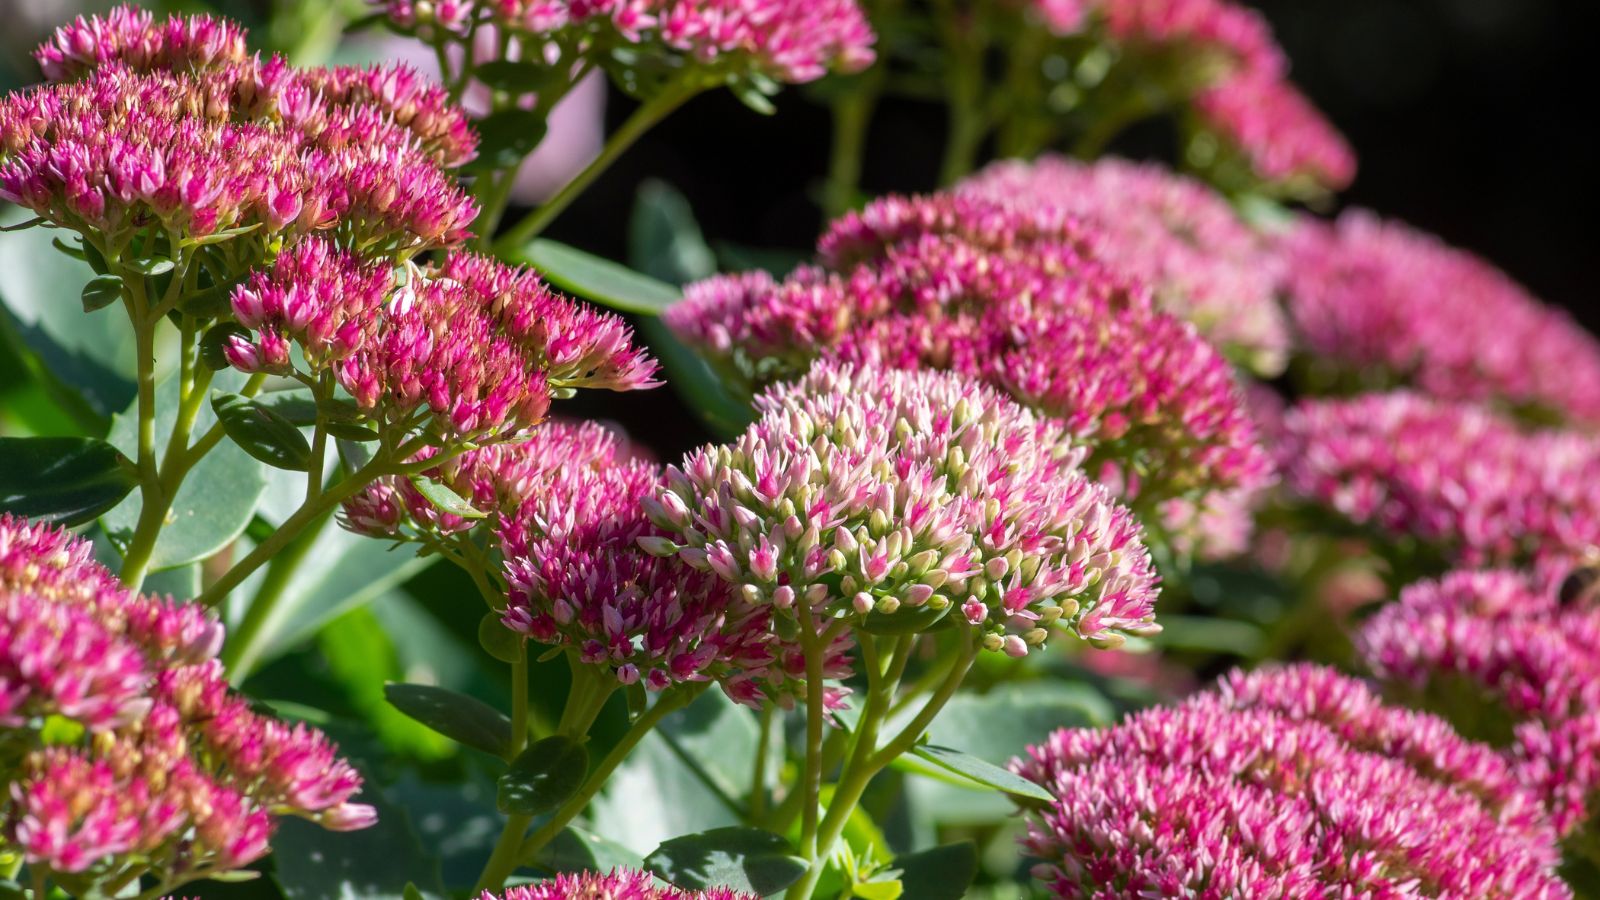
Step One: Grow A Diversity of Flowering Plants
 Plant diverse blooms to feed every visiting pollinator.
To draw the greatest diversity of insects and wildlife, plant a variety of nectar and pollen-rich plants. An array of flower shapes, forms, and bloom times supports hummingbirds, honeybees, butterflies, moths, and other beneficial insects. They provide forage for the solitary bees and wasps that take up residence in a pollinator hotel. They also support songbirds, who poke around to manage insects or forage after flowers go to seed.
A variety of flower shapes and forms ensures that pollinators have access to nectar for energy and pollen for protein. From tubular blooms with nectar-rich centers to flat-petaled flowers with prominent stamens and open centers, a combination offers broad appeal.
Native plants are a staple of pollinator gardens. Their specific set of attributes matches the needs of native insects. They also adapt to the growing environment without the need for extra resources.
The Xerces Society offers a comprehensive pollinator recommendation plant list by state.
The USDA has an interactive plant search database that identifies site-specific natives and their associated insects. Remember not to use insecticides in the area, as these affect pollinators and beneficial insects in addition to pests.
Step Two: Site and Scale
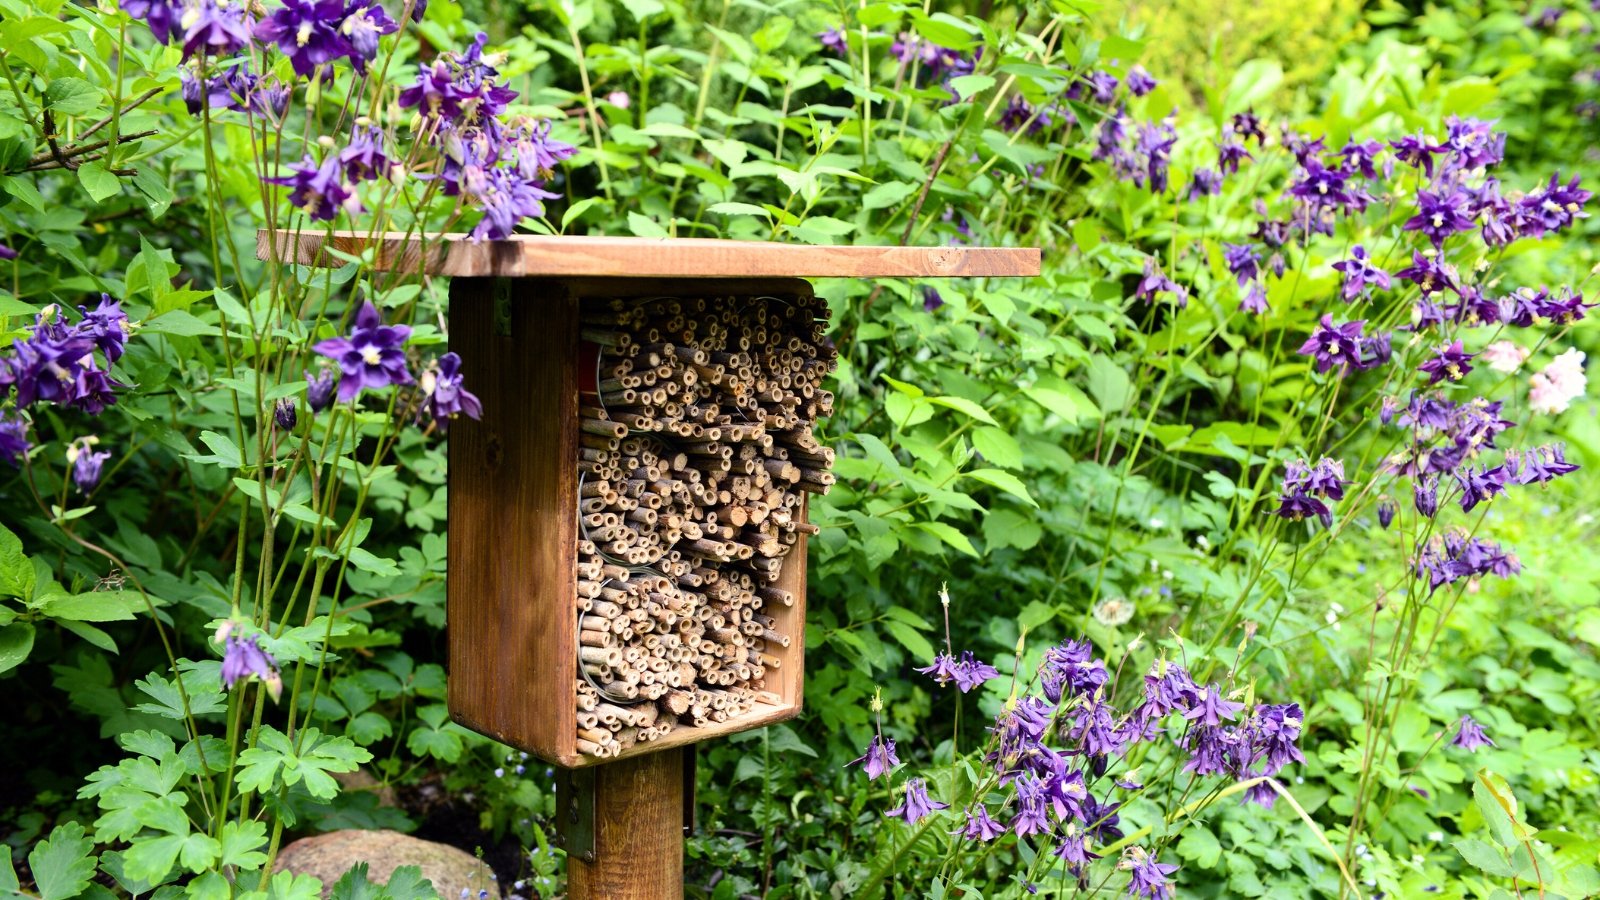
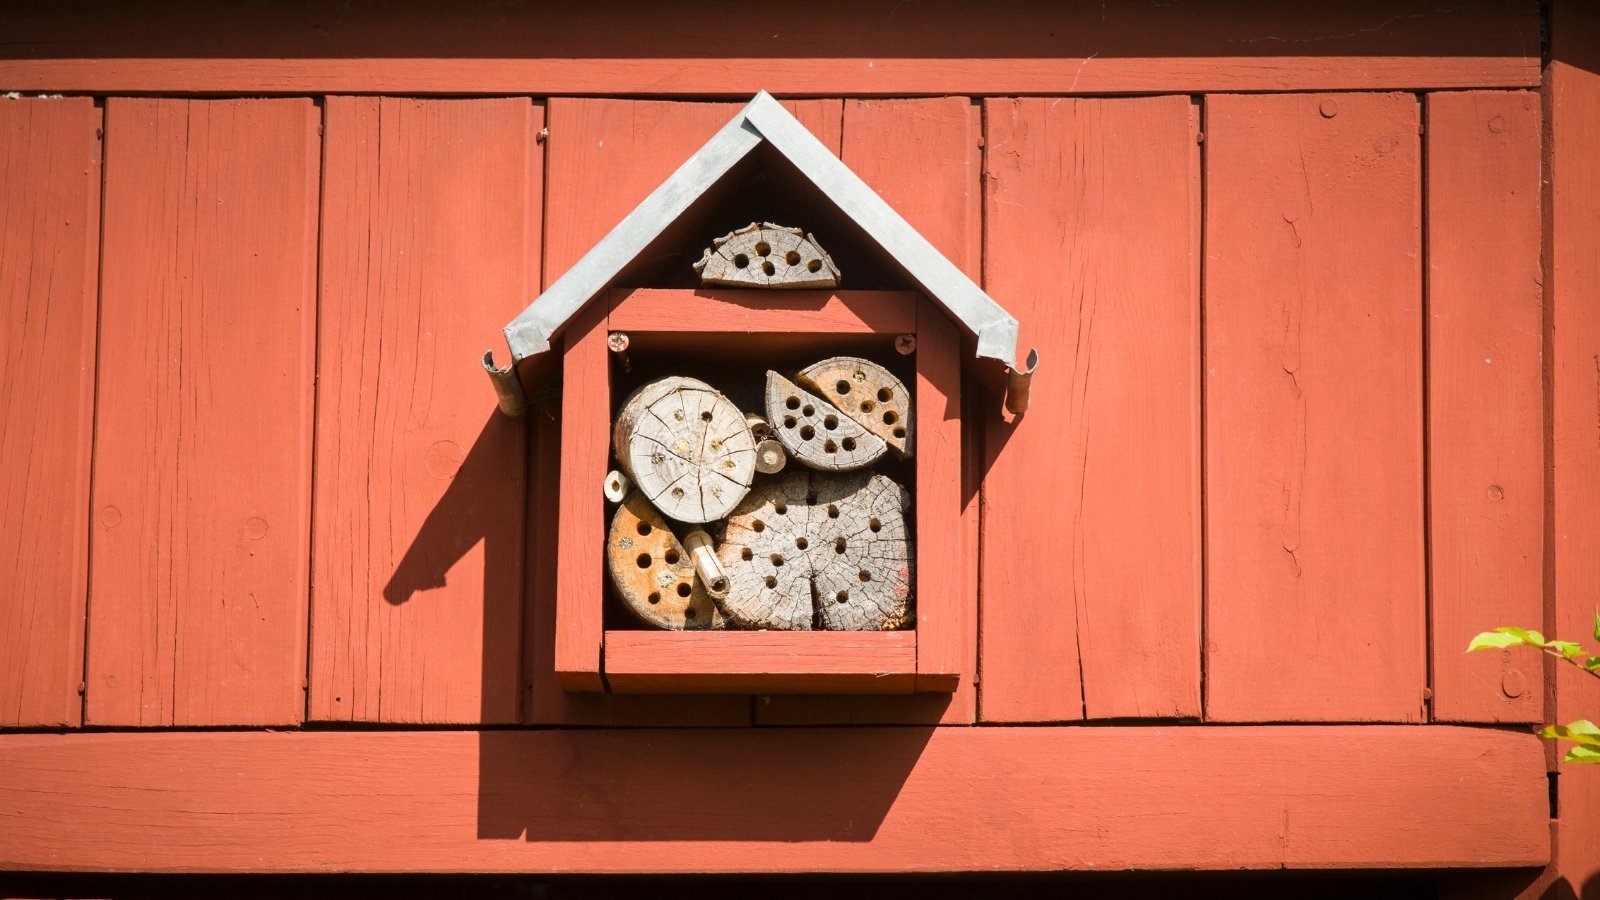
 East or south-facing locations attract returning pollinators.
The best placement for a pollinator hotel is where it will get some sun, some shade, and protection from the elements. Morning sun and dappled afternoon shade are ideal for regulating temperatures. Under a tree canopy, an overhang, or a windowsill make prime spots. Think of a similar situation as for birdhouses. East or south-facing exposures are ideal.
Make a simple roof to shelter the tunnels from rain and wind. A single piece of wood on top with an overhang of a couple of inches does the job if not under cover. Provide drainage holes at the base of the box (not in the tubes), and plan to mount the structure at least five feet off the ground. It can be freestanding or mounted to another structure.
Smaller structures or rooms are more approachable and more recognizable to returning insects. They’re also easy to maintain and replace. Plan to use 100 or fewer entrance holes and tubes. Studies show that more than 100 detracts from bee and wasp visitation.
Step Three: Gather Materials
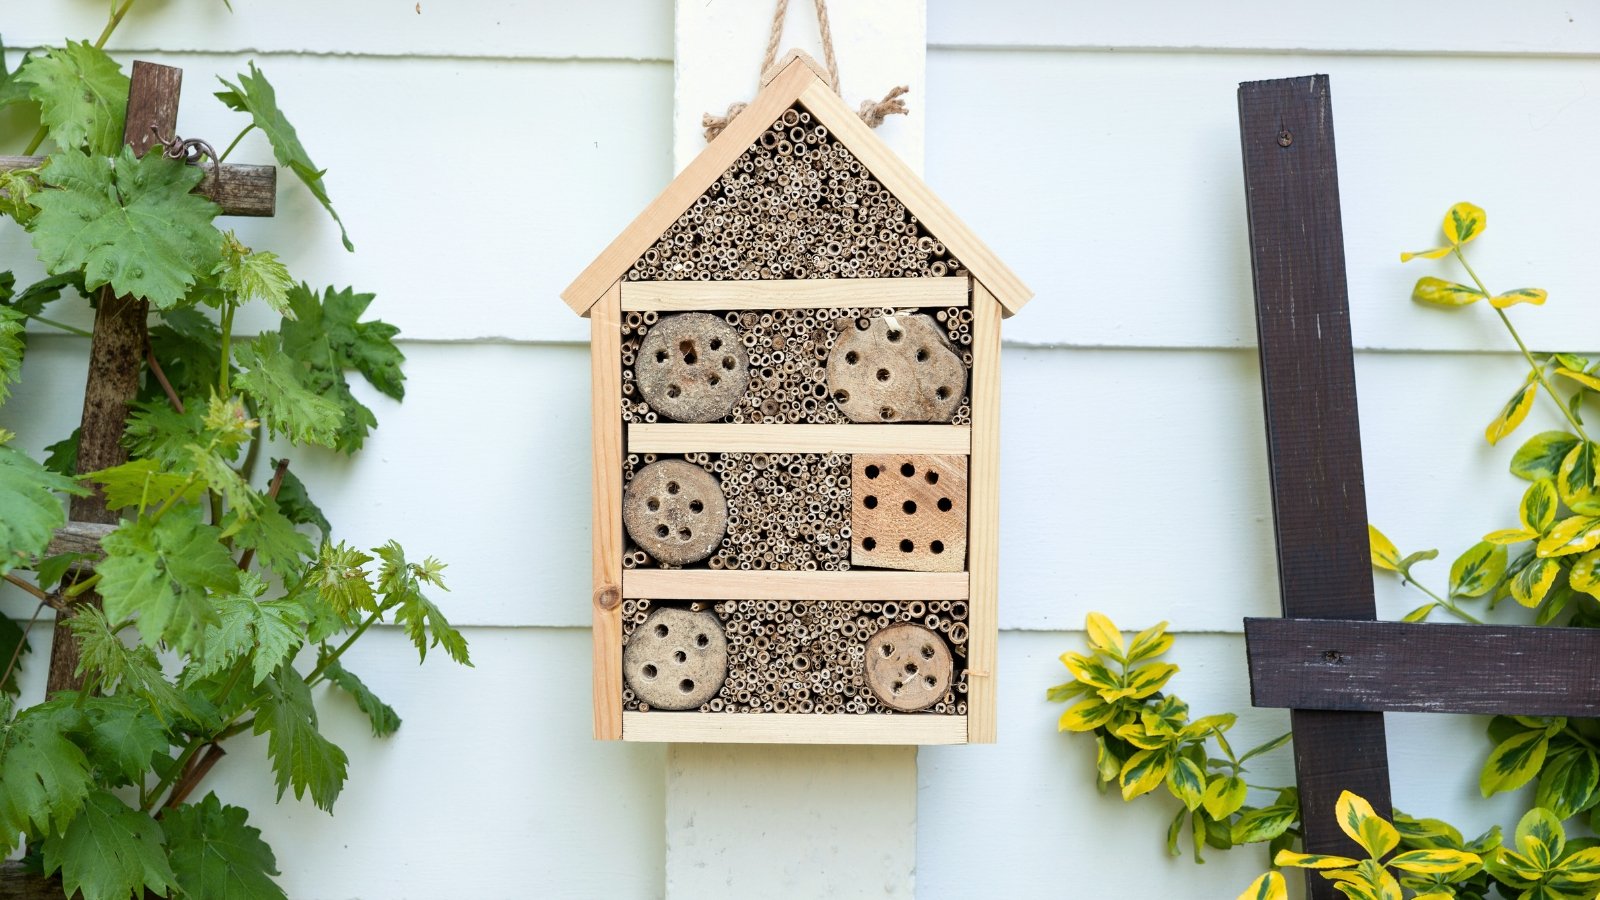
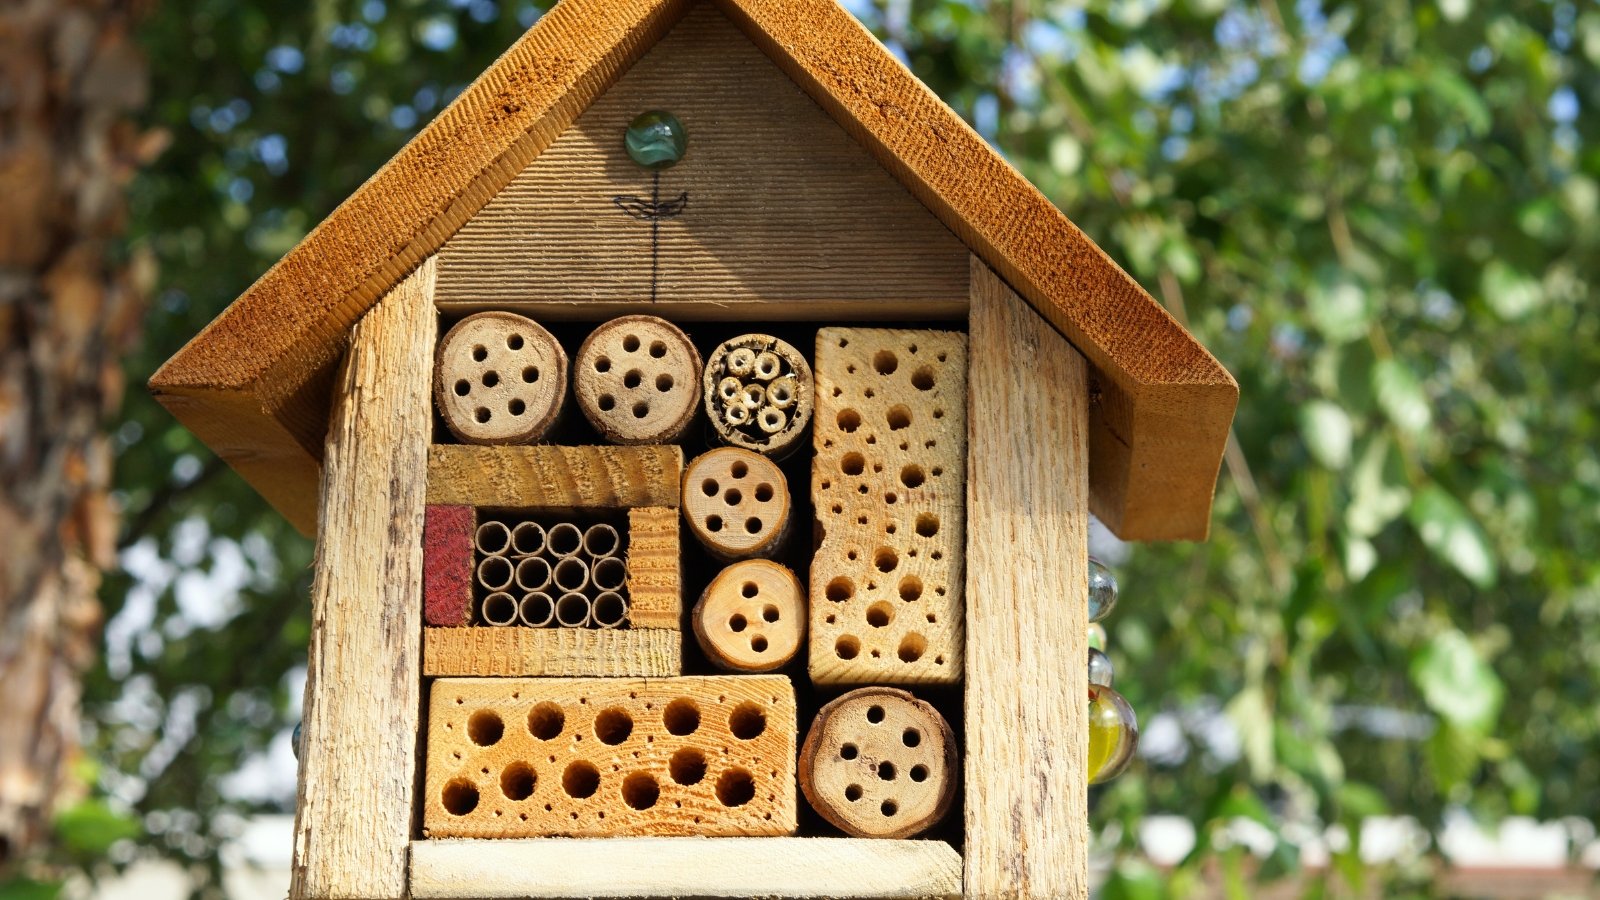
 Wooden blocks and boards serve as insect residences.
Tubes and tunnels make prime shelter spots for cavity-nesting insects in a pollinator hotel. Hollow reeds and bamboo are useful materials to arrange in a bundle. Each has the potential to become a home for native pollinators.
Additional materials include cut logs or thick wood for drilling nesting cavities. Paint makes a fun way for kids to decorate some of the entry points in blue, yellow, or white as a visual aid for residents, like bees. Or, keep it natural with varying sizes and lengths.
Nesting bees have different material preferences and may rely on leaves and mud nearby. In addition to wooden logs, blocks, boards, and tubes, hollow and pithy stems and twigs from around the garden make natural additions.
Step Four: Tailor to Pollinator Preferences
 Wood shelters help bees gather natural nesting materials.
Opt for one type of setup for your pollinator hotel, or mix and match tubes, drilled logs, and grooved wood to attract a diversity of bees. Each has different preferences in the type of nest and in the diameter of the opening. They’ll supplement the “rooms” by collecting natural materials.
Wood materials should be untreated. Keep entry edges smooth on tubes and grooves to avoid splinters that can damage delicate wings. Avoid plastic, glass, paper, and cardboard tubes, which accumulate moisture and are susceptible to parasites. Paper and cardboard tubes can be used to line drilled logs or grooved boards, as the wood protects them from parasitic insects. Removing the paper tubes when empty makes for easy cleanup and maintenance.
Tunnel Tubes
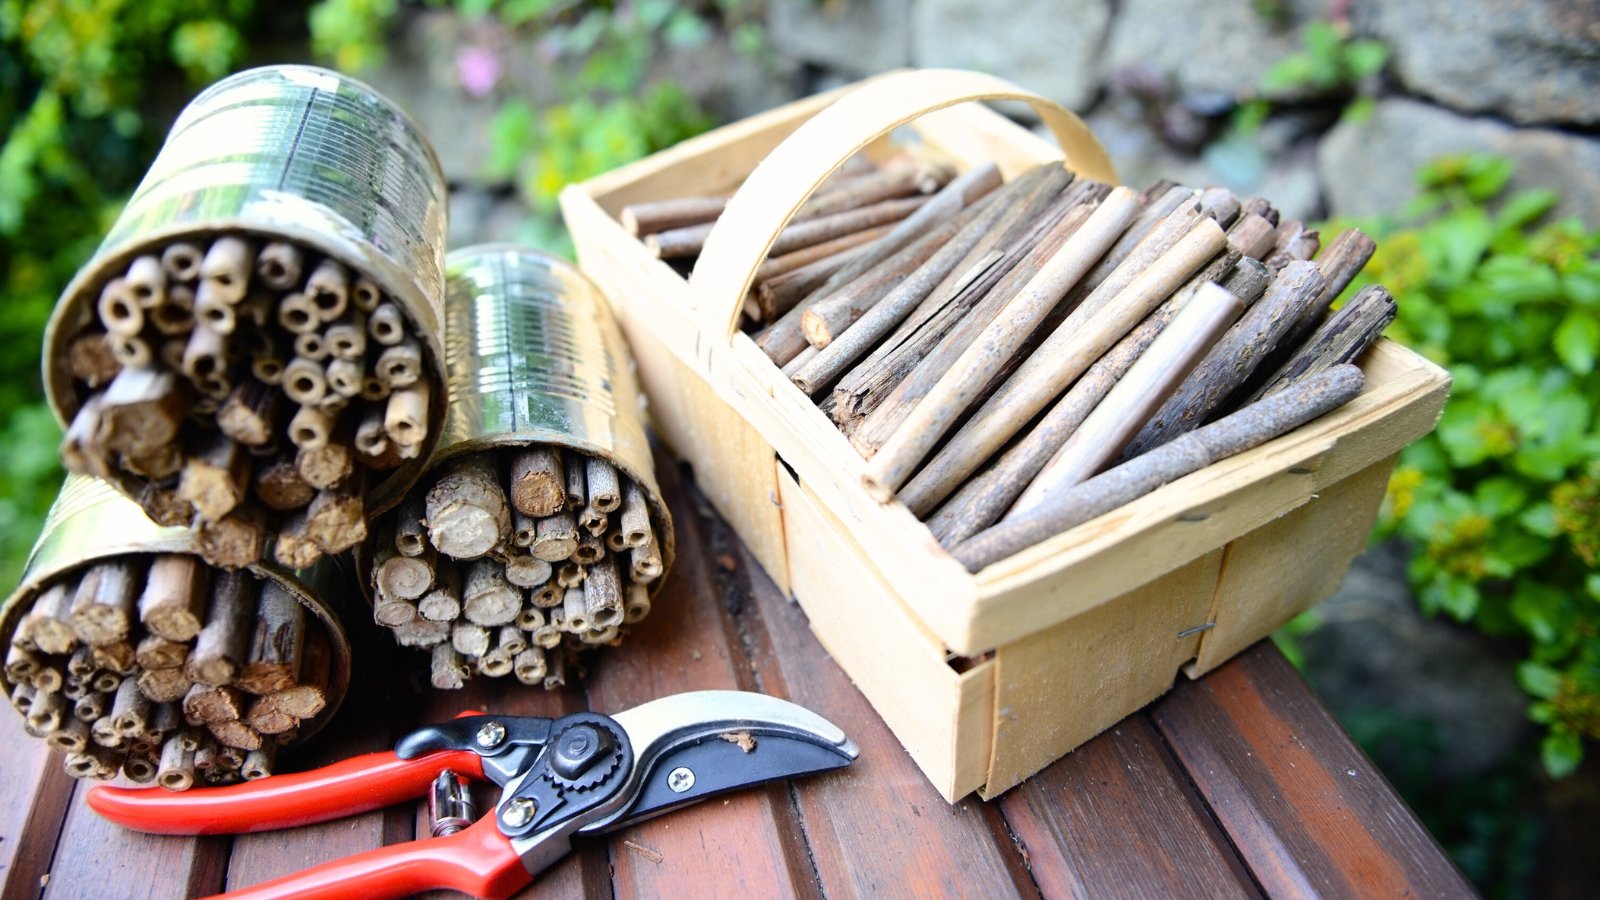
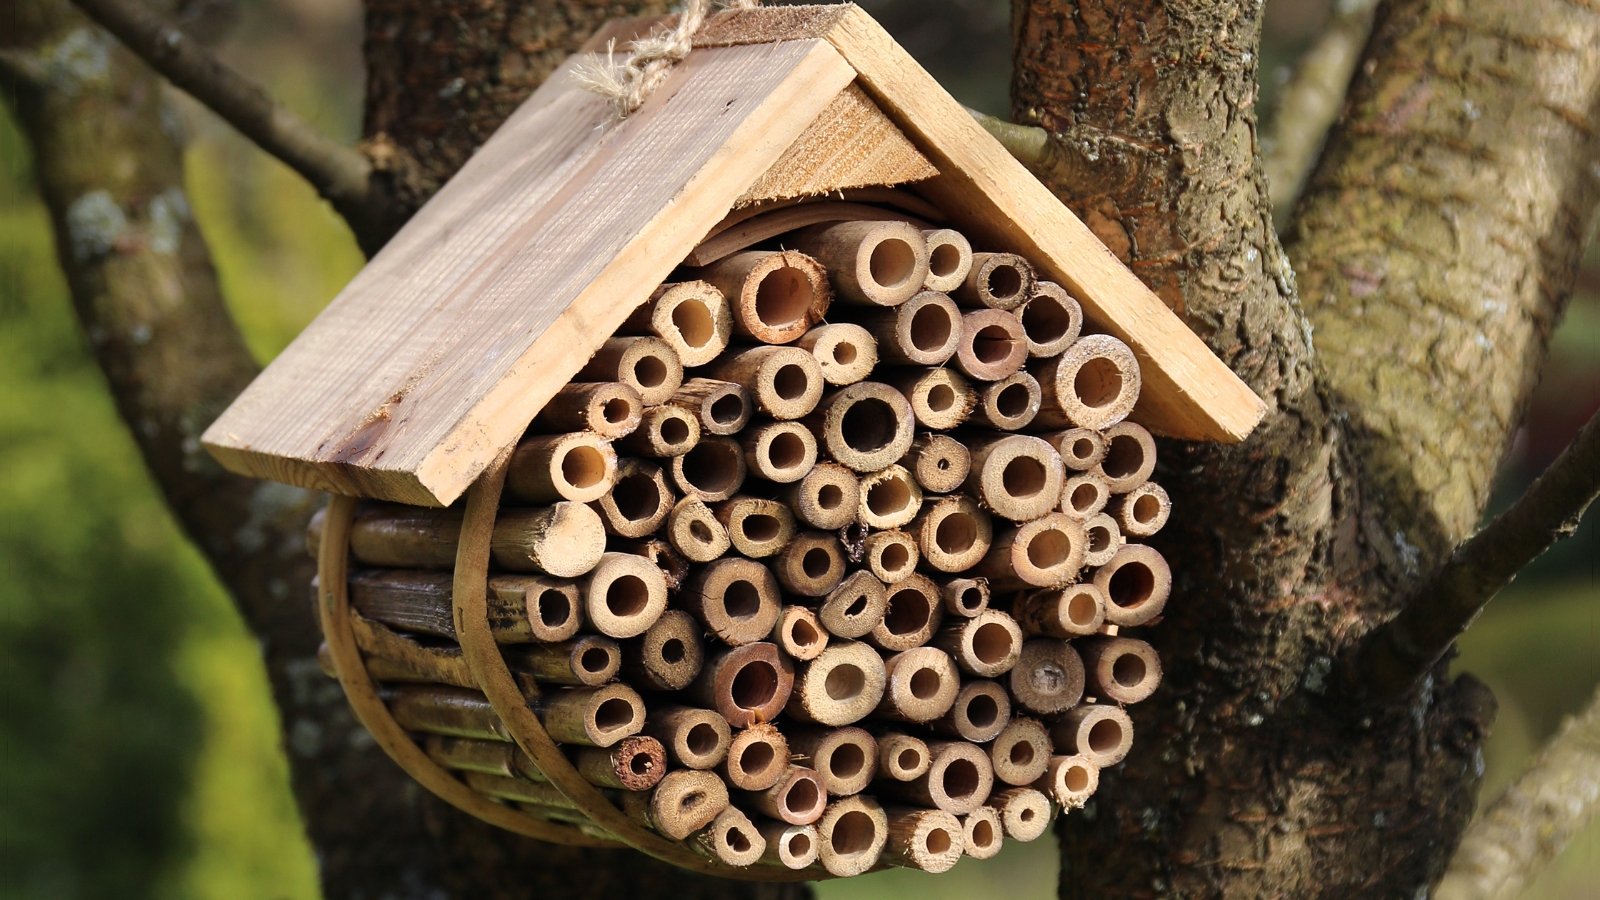 Bundle bamboo tubes for returning bees to navigate easily.
To create space for bees and wasps that like to tuck into a tube, bundle the hollow reeds or bamboo. Cut it to varying lengths, as bees are visual navigators and will be able to locate which tube is theirs as they return from garden travels if they’re not all the same.
Make sure the back end of the tube is sealed, either with plaster, mud, or by placing it up against a structure or board. Bamboo cut at a node self-seals. Vessels to hold the tubes can vary. Get creative with items like a simple wooden box frame or a clay flower pot placed horizontally for fly-in access.
Drilled Logs or Wood
 Vary hole sizes so different bees can nest.
Logs become shelter spots for a number of creatures, and placing them in a natural area of the garden is a good idea year-round. To create a pollinator hotel habitat, drill holes into the logs or small, thick pieces of wood. Don’t go all the way through the wood so that one end remains closed.
Use drill bits of varying sizes between ⅛ and ½ inch. Vary the depth between three and eight inches to make them versatile and identifiable to the inhabitants.
For drilled logs and grooved boards, start the nests at least 3/4 of an inch away from the edge of the block. This deters parasitic wasps from infiltrating the bee nests.
Grooved Boards
 Stacked grooved boards form tunnels for insect homes.
Open grooved boards stacked create a closed tunnel system, but make for easier access and cleaning. When empty and dormant, the boards unstack easily for cleanout.
Drill grooves in each board and stack to create tunnels. Place one end of the boards against a surface (flush with another board or a wall) to enclose one end.
Step Five: Maintain
 Replace old materials to keep nests healthy yearly.
Plan to change out the material every two to three years. Maintenance is an essential part of the pollinator hotel build and reduces the spread of parasites and diseases. Mites and fungi become problems in abandoned nests and old material. Fall’s first frost marks a good time for cleaning, when most have exited the box.
Discard tubes (making sure there aren’t residents inside) and start fresh. For drilled wood and logs, check for inhabitants. If spots are still in use, seal off any vacant holes until the lot is empty. Toss, and replace with fresh components.
Or, to reuse the boards, wash them in a bleach and water solution (one part bleach to three parts water). Soak them for five minutes, allowing them to dry before reassembling. Have the fresh set in place by spring’s final frost to attract nesters.
Consider Winter Habitat
 Bugs enjoy insulated homes among fallen garden materials.
Leave the pollinator hotel through winter to allow eggs and overwintering insects a protected nest. If you see sealed ends (with mud, leaves, and other natural materials), it’s a good sign that the tubes are occupied.
To foster other pollinators and beneficial insects in other garden locations, take advantage of fall leaves as a natural resource. Instead of leaving beds bare and clean, leaf litter offers the benefits of insulation, soil nutrition, and a biodiverse habitat.
Many species overwinter and lay eggs in fallen leaves. Fireflies and other beetles dwell in the leaf layer, as do bumblebee queens, who bury themselves in the leaves to overwinter. Butterfly and moth pupae overwinter underneath them to emerge in spring.
Instead of cutting back some perennials in fall, leave them standing to provide nesting sites for pollinators. Perennials to leave standing (often with hollow stems) include coneflower, black-eyed Susan, and Joe Pye weed.
Simple structures like tripods filled with evergreen boughs, twigs, and leaves create attractive overwintering sites. These “bug snugs” offer warmth and insulation against the elements, and are easy to make with garden materials.


 English (US) ·
  French (CA) ·