PROTECT YOUR DNA WITH QUANTUM TECHNOLOGY
Orgo-Life the new way to the future Advertising by AdpathwayHollyhocks are the wild, towering blooms that punctuate the summer display. The old-fashioned favorites bring striking color and structure to the back of the border and complement other perennials and annuals. A staple of cottage gardens, they support pollinators in addition to their architectural beauty.
The biennials (or sometimes, short-lived perennials) evoke nostalgia with blooms all along their tall, straight stems in colors like velvety black, scarlet, pink, and soft yellow. While some varieties reach great heights, others remain more compact and bushy. Those with tall stalks benefit from staking and wind protection, while shorter varieties are self-supporting. Either way, the statuesque blooms stand out in the border and the vase.
Hollyhocks often bloom for only a season, but they reseed in optimal conditions, naturally dropping and scattering for germination the following spring. Because of their easy appeal, it’s worth collecting them to save hollyhock seeds if you want to propagate a favorite heirloom or expand the colony.
The Watchman

The Watchman Hollyhock Seeds
Chater’s Double
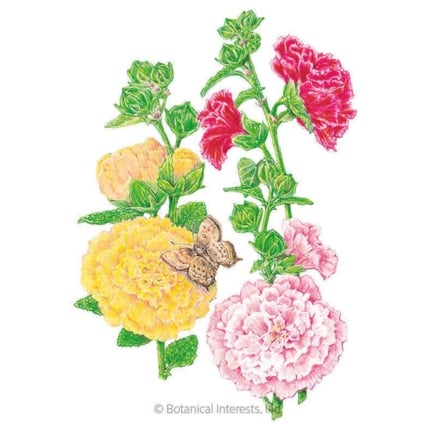
Chater’s Double Hollyhock Seeds

Growing Hollyhocks from Seed
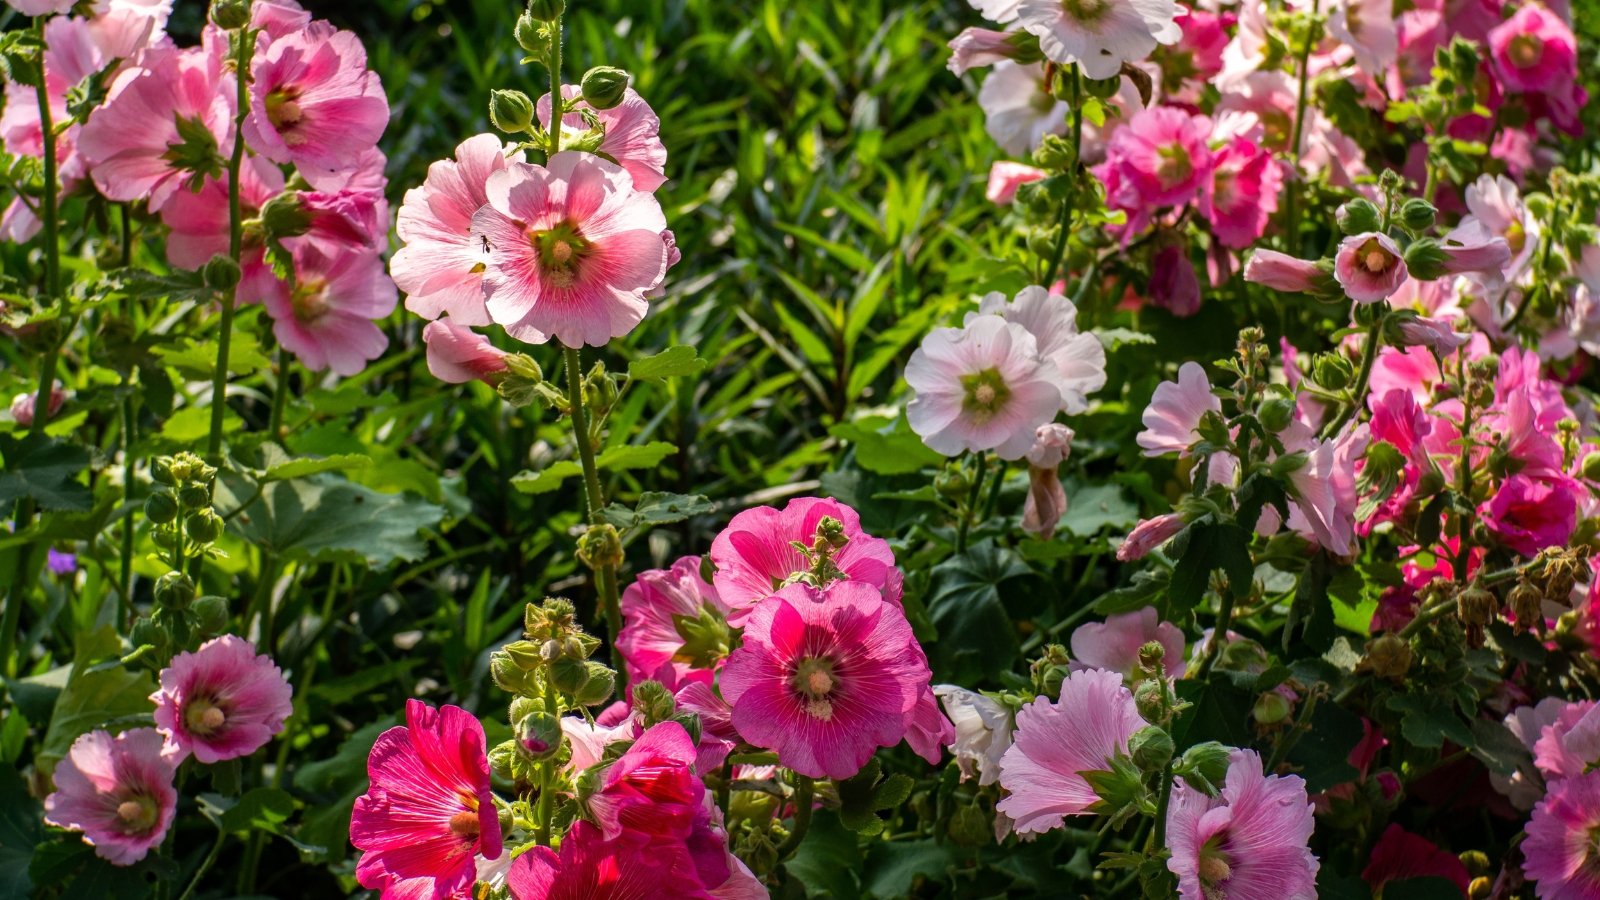 Towering blooms open gradually from bottom to top.
Hollyhocks, Alcea rosea, belong to the mallow family (Malvaceae) with hibiscus, cotton, and okra. They can grow as tall as eight feet, while others stay lower and more compact at three feet. Flowers begin opening from the base of the stem, and the succession lasts for several weeks in late spring to early summer.
Hardy in USDA zones 3-9, hollyhocks are usually biennials. They spend their first year developing roots and basal leaves and send up the dramatic blooms in their second growing season. After flowering, the plants produce seed before they fade. Some will live beyond two seasons as short-lived perennials, and with an early planting in warm weather, may flower the first year.
Hollyhocks grow quickly from seed in the warm season. Because they reseed so vigorously, hollyhocks can escape cultivation in some growing areas.
Open-pollinated, bees visit each blossom along the packed bloom spikes, carrying pollen granules as they travel. Hybrid varieties won’t come true to type from seed, so they may not mirror the attributes of their parent plants. Heirlooms and other older selections are genetically stable and usually retain the look of the parent.
With hybrids, you can still save hollyhock seeds. But you’ll gain a surprise selection of varieties and colors unique to your garden instead of the same flowers you recognise.
Plant Selection
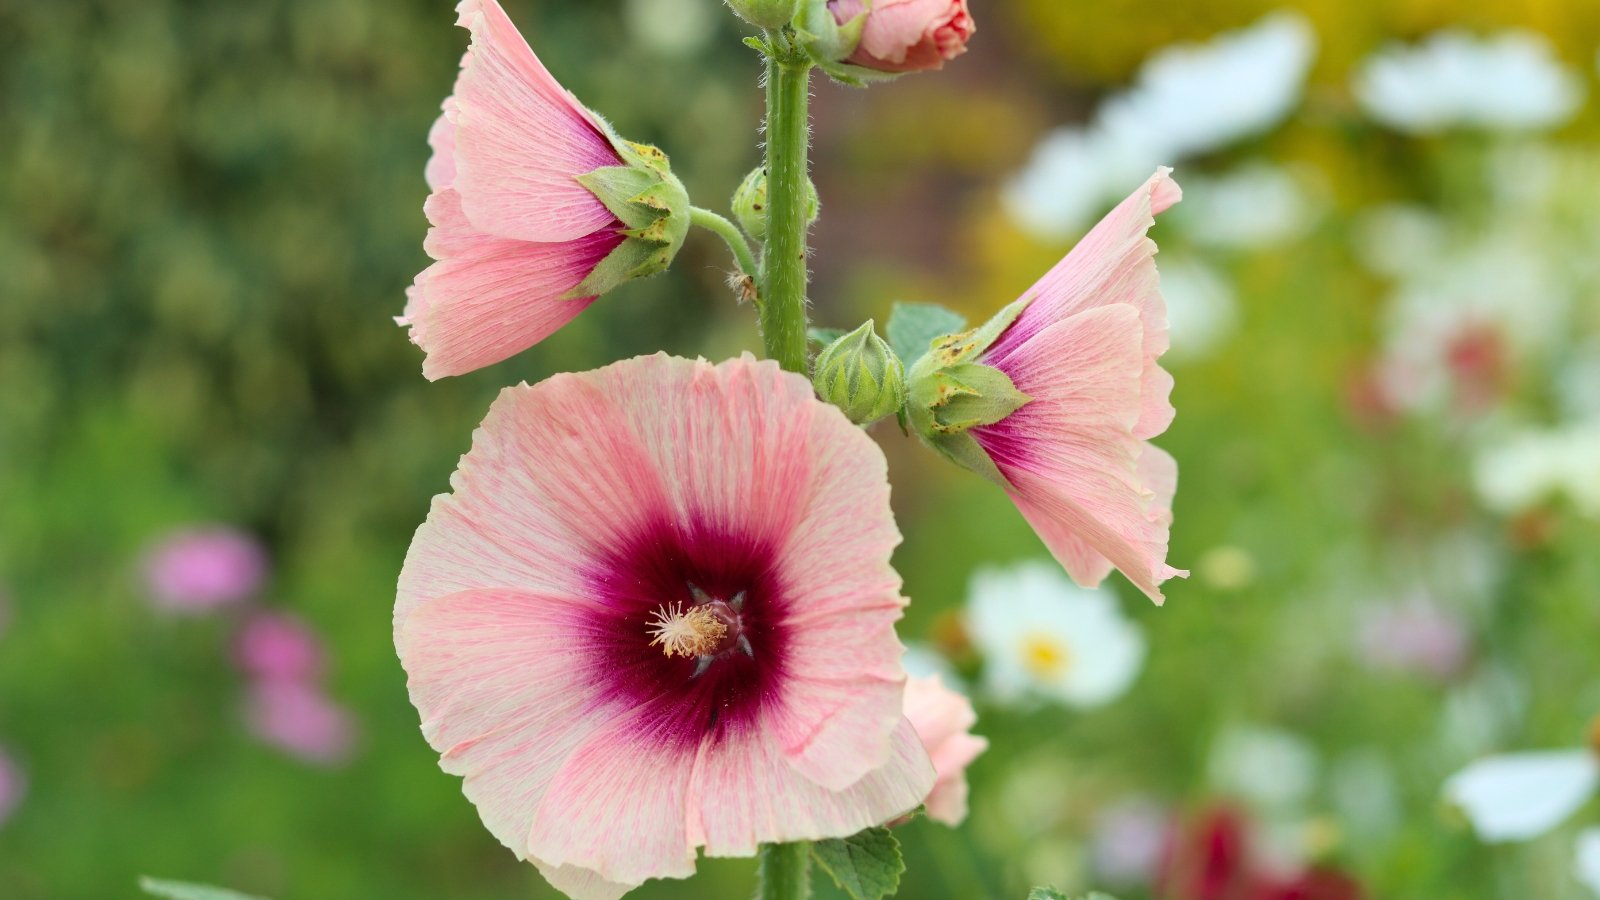 Garden corners suddenly feel alive with cheerful spikes.
There are different species and cultivars of the favorite bloomers to incorporate into the display. For reliable seed collection, heirlooms make lovely options. Look for disease-resistant varieties, too, to potentially ward off problems like hollyhock rust and mildews.
The ‘Halo’ series in apricot, blush, cerise, and lavender boasts improved disease resistance and stunning blooms. Plants reach five to six feet tall.
If you’ve had disease issues in the past, the fig-leaf species Alcea ficifolia resembles classic hollyhocks in form and flowering, with fewer problems. The deeply lobed foliage resembles fig leaves in shape. Bright cultivars like ‘Happy Lights’ and ‘Las Vegas’ grow six to eight feet tall.
Russian hollyhock, Alcea rugosa, bears lemony yellow blooms. Stems reach six to seven feet tall above gray-green basal foliage. The unique species is a reliable and showy performer among the genus.
When growing hollyhocks, interplant with perennials and annuals to disguise declining leaves. The towering blooms will shine while fading foliage hides behind other dynamic flowers and leaves.
Collecting Seeds
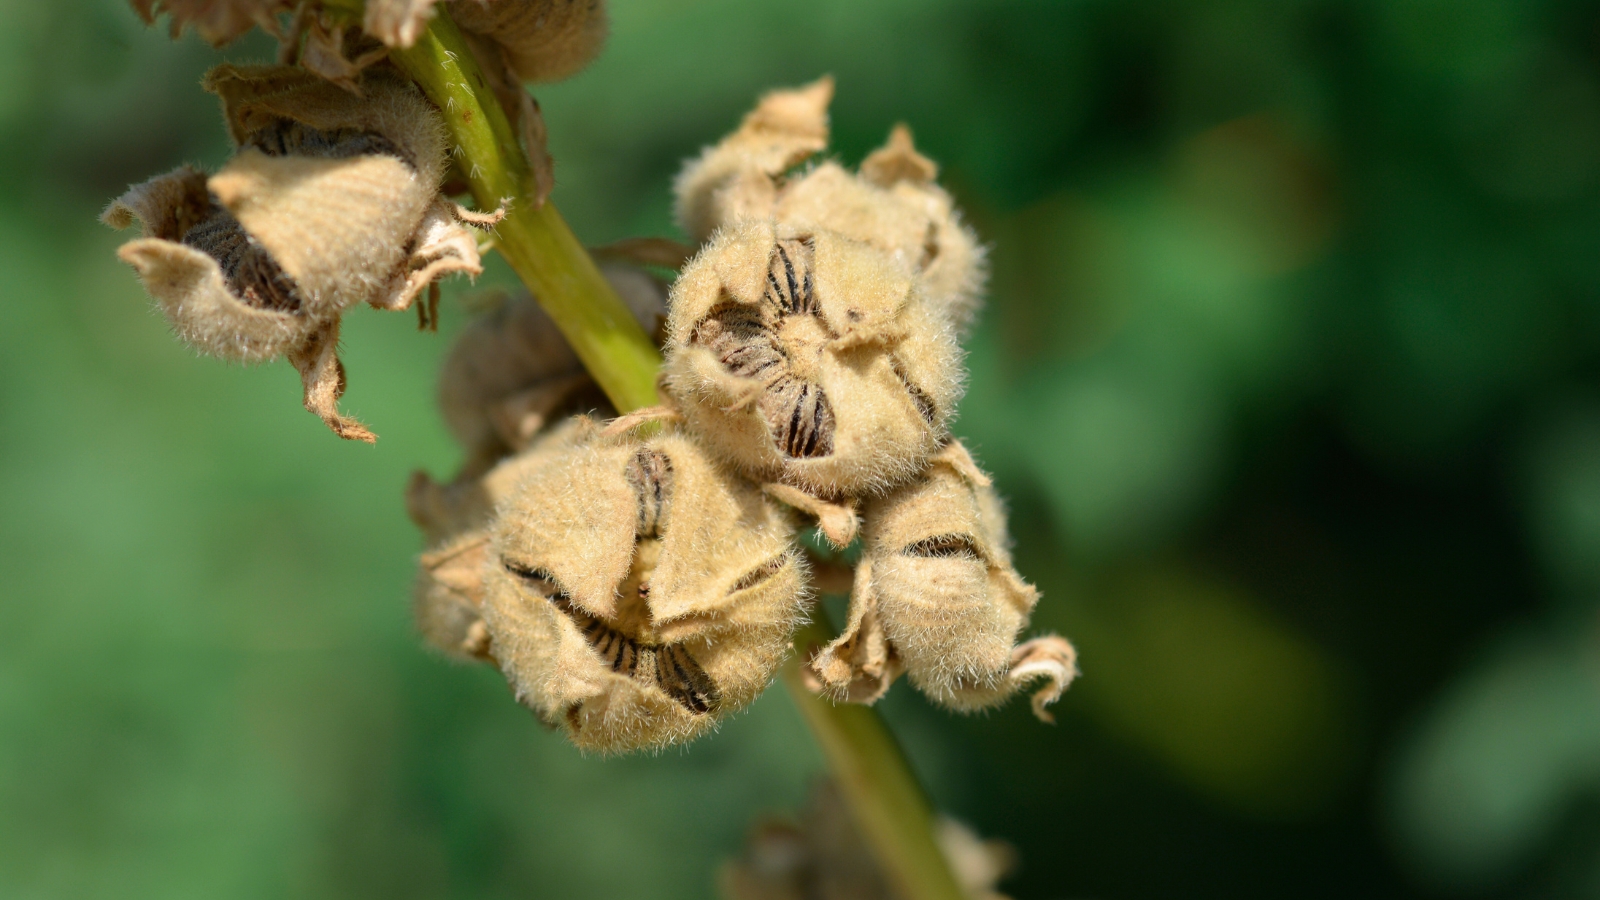 Drying blooms hint at seeds soon falling gently.
With flowers left on the stem, hollyhocks produce seeds that drop and scatter. In optimal growing situations, you’ll see germination as conditions suit in spring. To collect and save hollyhock seeds, catch them before they drop by keeping an eye on drying blooms.
Hollyhocks benefit from deadheading during the season to promote reblooming (and if you want to avoid reseeding). Deadheading prevents the plant from expending energy on seed production, channeling it instead into producing more flowers. Skip deadheading or leave some blooms on the stem to let them go to seed for collecting or natural drop.
What to Look For
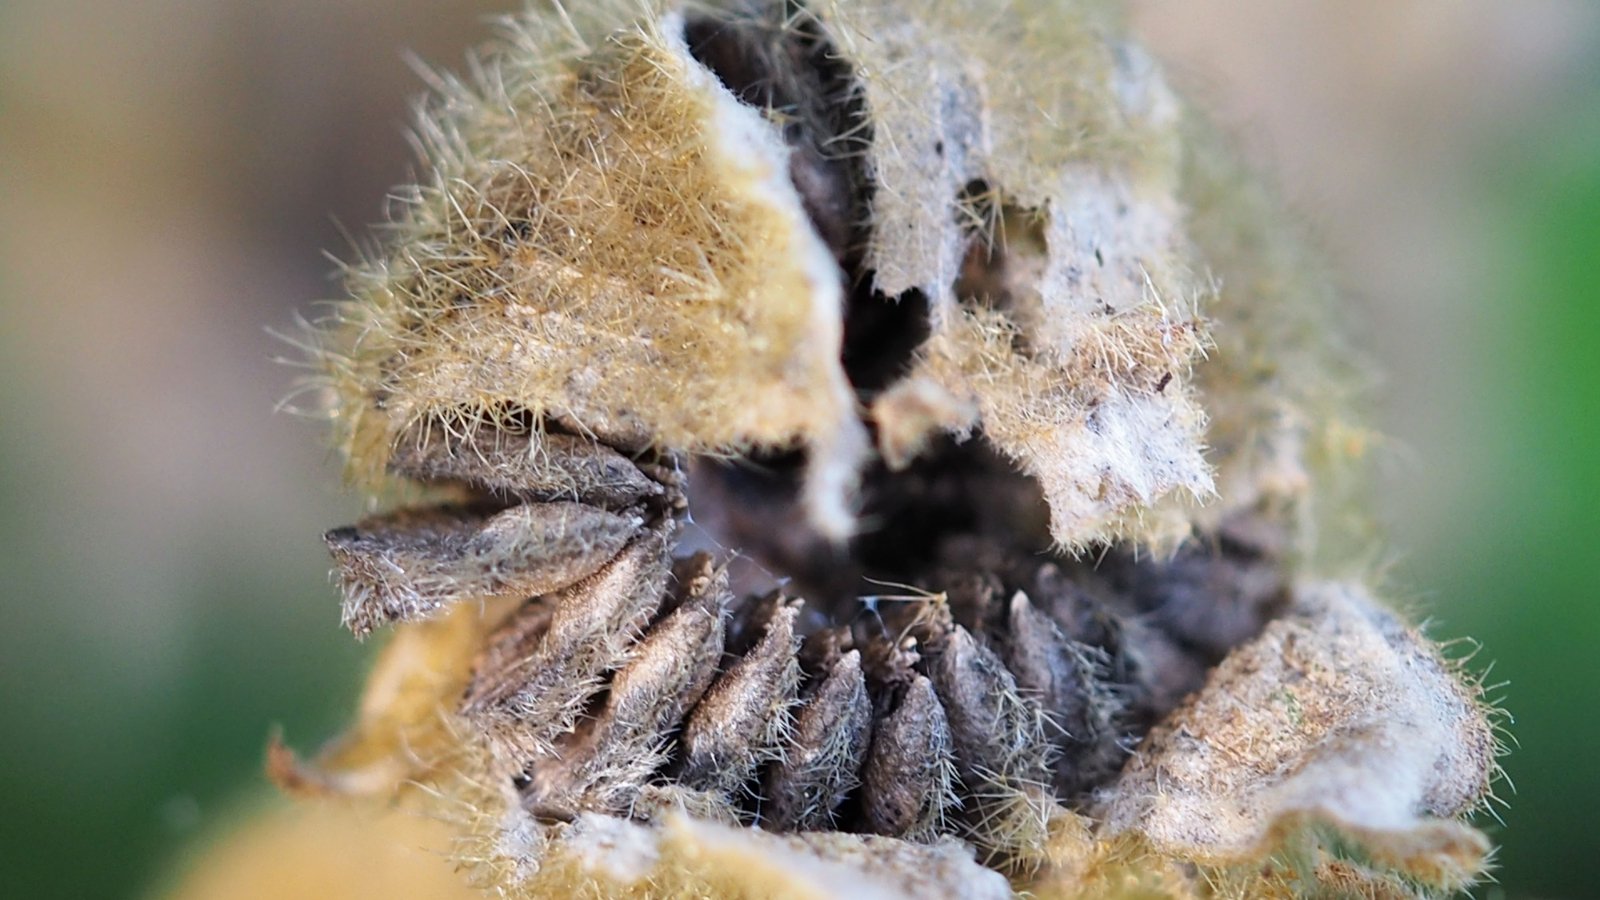 Tiny dark rounds hide inside crisp, dry pods.
As petals turn brown and become dry, inspect the central pod. The pod (schizocarp) holds the seeds, which mature as the plant material dries.
When the pod is dry and brown, it snaps off easily for cracking open to disperse the inner seeds. The hull will be papery. If it resists pulling from the stem or doesn’t open easily, it may not be time to save hollyhock seeds yet. The seeds themselves are dark, flattened rounds when mature.
When Not to Save Hollyhock Seeds
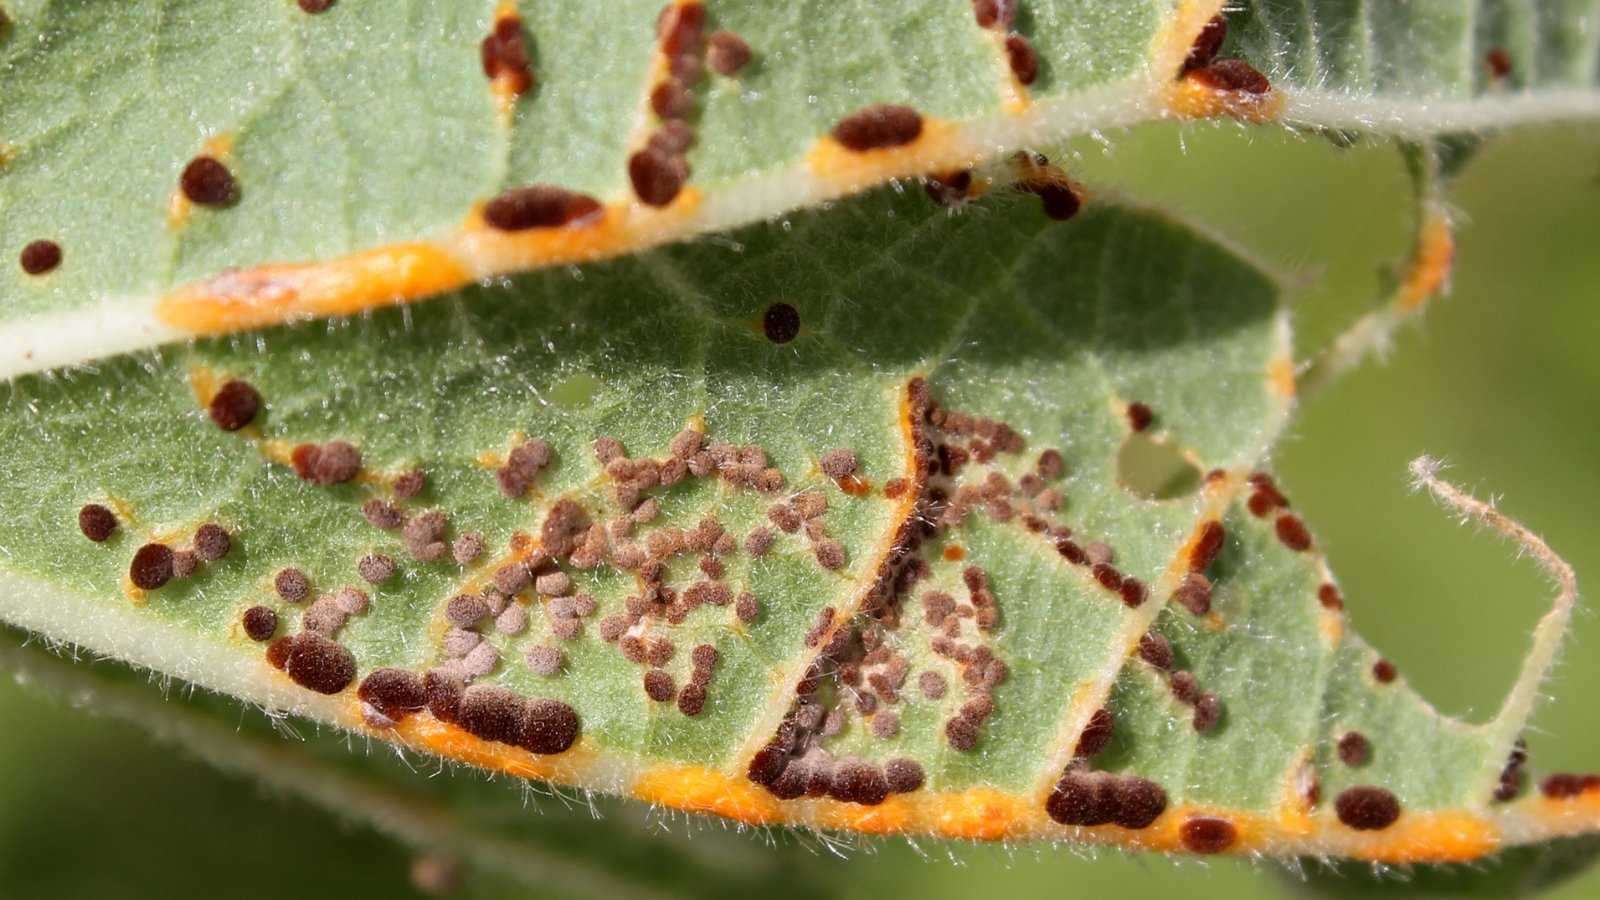 Rust spreads fast when wind carries spores around.
Avoid saving hollyhock seeds from specimens that show signs of rust. Hollyhock rust is the most common fungal disease among the species. The pathogen Puccinia malvacearum spreads to foliage, leaves, stems, and green flower parts. The fungus spreads quickly, and while it rarely kills plants, it causes discoloration, stunting, and premature leaf drop.
Rust enters the garden on the wind or through infected plant material, including seeds. The windborne fungus spreads locally through splashing rain and irrigation among plant parts and soils. To prevent spreading the fungus, avoid sowing seeds from infected plants. Practice crop rotation to prevent supplying the spores with their mallow hosts.
Storing
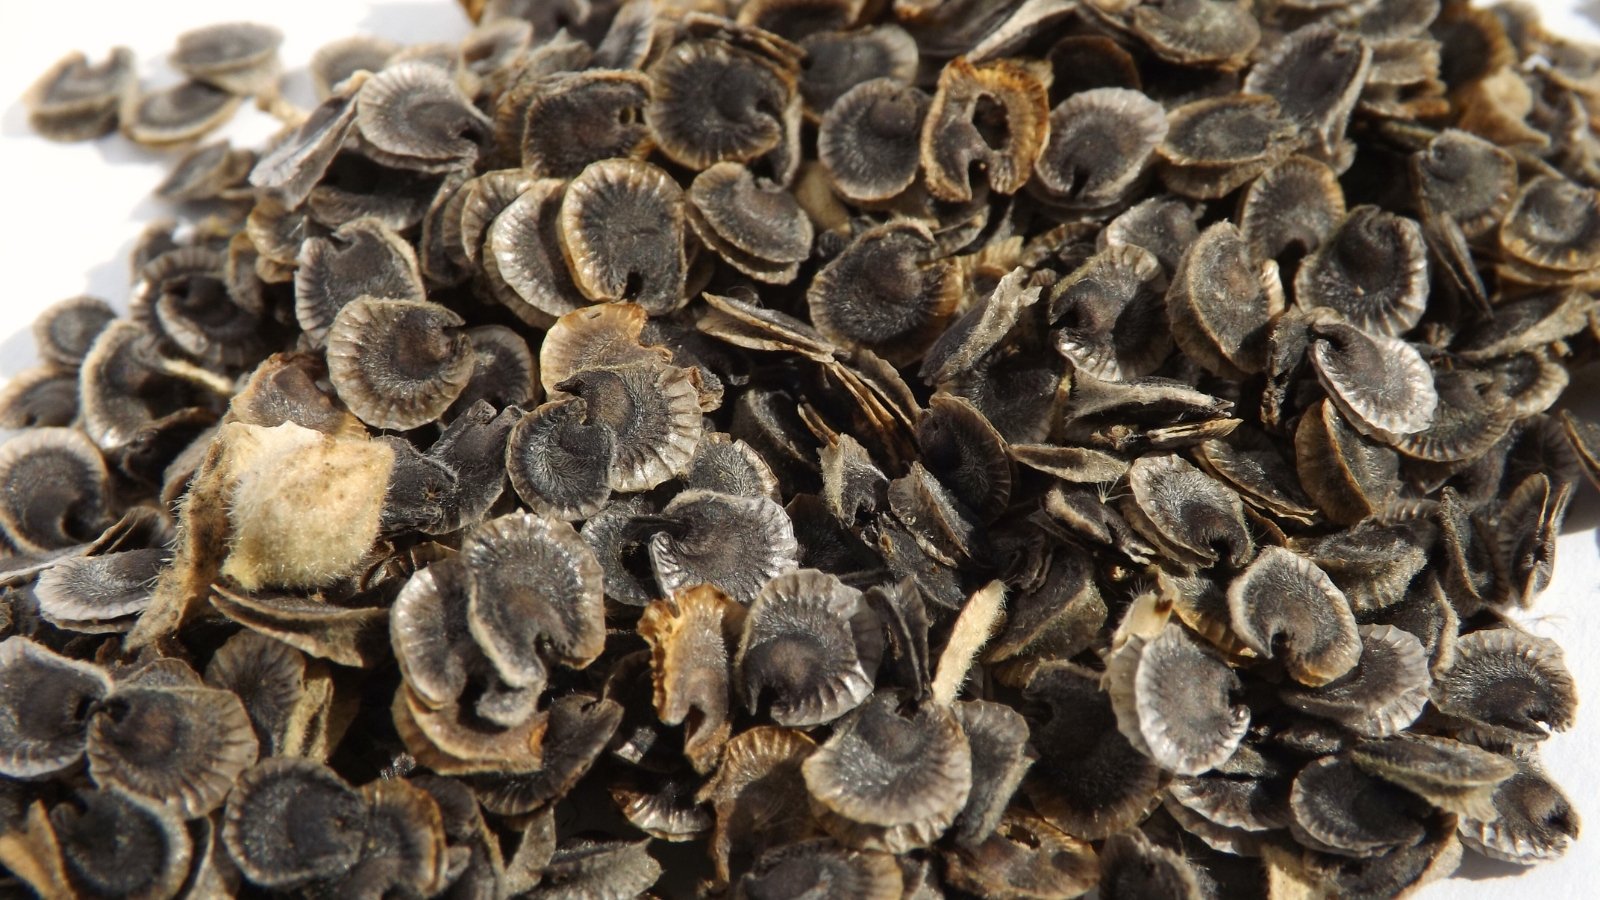 Lay seeds out flat until fully dry naturally.
To save hollyhock seeds, make sure they’re completely dry before storing. Optionally, lay them in a single layer on a plate or tray to dry in a warm spot for a few days to be on the safe side. Save the seeds in an envelope, paper bag, or airtight container in a cool, dry, dark space until ready to sow in fall or spring.
Sowing
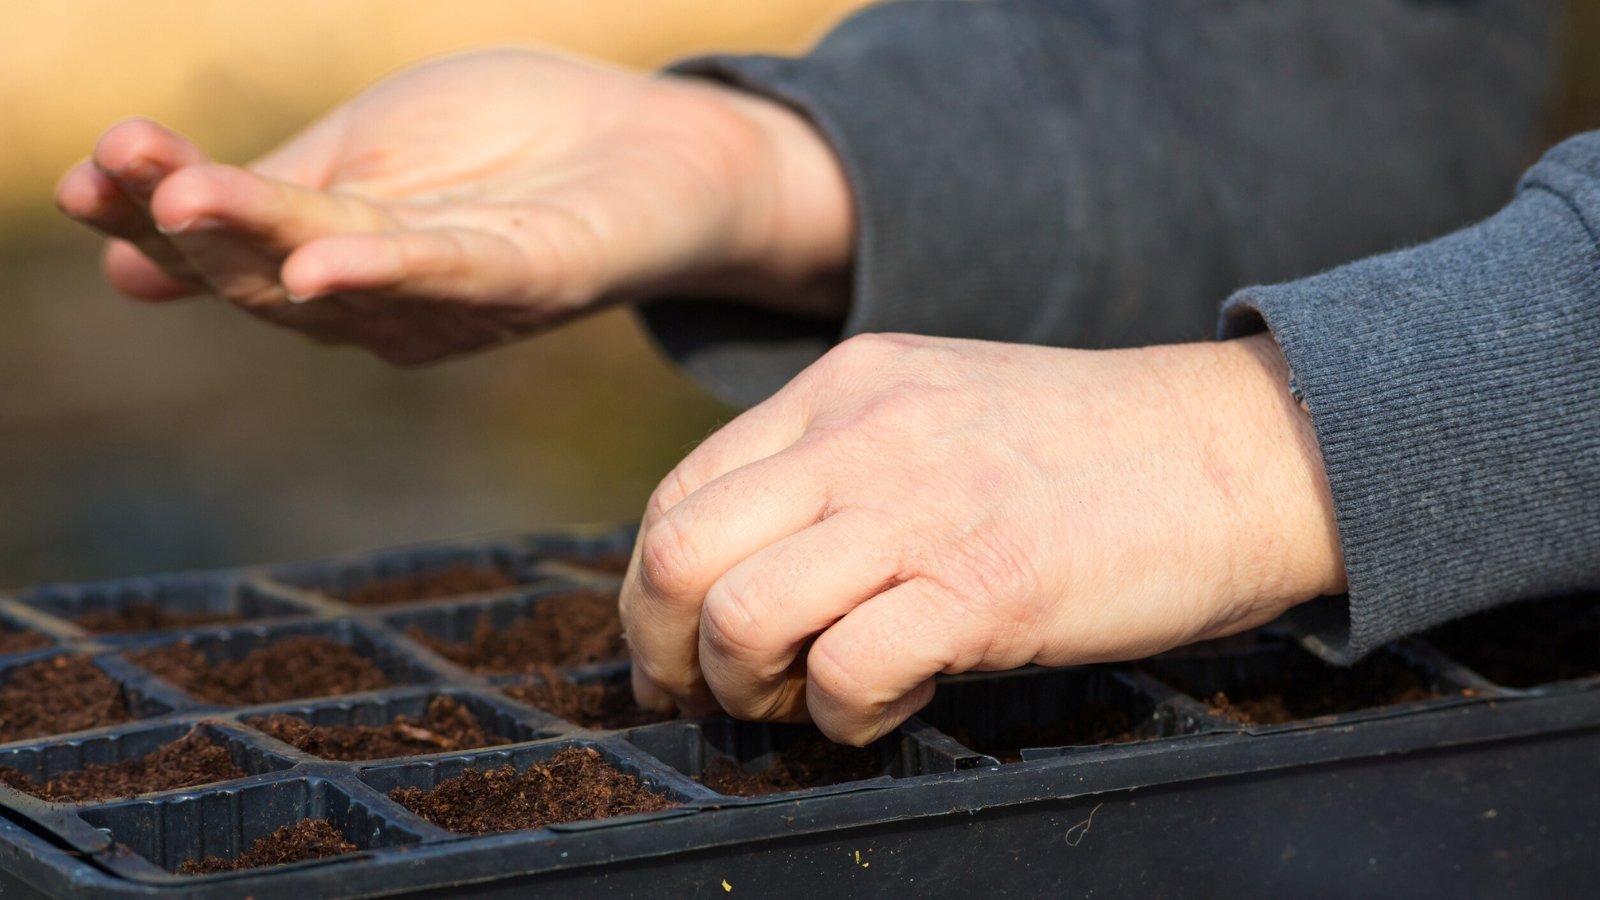 Indoor starting helps seedlings jumpstart before the outdoors.
To plant hollyhock seeds, fall and spring offer optimal timing and moderate conditions. The seeds do best with direct sowing (and it’s easy on the gardener), but you can also start them indoors in late winter for spring transplanting. You’ll typically see sprouting within 10 to 14 days of sowing.
When to Sow
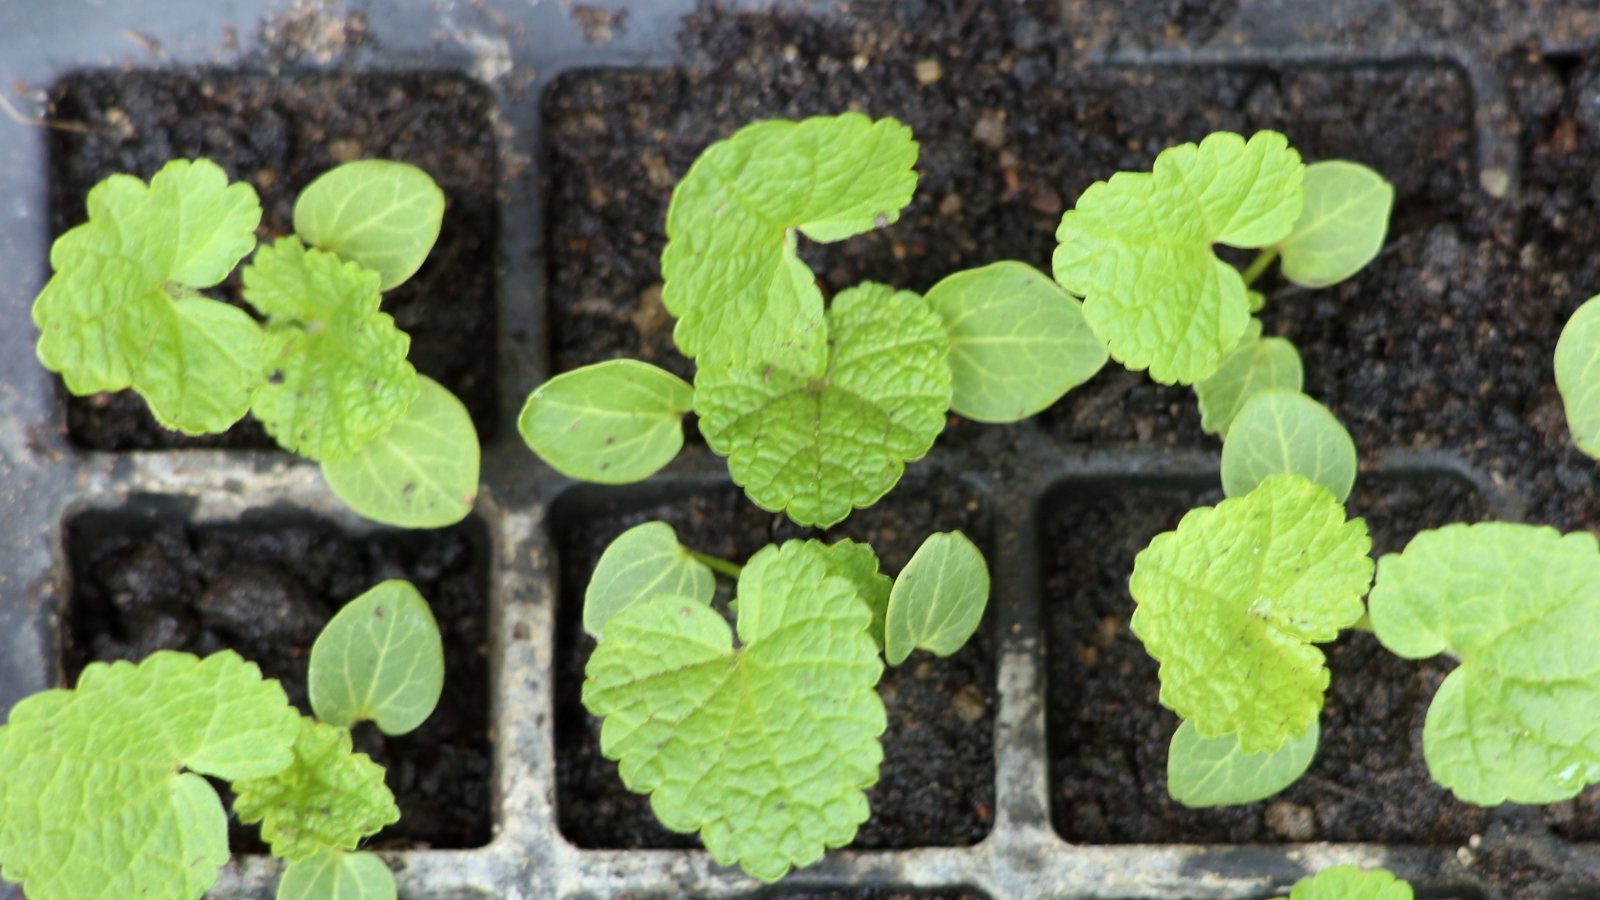 Cold climates benefit from an early indoor start.
Seeding hollyhocks is easy in the fall. Aim to direct sow your saved hollyhock seeds about one week before the first anticipated frost date. Seeds remain dormant over the winter until spring conditions suit germination.
For a spring sowing, direct sow one to two weeks before the first anticipated frost. You can also start seeds indoors six to nine weeks before the final frost to get a jumpstart on growth. The biennials have long taproots sensitive to transplant disturbance, so soil blocks or biodegradable containers make good growing options.
An early start is helpful in cold climates to get quick growth in warming temperatures. Transplant seedlings two to three weeks after the final frost.
Winter sowing also works well for easy seeding. The technique involves sowing seeds in repurposed plastic containers, like transparent gallon jugs. Placed outside, they receive exposure to natural elements over the winter and sprout when temperatures warm.
How to Sow
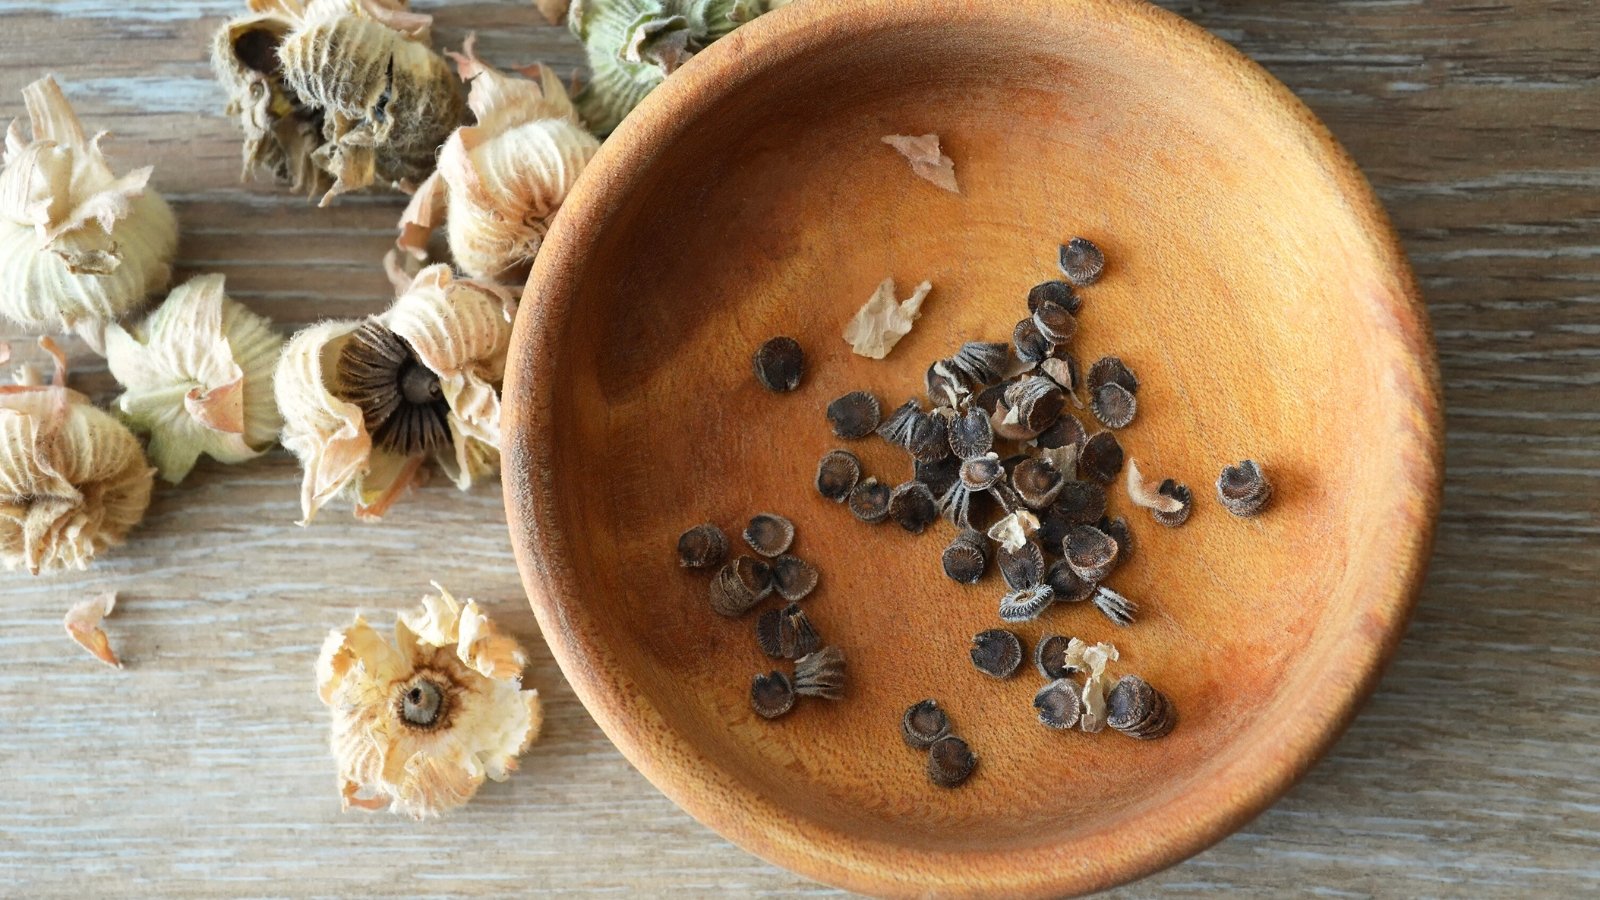 Warm water soaks help soften tough seed coats.
Plant seeds just below the soil surface at ¼ inch deep. A spacing of 18 to 24 inches allows for ample airflow and room for mature growth. Good air circulation minimizes conditions that foster fungal problems like rust.
For indoor seed-starting, soak the seeds in warm water overnight to soften the seed coat. Scarification isn’t essential, but it does speed up natural processes. Plant the seeds in trays or cells at a depth of ¼ inch. Thin any crowded seedlings by clipping them at the base of the stem when they reach a few inches tall.
Tending
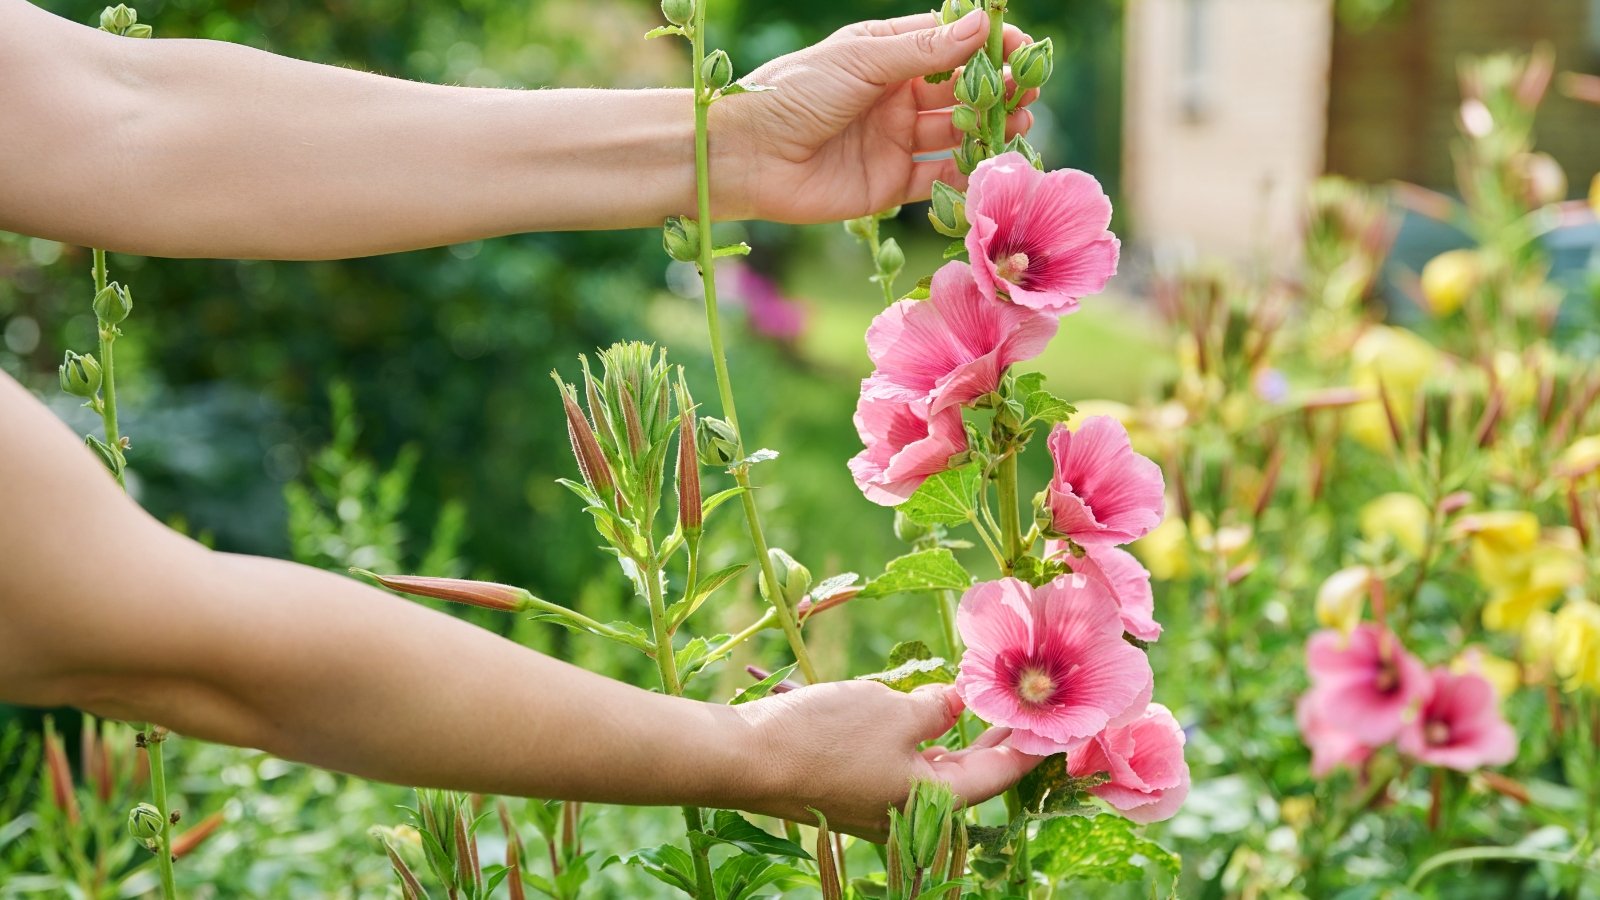 Staking tall blooms prevents flopping on windy days.
With those new seedlings popping up in spring, providing the best cultural practices brings the most vigor and the best defense against pests and diseases. Hollyhocks are easy-care, flourishing with little attention when mature.
Those with large bloom stalks benefit from staking and wind protection. You can also pinch the primary stem when young to encourage a bushy habit and reduce the need for stakes or flopping over in taller varieties.
A layer of mulch, kept a couple of inches off the stems, helps reduce water and soil splashing, regulates soil temperatures, and retains moisture.
Watering
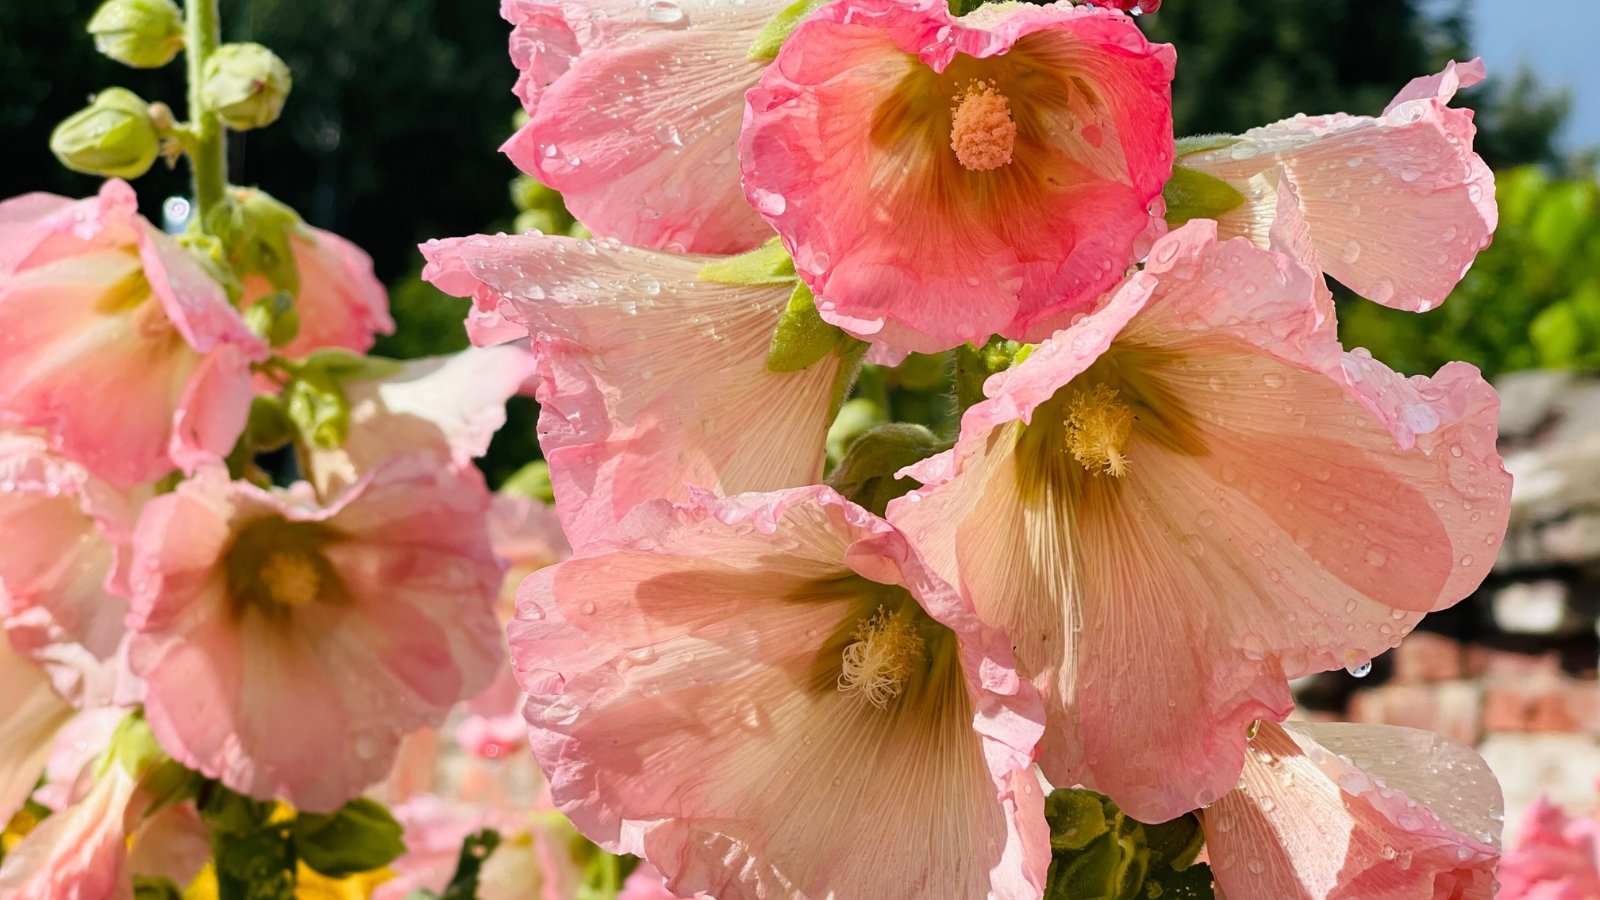 Morning watering lets leaves dry in warm sunlight.
Hollyhock seedlings rely on even moisture as they establish, and well-draining soils are essential. Mature plants are moderately drought-tolerant, though they grow and flower best with regular watering sessions and consistent moisture.
Take care not to overwater, erring on the dry side to minimize rust spores and other fungi that proliferate in damp conditions. Water at the base of plants, rather than overhead, to prevent splashing the leaves and potentially spreading disease.
Drip irrigation or soaker hoses allow measured delivery at low volumes with little runoff. If you rely on overhead sprinklers to irrigate, aim to run them in the morning. This gives leaves time to dry in the day’s sun and breeze.
Fertilizing
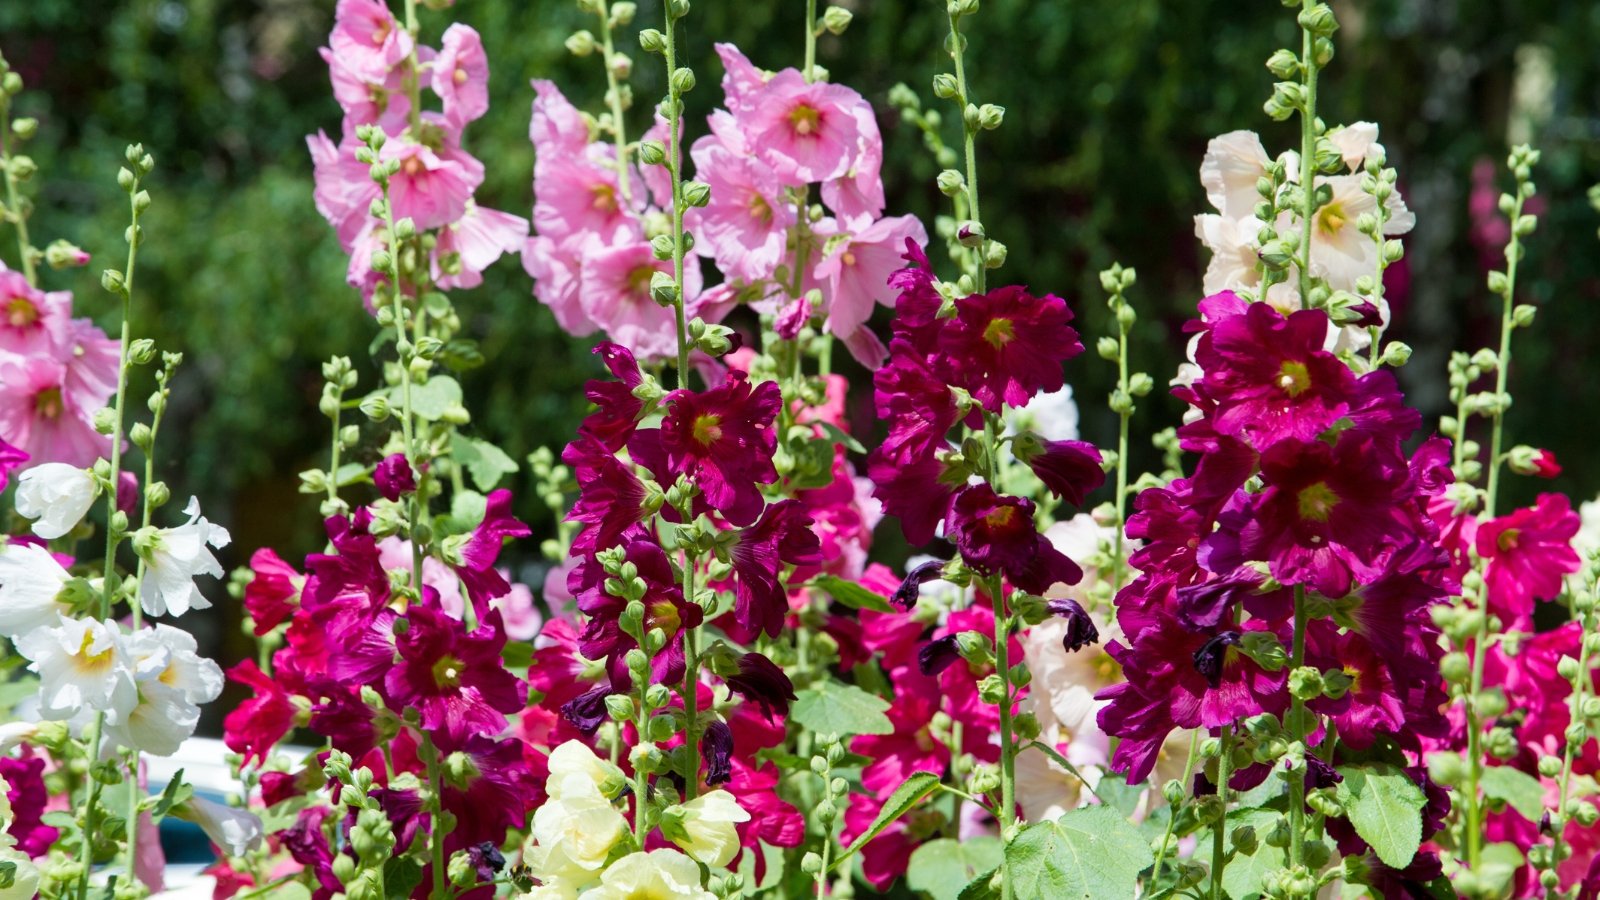 Higher phosphorus encourages bigger, more colorful flower blooms.
Hollyhocks adapt to various soil types but grow best in organically rich soils. With fertile soils, they don’t require additional nutrition.
Amending with organic matter in poor soils supports robust plants. Prepare the beds prior to sowing or transplanting. If mature hollyhocks lack blooms or show yellowing leaves (and moisture and sunlight aren’t the issue), there may be a nutrient deficiency. A balanced fertilizer, or one with a higher phosphorus (P) level, may help with blooming.
Avoid overfertilizing, as high nitrogen levels spur weak, leafy growth and hinder budding and blooming.
End-of-Season Maintenance
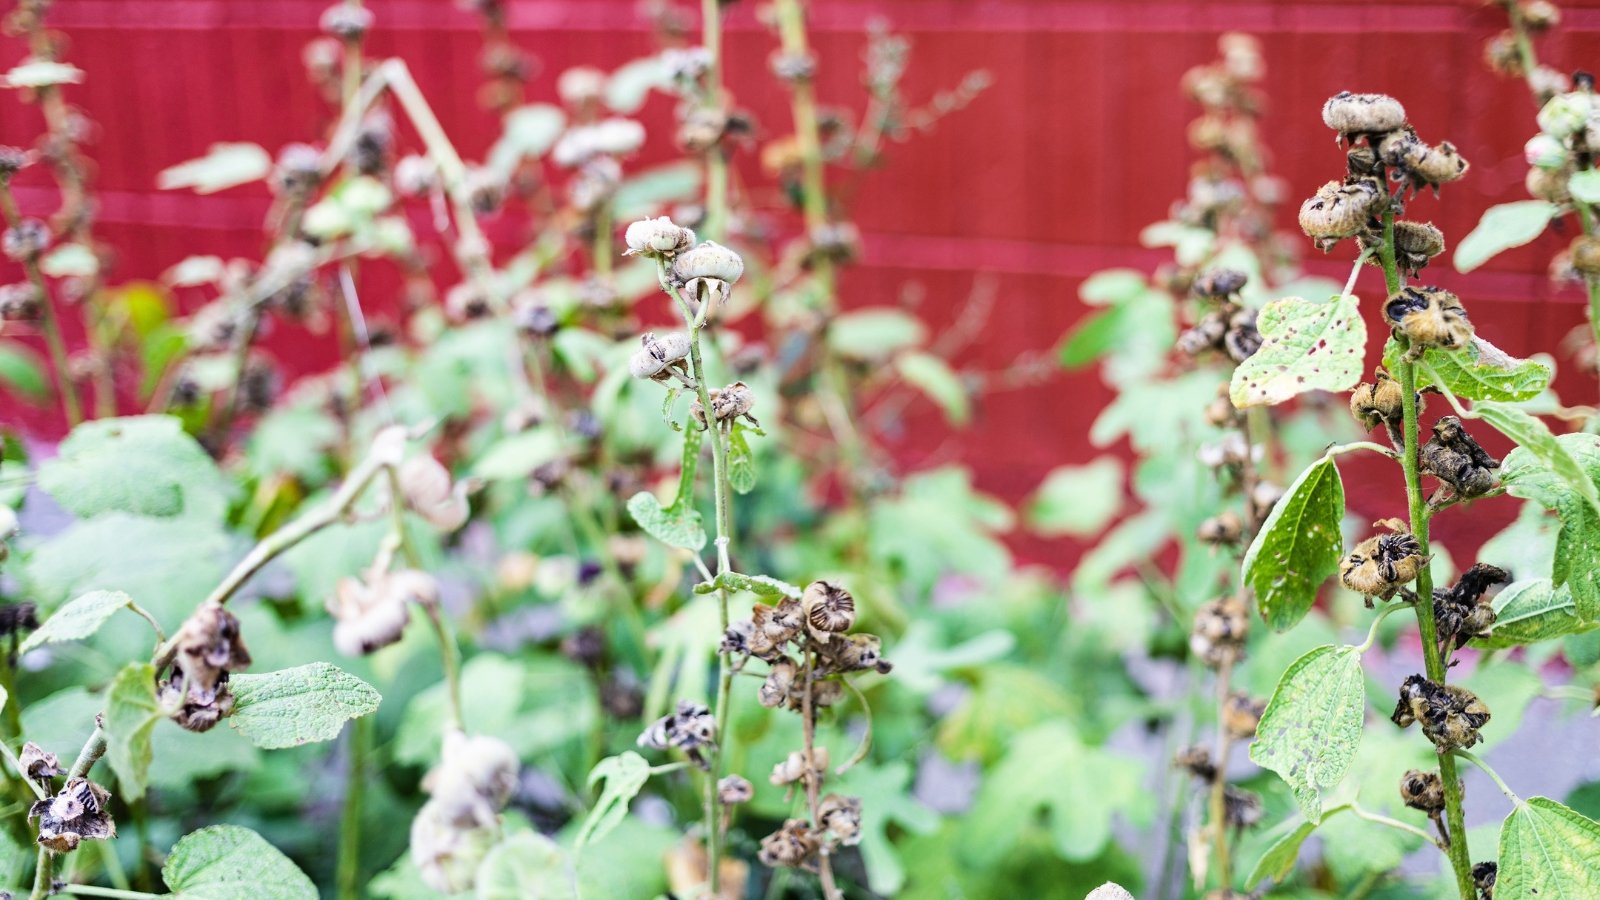 Fall cleanup encourages stronger growth in the coming season.
As the crop fades in the fall, cut stalks down to the ground. Remove the stems, leaves, and any debris from the site. Removal limits spores that overwinter in dormant material. It protects future growth from encountering problems and sets a healthy foundation for spring.


 22 hours ago
7





 English (US) ·
  French (CA) ·