
 2 months ago
44
2 months ago
44
PROTECT YOUR DNA WITH QUANTUM TECHNOLOGY
Orgo-Life the new way to the future Advertising by AdpathwayThe easiest part of growing your spring bulbs is planting them, but they really pop when you maintain them on a regular basis. Among other care, dividing spring bulbs is an important task to carry out each year. While the division process changes from plant to plant, it keeps your spring bulbs in good health.
Maybe it’s your first time planting bulbs, and you’re wondering when to divide them. Thankfully, it’s not difficult. As long as you know what kind of attention to give each plant, you’ll see an increase in blooms annually.
Perhaps you grow spring bulbs, but you haven’t mastered the routine. Here’s how to divide those spring bulbs for maximum plant vigor and vitality!
Stargazer Oriental Lily

Stargazer Oriental Lily Bulbs
Casa Blanca Oriental Lily

Casa Blanca Oriental Lily Bulbs
Sundew Double Asiatic Lily

Sundew Double Asiatic Lily Bulbs
Step 1: Wait For the Right Time
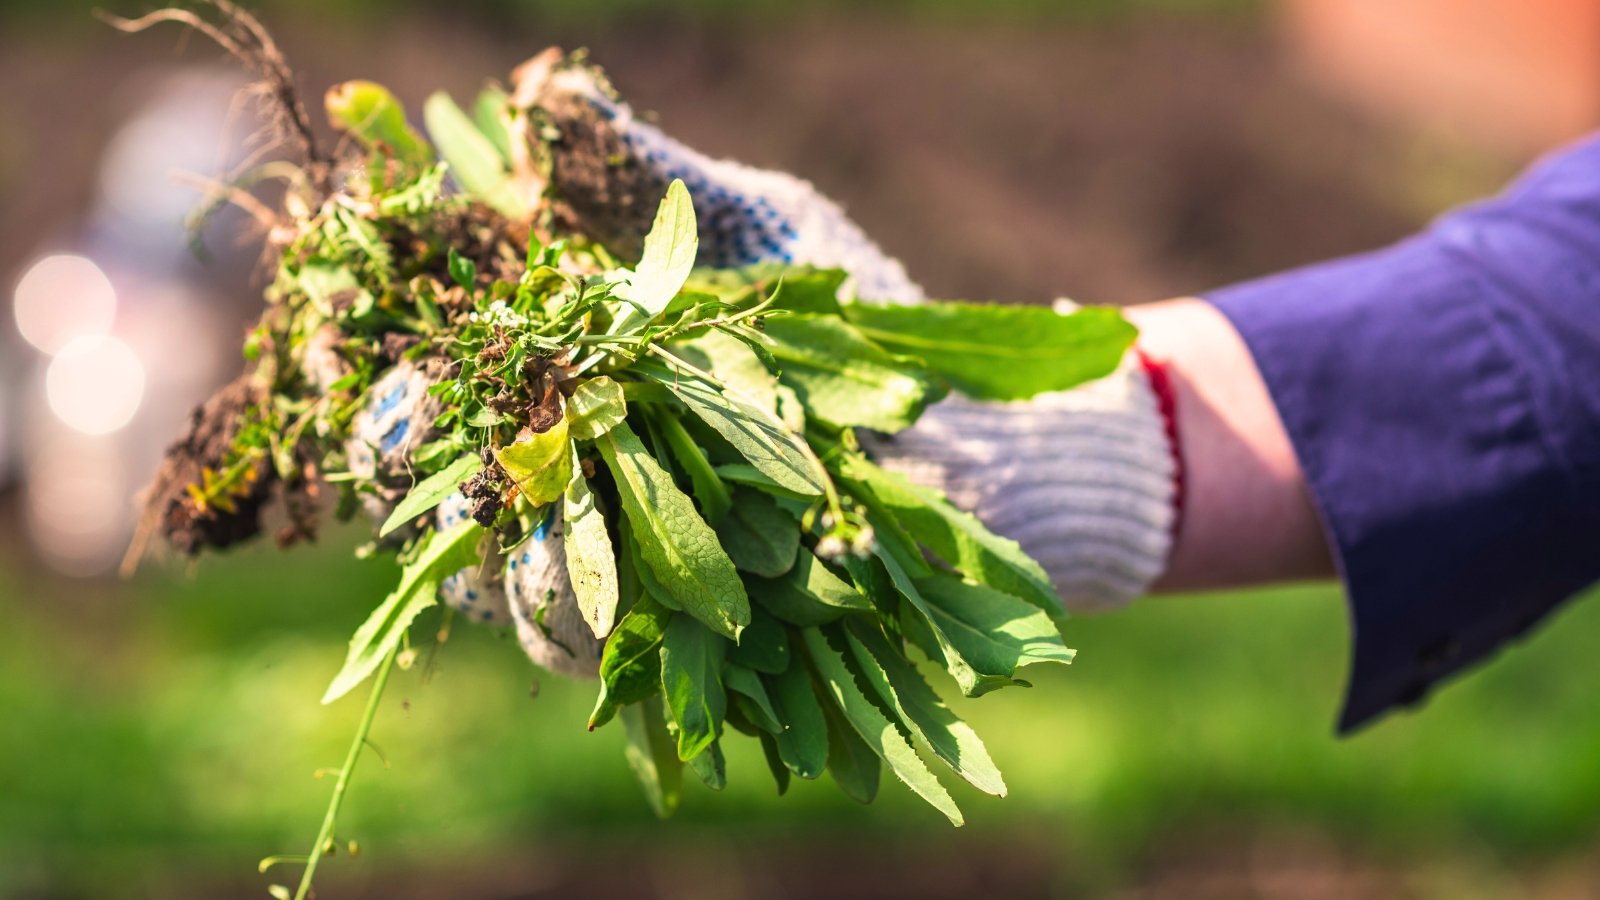
 Browning leaves mean it’s switching to root mode.
Ultimately, dividing bulbs involves digging them up from the soil and separating any offshoots or overgrown areas. Before we get to that, you need to understand the bulbs you planted. While the signs for the right timing are similar, the times at which they present themselves are different from bloom to bloom.
Dividing irises occurs in late summer every three to five years, whereas daffodils are divided in late spring or early summer every couple of years. One key sign is faded foliage. Browning leaves are a sign that bulbs are entering dormancy, or moving to focus on root development for next year’s spring blooms.
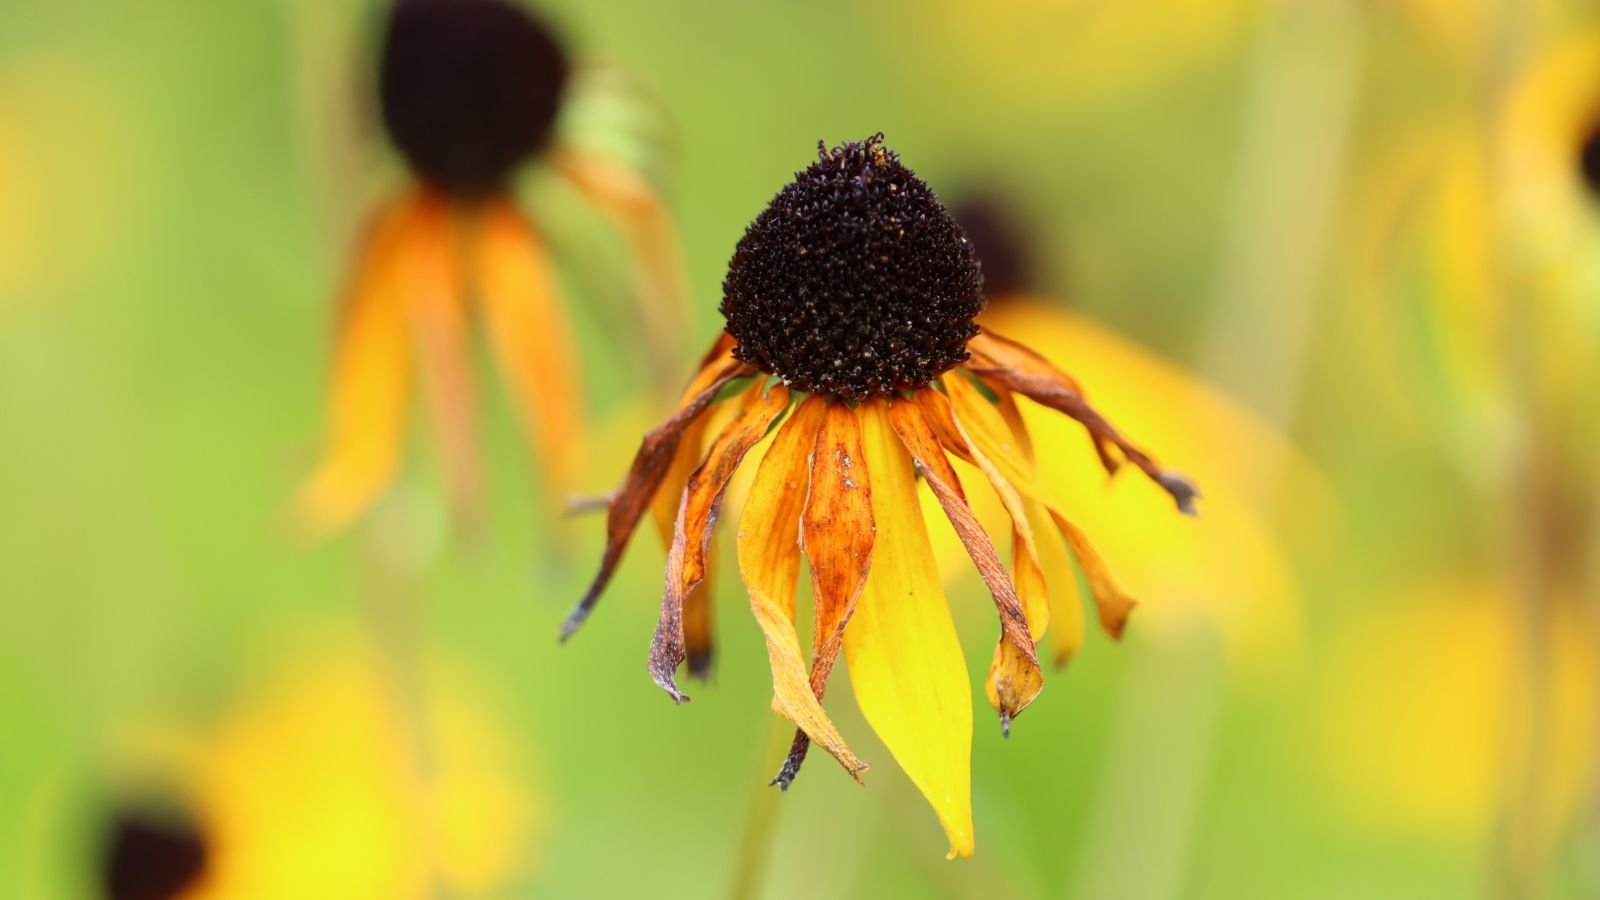
Another sign is a decline in vigor. If your irises bloom less and less every year, it’s probably time to divide and transplant them. No blooms or bulbs heaving up from the ground are surefire signals.
Divide bulbs grown in containers every year. For those in the ground, use this chart to determine when and how often to divide:
| Spring Flowering Bulb | Season to Divide | How Often to Divide |
| Iris | Late summer | 3–5 years |
| Daffodil | Late spring to early summer | 1-2 years |
| Daylilies | Early spring or late summer | 3-5 years (most species) |
| Tulips | Spring or fall | 3-5 years |
| Snowdrops | Spring | 2-3 years |
| Crocus | Spring or fall | 3-5 years |
| Giant Allium | Spring | 3-4 years |
| Hyacinth | Late spring to early summer | 2-3 years |
| Fritillaria | Late spring to early summer | 3-5 years |
Step 2: Prepare for Division
 Consider storage or replanting when you dig them up.
As you dig your bulbs to divide them, decide whether or not to store them or replant them. If you’re dealing with bulbs that should be divided in fall, and you live in a cold climate, prepare to cure them for storage over winter. You’ll need a cool, slightly humid area out of direct sunlight to do this.
If you live in a warm climate or you want to plant divisions elsewhere, prepare your growing area. Gather containers, or amend a garden plot. Ensure the soil is formulated appropriately. Remove any clods in the ground, and amend heavy soils with compost and drainage materials.
Cut back any faded foliage on plants that need to be lifted after they bloom. For evergreens, like irises, trim the foliage down to ⅓ of their height. This diverts energy back into the bulb, which will either enter dormancy or develop more roots depending on the climate.
Step 3: Dig Them Up
 Dig on a cool morning to keep things easygoing.
After you’ve prepared your curing or planting area, it’s time to dig up your spring bulbs and start to divide them. Do this on an early morning or during a cloudy, temperate day. Use a hand trowel, hori hori, or a garden fork, and dig outside the perimeter of the bulbs by several inches.
You don’t want to damage the bulbs in the process of removing them from the ground, as this makes them more susceptible to rot and other diseases. Gently lift up from the soil and unearth the bulbs. Dust them off with your garden gloves or a dry towel. Place them somewhere out of direct sunlight as you finish digging the rest.
Once you’ve dug all the bulbs you want to divide, sort out any that have blemishes or distortions. These indicate a lack of viability. Toss them in the trash rather than the compost, where they can spread diseases.
Step 4: Separate Them
 Look for baby offshoots nestled close to the base.
Look for offsets or eyes that indicate where divisions are in the bulb. For daffodils, a smaller bulb develops on the side of the main bulb. The same goes for crocuses, fritillaria, hyacinths, tulips, alliums, and snowdrops.
The division process is a little different for iris and daylily bulbs, as they don’t have a round bulb structure that develops offshoots in the same way as the plants above. An offshoot of healthy foliage is an indication of where divisions can take place. Snap or cut cleanly in the creases where they grow. Use sterilized pruning shears to make any cuts.
Step 5: Plant Them Out
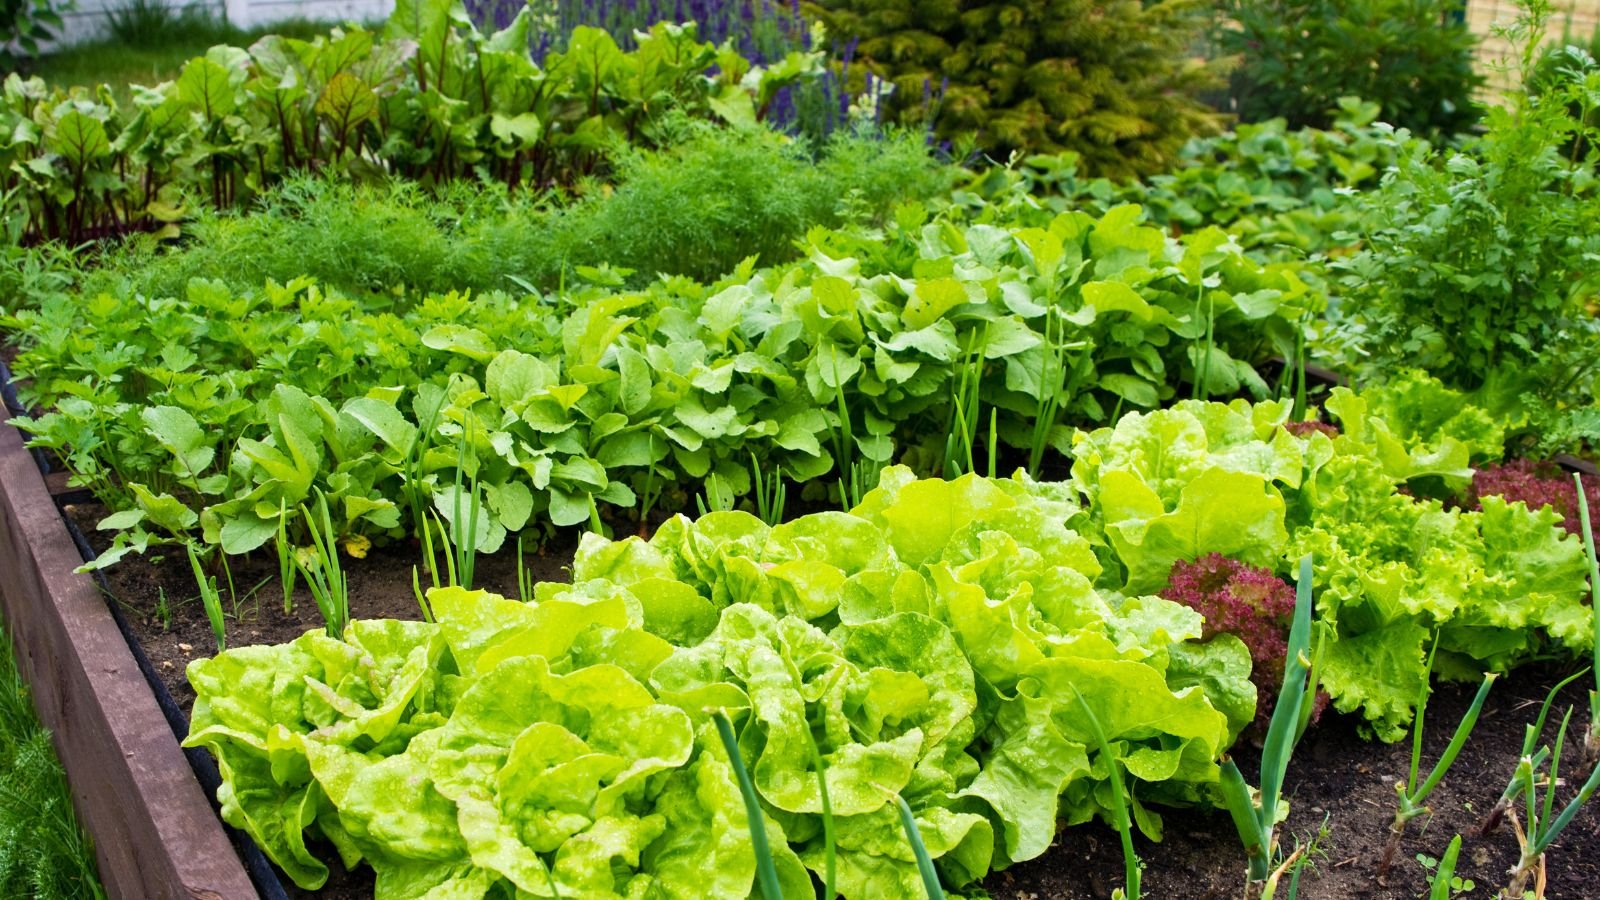
 Give them enough depth to let roots stretch out.
If you’re not storing your bulbs, it’s time to plant them in the ground or in containers. Dig holes the appropriate depth, and space your bulbs far enough apart so they can flourish and produce lovely flowers next season. Plant them at least two to three times the size of the bulb deep and wide.
Cover them with soil, and where appropriate, add fertilizer to ensure they develop strong roots before the next flowering phase kicks in. Not all bulbs need fertilizer at planting, but daffodils and tulips do best with a little extra organic matter. Spread some compost around the base of these or side-dress them with slow-release fertilizers designed for bulbing plants.
Step 6: Aftercare
 Feed them well and enjoy the encore performance.
Continue to water and care for your plants, and some will even produce a second set of flowers for the year. In climates that have mild winters and summers, there may be two blooming seasons as long as your bulb has a lifecycle that allows it.
Feed actively growing bulbs with a side dressing of potassium-rich fertilizer throughout the season. In fall, lift, cure, and store bulbs that won’t survive the winter cold. You can carry out a second division at this point as well. Then plant them out again in spring.

Step 7: Rinse and Repeat
 A little effort now means more spring smiles later.
To keep this floriferous cycle going, and to build up a collection of bulbs to share with friends and family, continue dividing throughout the life span of your spring blooming bulbs. As long as you keep up with it, you’ll have a garden full of delicate and cheery blooms that pop up to remind you winter has gone, and spring has come.


 English (US) ·
  French (CA) ·