
 7 months ago
91
7 months ago
91
PROTECT YOUR DNA WITH QUANTUM TECHNOLOGY
Orgo-Life the new way to the future Advertising by AdpathwayCherry blossoms don’t have to remain outside all spring—you can bring them indoors for gorgeous arrangements while also benefitting your trees with early-season pruning.
But flowering cherry trees aren’t the only species you can force indoors! Most deciduous flowering trees and shrubs form buds that can open early inside your home. You’ll collect them when they’re swelling, put the branches in vases with water, and wait for the beautiful flowers to appear.
This guide includes everything you need to know to force cherry blooms indoors. Here are some other species you can force to bloom inside with similar methods:
| Common Name | Scientific Name |
| Maple | Acer spp. |
| Hazelnut / Filbert | Corylus spp. |
| Forsythia | Forsythia x intermedia |
| Witch Hazel | Hamamelis spp. |
| Redbud | Cercis spp. |
| Lilac | Syringa spp. |
| Witch-Alder | Fothergilla spp. |
| Crabapple | Malus spp. |
| Willow | Salix spp. |
Tool Spray

Hand Pruner

Garden Gloves

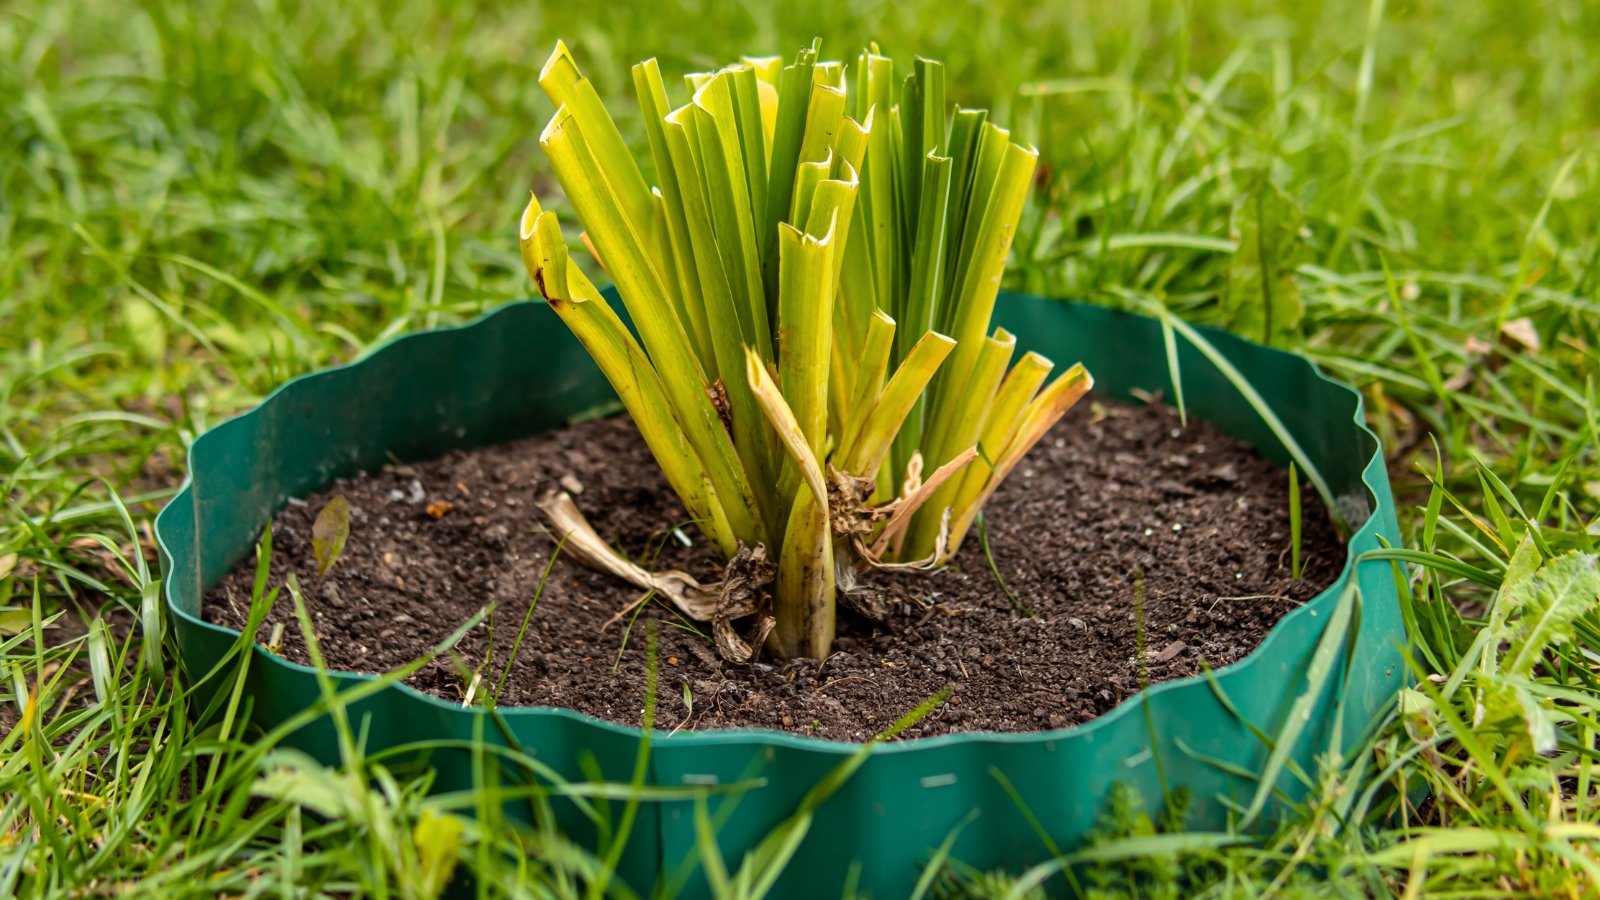
Step 1: Wait for Swelling Buds
 Most deciduous flowering species form buds in late winter and bloom after weeks of cold exposure.
Nature encourages actions depending on the seasons. Plants and animals collect food, hibernate, or shed resources depending on the temperature, rainfall, and day lengths. Trees and shrubs are no different! Many deciduous species begin to swell leaf and flower buds in late winter and early spring. They respond to warming temperatures and longer days by pushing out new growth.
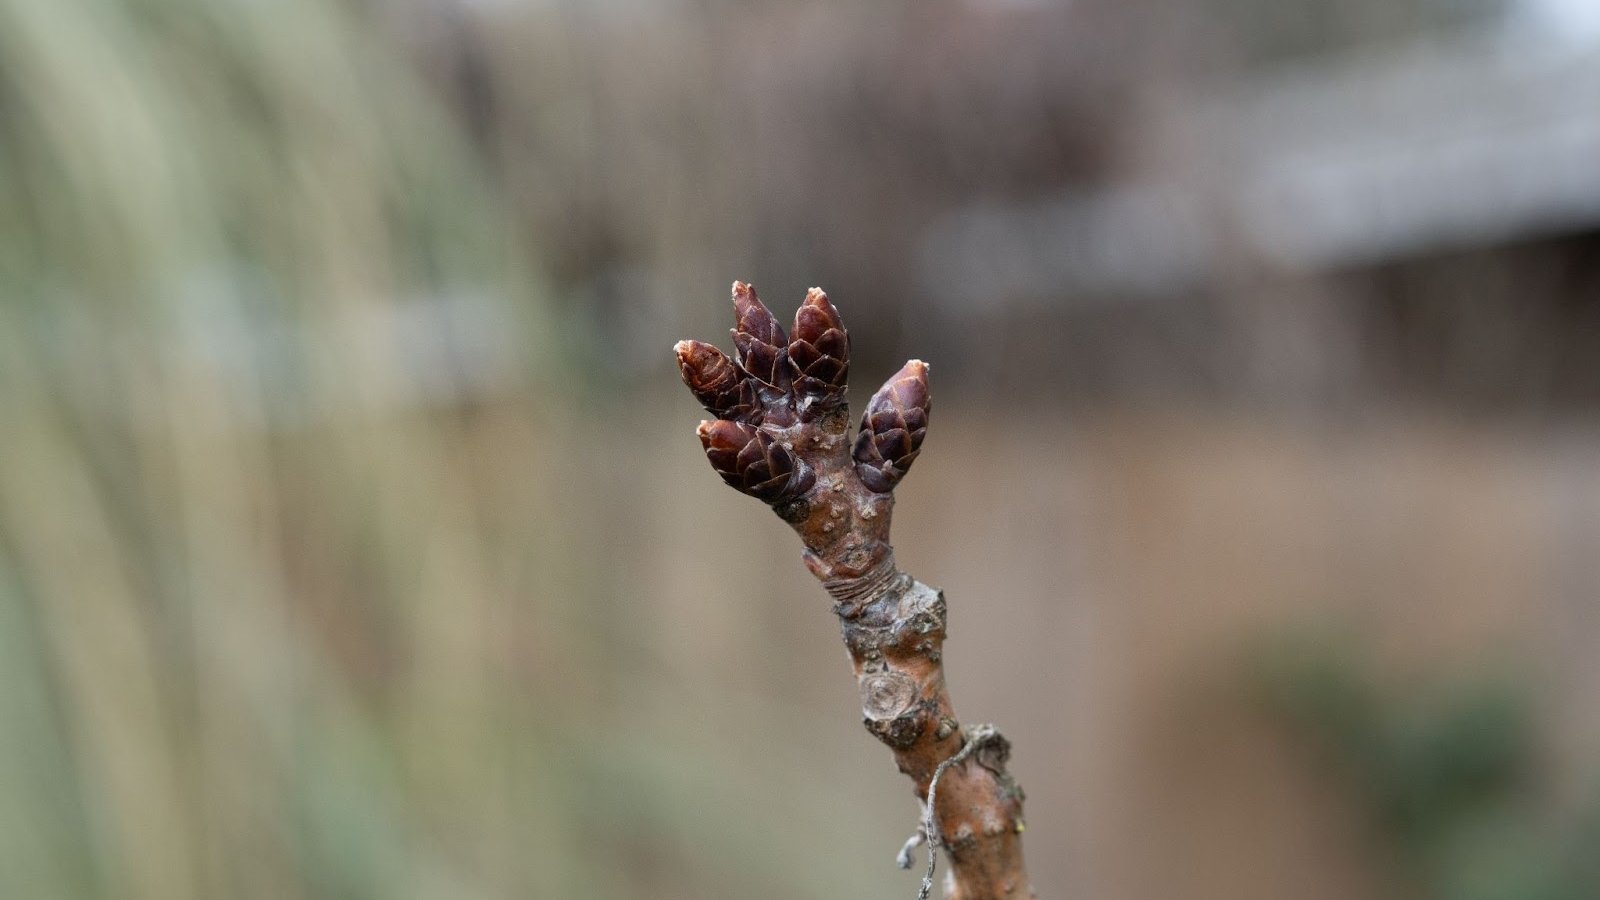
The key to forcing cherry blooms indoors is to gather woody stems when their buds are actively swelling. You’ll notice oval or round bulging structures that emerge from growth nodes along the branches. These structures are the buds—they protect flowers and foliage from frost.
Most deciduous flowering species form buds in late winter and early spring. They often require a few weeks or months of cold winter temperatures before they open. When to collect these branches depends on your USDA hardiness zone. Most gardeners will collect flowering cherry stems from February through March, though it can be later in cold zones and earlier in warm ones.
Step 2: Gather Supplies
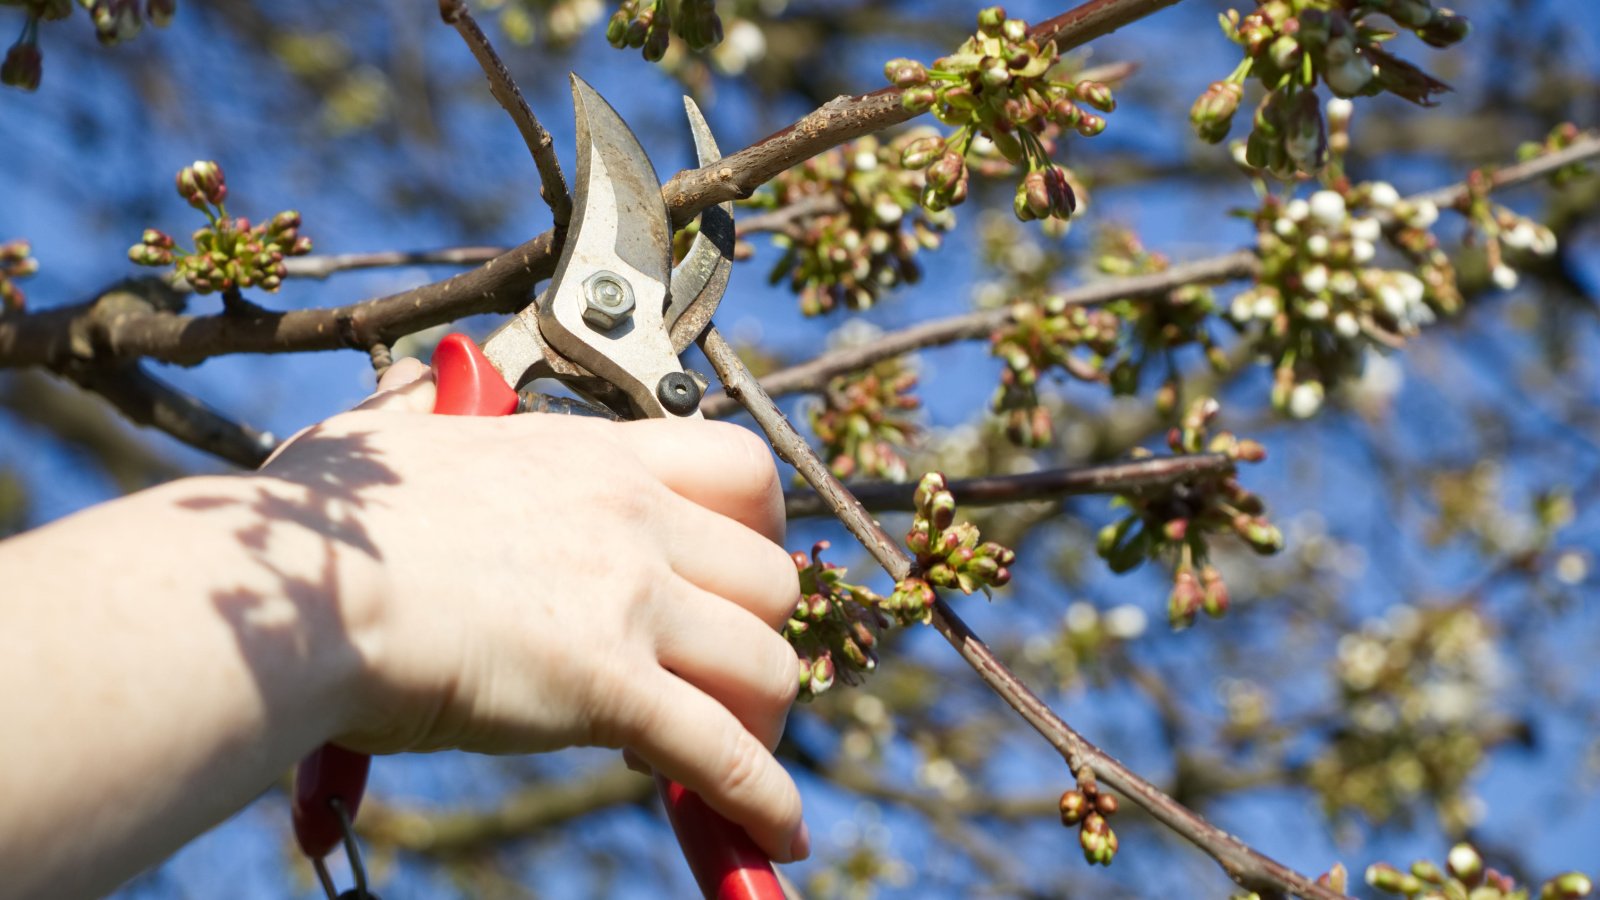
 Use sterilized, sharp pruners to prevent the spreading of diseases when cutting Prunus serrulata branches.
Once it’s time to prune, you’ll want to gather all necessary supplies in one place. This makes it easier to complete the task! You’ll need the following tools and materials:
- Pruners or loppers
- Gloves
- Vase
- Water
And that’s it! You don’t need much for this activity. The most important tool is the cutters you’ll use. Make sure your pruners have sharp blades, and sterilize them ahead of time to avoid spreading diseases to your flowering cherry tree.
To sanitize pruners, wipe them with rubbing alcohol and let them dry. Protect the blades when you’re done sanitizing them; use a preserving and lubricating oil or spray to coat all the metal parts.
Step 3: Prune Pretty Branches
 Select healthy, undamaged stems free from diseases and pests.
Now, it’s time for the fun part! With your gloves on and your pruners in hand, you’re ready to begin selecting branches for indoor forcing. Before starting, inspect your cherry tree to see which twigs have the most buds. You want woody stems with lots of round, bulging buds. You also want to avoid hacking at your tree—keep it in good shape so it performs well in spring.
Most flowering cherries bloom on the branch tips off of old growth from last season. You’ll see brownish, scaly flakes covering the emerging buds. Though other deciduous trees simultaneously have leaf and flower buds, cherry trees usually grow flowers before foliage. You can safely prune off branches without worrying if they’ll produce leaves or flowers.
Avoid selecting material with wounds, diseases, or pests. You want healthy-looking stems without infections or infestations. Lichens and moss are okay, as they don’t harm the tree and are signs of good air quality.
Select branches with a foot or two of space between their tips and the cut ends. You want a long stem that will suck up water some distance away from the flowers. Make slanted cuts at an angle rather than flat ones—angled cuts help the branches suck up water when you put them in vases, which yields faster, healthier forced cherry blooms once they’re indoors.
Step 4: Rehydrate Frozen Material
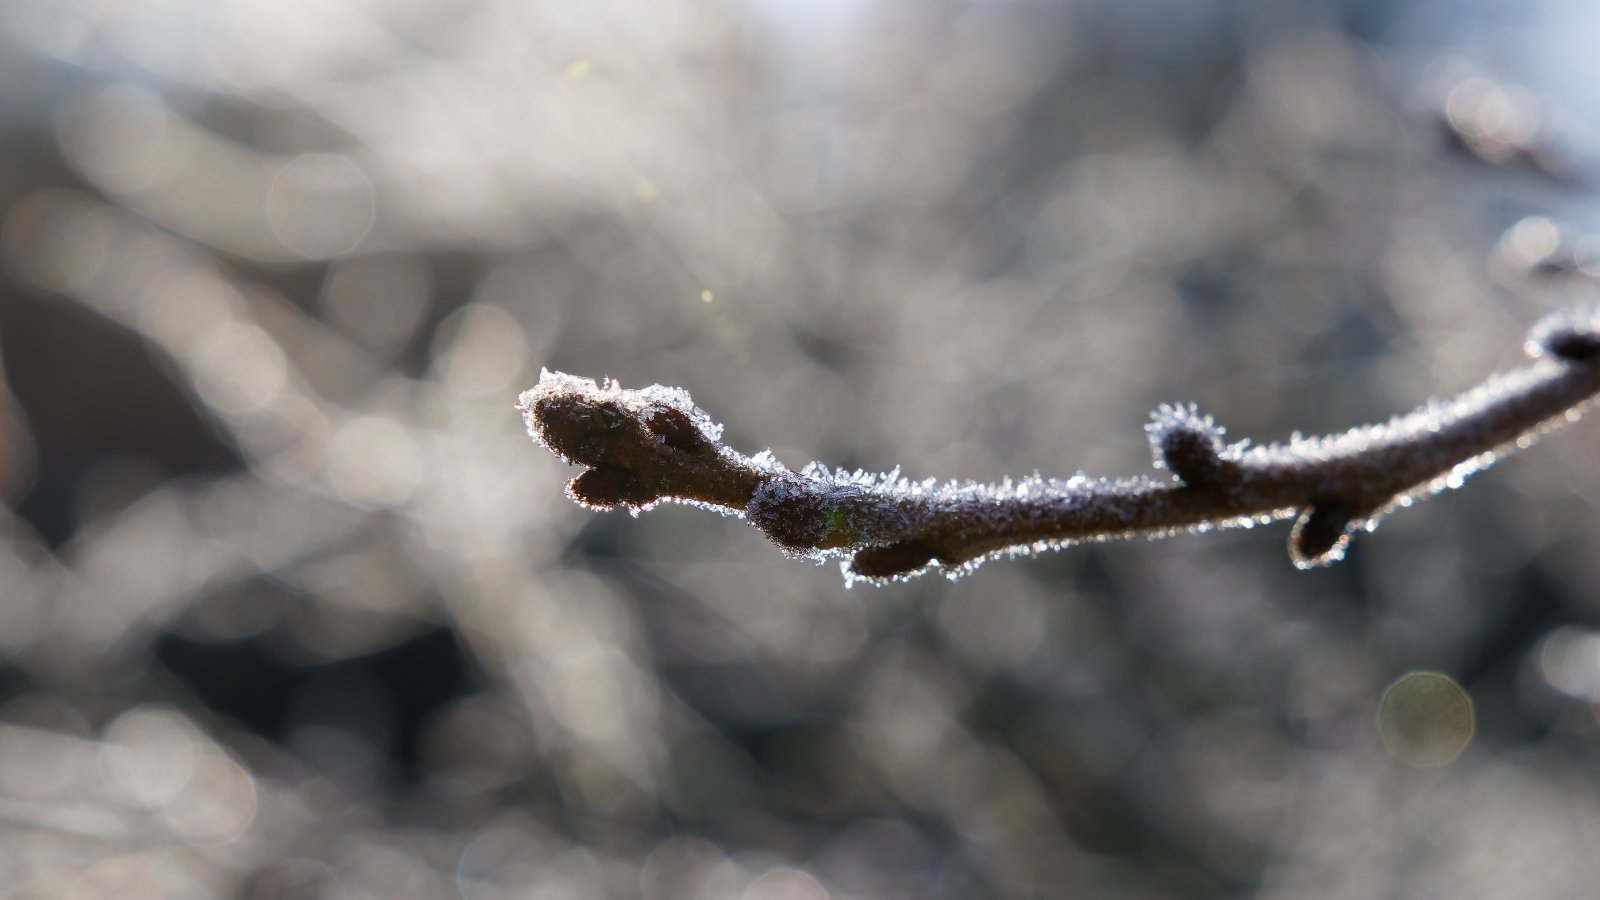 Submerge frozen branches in cool water for hours to thaw or collect them on frost-free days.
It’s best to collect cherry stems after outdoor temperatures hover above 32°F (0°C). Freezing temperatures can cause issues for the branches after they thaw indoors; it’s better to collect on warmer days. If you collect frozen material, thaw it in water before displaying it.
To thaw frozen branches, submerge them in cool water in vases or buckets. Let them sit for a few hours, then remove them once they’re no longer frozen. Avoid this thawing process by collecting material on a cool day without frost.
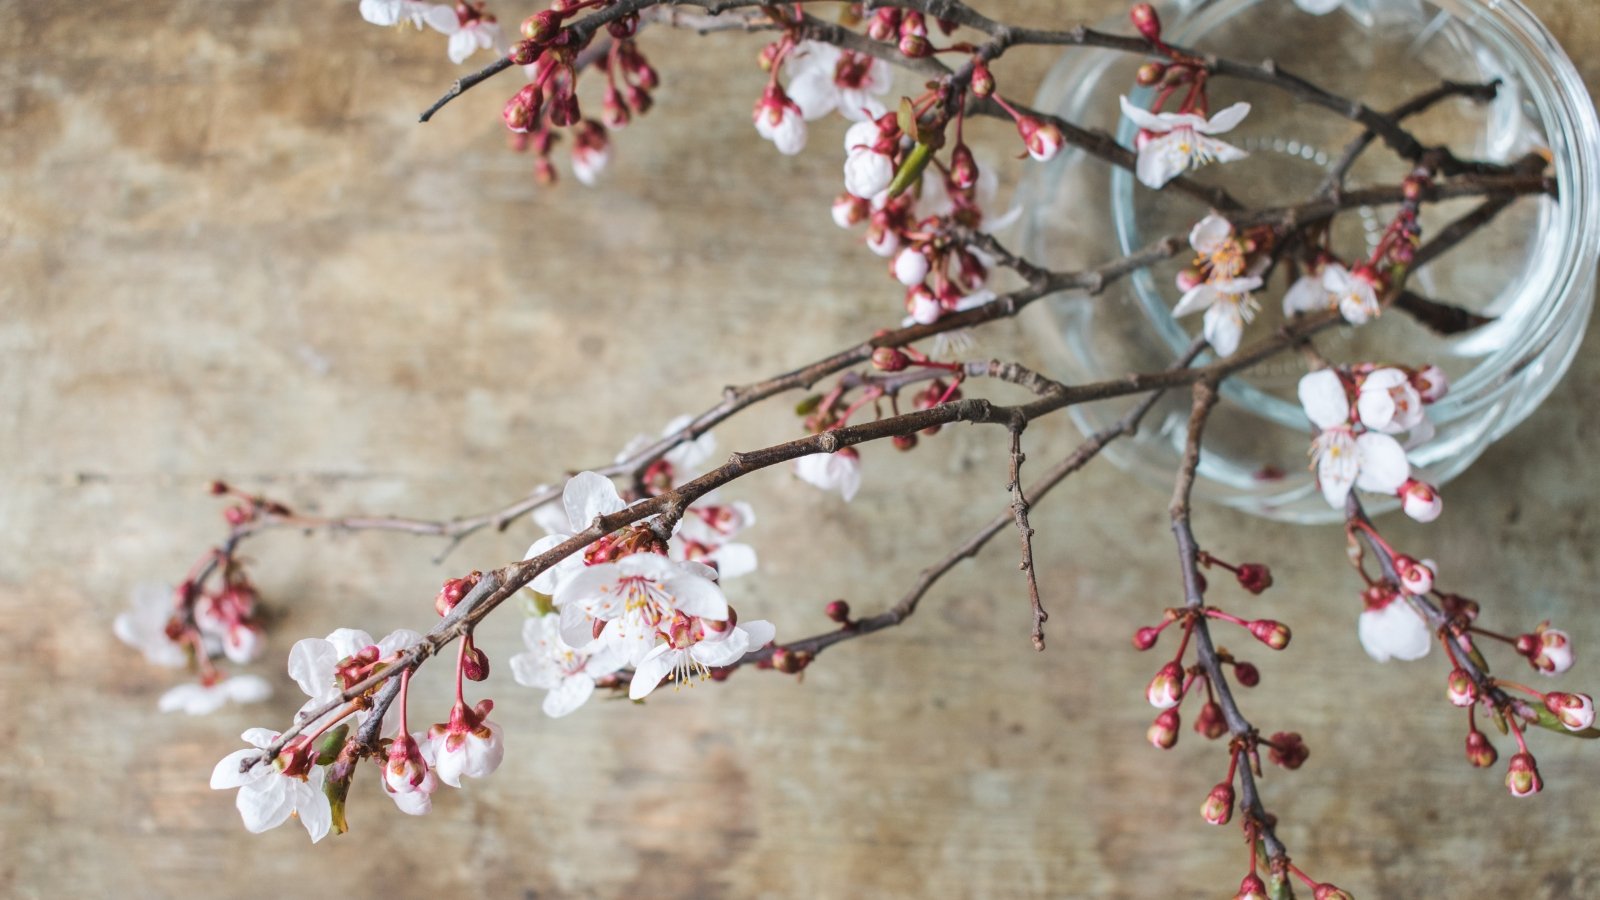
Step 5: Put Branches in Vases
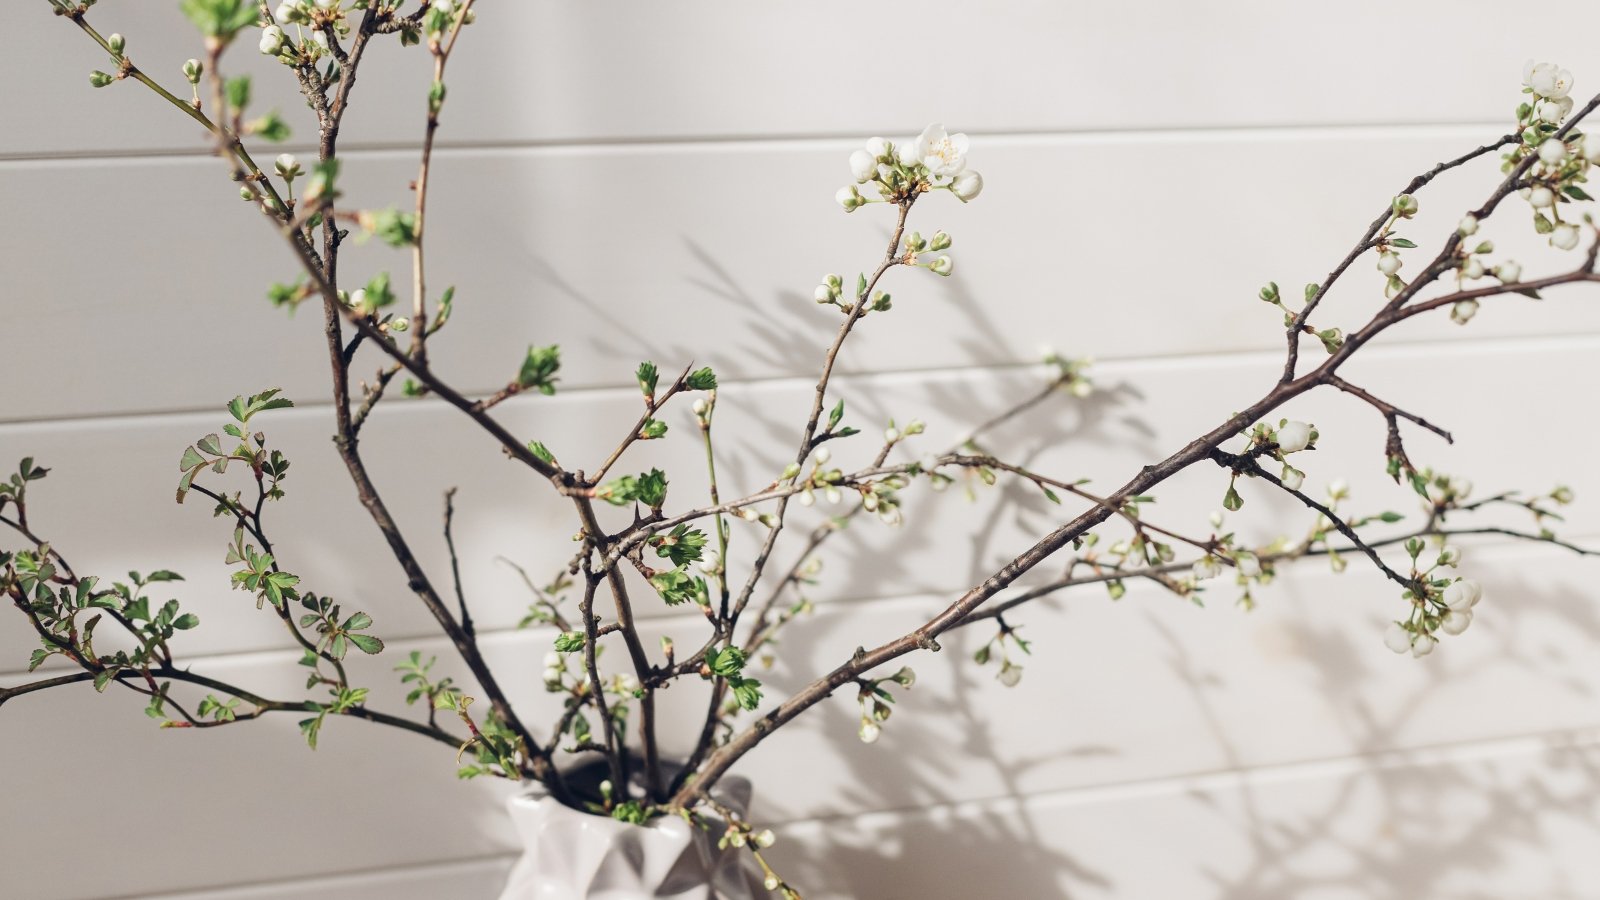 Place twigs in vases with cut ends down and ensure they stand stable in water.
Here is where your creativity comes into play. Making bouquets and floral arrangements is an artistic pursuit! How you prune the twigs, arrange them, and put them on display is up to you. Use your style preferences and design loves to create the arrangement of your dreams.
I like to mix different cherry species’ branches in a vase, though you can keep them separate if you prefer them that way. Place the twigs in the vases with their cut ends facing downwards. Fill the vases with water, ensuring they’re not top-heavy but stable.
Tall vases are better than short ones because you can fill them with more water. This promotes moisture absorption in indoor cherry branches with forced blooms, keeping them turgid, perky, and healthy.
Step 6: Set Vases in Cool Rooms
 Keep vases in a dim, cool room between 60-65°F (16-18°C) until buds start opening.
Where you place the vases is key to their flowering success. Before the blooms open, set the vases in a dark room with filtered or indirect sunlight. The best rooms have temperatures between 60-65°F (16-18°C). It’s best to force cherry blooms indoors in cool, dimly lit spaces without drafts from heaters, windows, or doors.
Some possible forcing areas include unheated garages, shaded windowsills, and storage rooms. You want them in an area where you’ll see them daily, as they need continuous care until their blooms open up.
Step 7: Change Water Daily
 Change water daily to prevent bacteria and fungi that cause mold, rot, and decay.
This is one of the most important steps for forcing. Daily water changes keep bacteria and fungi away from the cut stems. Standing water, however, invites pesky diseases that cause rot, mold, and other undesirable conditions.
I change the water in my vases in the morning as a part of my wake-up routine. Fit this habit into your schedule, and you won’t forget to do it. It’s okay if you miss a day or two of changing water, though you incur the risk of diseases after a few days.
Step 8: Mist Buds
 Mist budding stems two to three times daily to maintain humidity and prevent bud loss.
Along with daily water changes, daily misting helps the blossoms open up. Outdoors, the plants continuously access moisture from ambient humidity and rainfall. Misting simulates these outdoor conditions, helping the buds stay moist, perky, and healthy.
It’s best to mist the budding stems two to three times daily. Though this seems like a lot, it’s crucial for maintaining high humidity around the buds. They’ll appreciate the extra moisture, and you’ll avoid losing flowers because of dryness or low humidity.
Step 9: Move Blooms to Bright Light
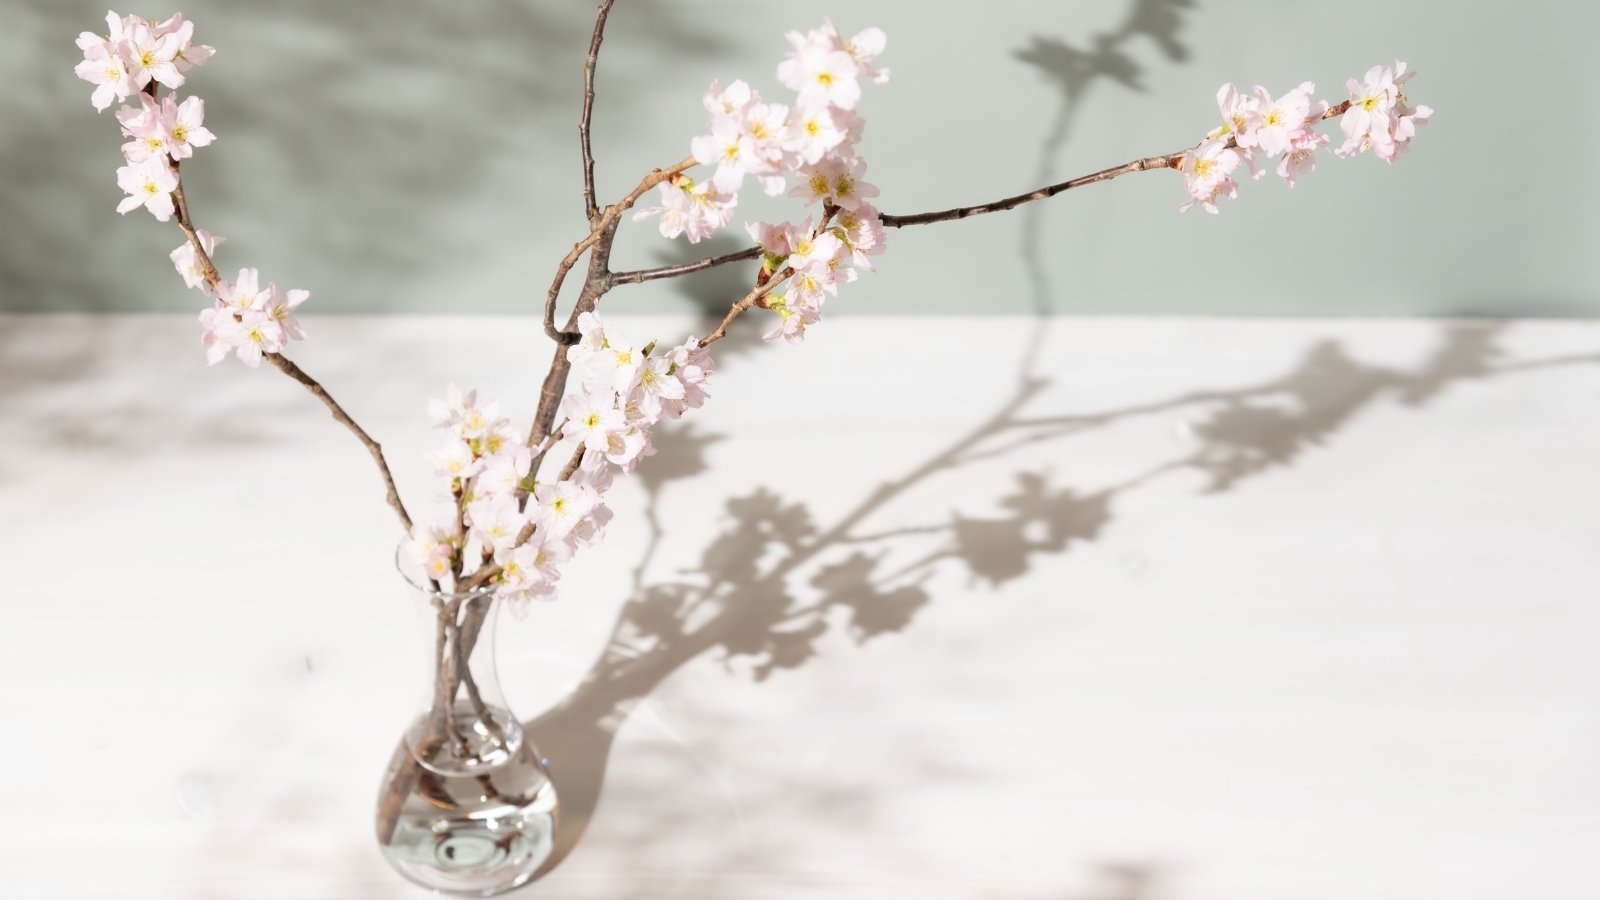 Move vases to a bright, cool spot after flowers appear and continue daily water changes.
The cherry blossoms should open up two weeks or more after you cut them and bring them inside. If they don’t appear or the buds fall off the stems, take new cuttings and try again. Sometimes, a later pruning will work better than an early one. The closer the buds are to opening outdoors, the less time they’ll need to open indoors.
After the flowers appear, it’s time to move the vases to a bright, cool location. Avoid excessive, dry heat from heaters, but give the stems a little more warmth than previously to keep the flowers perky and fresh. Continue changing the water daily to promote continuous blooming.
Once the blooms finish, you can remove the twigs from the vases and compost them outdoors. Or, place them on the soil to rot. Deadwood feeds bugs, microbes, and fungi that transform organic matter into beneficial humus for your garden.
If your flowering cherry trees still have buds, you can repeat this process as often as you’d like! You can also take stems with opened flowers from outside and place them in vases for ready arrangements. Bringing plants from the outside inside is a great way to transform your space—add charm by forcing blooms this season!


 English (US) ·
  French (CA) ·