
 4 weeks ago
31
4 weeks ago
31
PROTECT YOUR DNA WITH QUANTUM TECHNOLOGY
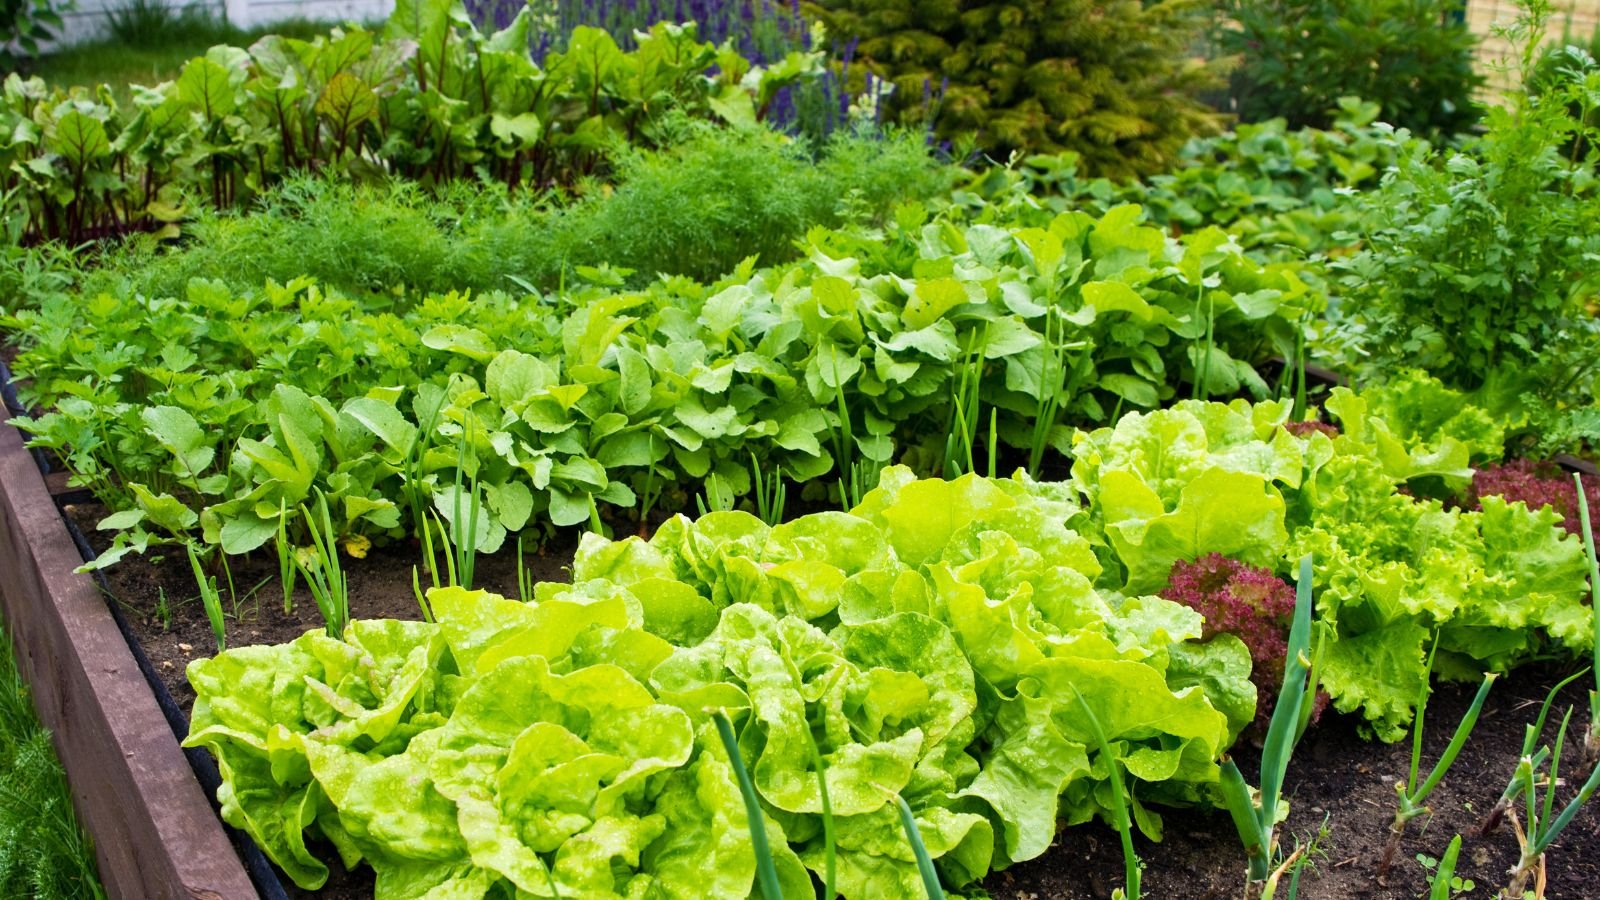
Orgo-Life the new way to the future Advertising by AdpathwayOnce you’ve finished eating your delicious peaches, don’t toss the pit into the trash. It’s the start of your next gardening adventure: growing a whole peach tree from a single pit. It’s entirely possible and not nearly as difficult as you might think.
Now, before we get too excited, I’m going to be honest about what you’re signing up for. Growing a peach tree from a pit requires patience (we’re talking years before fruit), and the peaches you eventually harvest probably won’t match the one you ate. Most commercial peaches are grafted hybrids, and trees grown from their pits tend to revert to more basic characteristics. Your homegrown peaches might be smaller, less sweet, or have different textures than the parent fruit.
But I think that uncertainty is part of the adventure. You might end up with perfectly decent peaches, or even discover a unique variety that becomes your signature tree. Plus, the process itself is fascinating and costs literally nothing if you’re already eating peaches. It’s a great project to try with kids too, to get them excited about gardening.
If you’re ready to try growing a peach tree from a pit, follow these simple steps to get it right.
Step 1: Choose the Right Pit
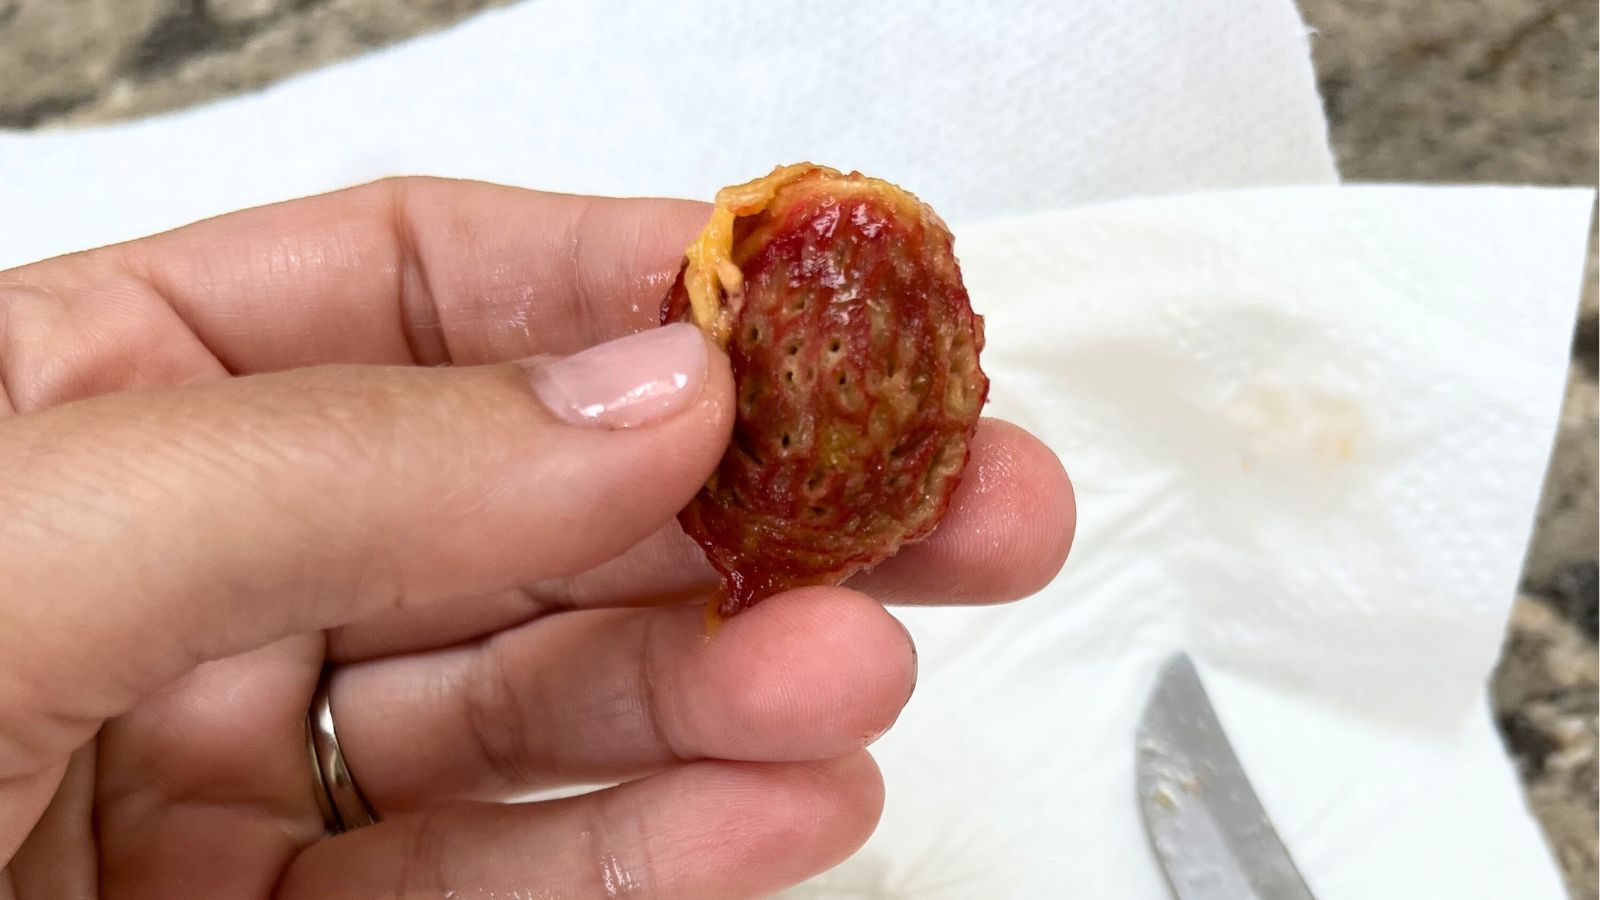
 Choose one from a ripe peach.
Not all peach pits are created equal when you’re planting. Local farmers market peaches are ideal candidates. The vendors can often tell you the exact variety and whether it grows well in your area. Store-bought peaches work too, but avoid those that have traveled long distances or spent weeks in cold storage, as their pits may have lower germination rates.
The peach itself should be fully ripe when you extract the pit. Rock-hard peaches that never quite ripen properly likely aren’t mature enough to germinate. Wait until you have a peach so ripe it’s almost too soft to eat comfortably. That’s when the pit is ready.
Type doesn’t matter for growing purposes, though freestone pits are obviously easier to clean. What matters more is getting all the fruit flesh off the pit. Any remaining fruit tissue can lead to mold.
Step 2: Clean and Prepare
 Some people soak them, while others scrub the pits to get them clean.
Once you’ve enjoyed your peach, it’s time to prepare the pit properly. Start by scrubbing the pit under running water with an old toothbrush. Remove every bit of fruit flesh. Some people soak pits in a weak bleach solution (1 part bleach to 10 parts water) to kill any fungal spores, though this isn’t strictly necessary if you’ve cleaned thoroughly.
Let the pit dry completely for 24-48 hours. This drying period helps prevent mold and makes the next steps easier. You can also crack the hard outer shell to extract the actual seed inside, which can speed germination. But if you try this, be extremely careful. Cracking isn’t necessary and risks damaging the seed, so I think it’s just better to skip it.
Step 3: Stratify
 Expose the pit to the cold by placing it in a bag in the fridge.
 Peach pits need a period of cold stratification to germinate. The refrigerator method is most reliable for home gardeners. Place your clean pit in a plastic bag with slightly moist (not wet) potting soil or paper towels. Seal the bag but poke a few small holes for air circulation.
Tuck this bag in your refrigerator’s drawers, where temperatures stay most consistent. Then mark your calendar. Most peach pits need 10-12 weeks of cold treatment, though some may sprout earlier.
Check the bag every few weeks. If it has dried out, add a tiny bit of water. If you see mold, it’s too wet. Open the bag to let it dry slightly. Sometimes you’ll see roots emerging while still in the fridge. That means your peach tree pit is ready to plant.
Winter Planting
 In cold climates, you can cold stratify outdoors.
 If you live in an area with cold winters, you can skip the refrigerator entirely by planting in winter for natural stratification. Grow peach tree pits directly outdoors in fall in well-draining soil. Mark the spot after planting, as you won’t see any action until spring. The pit will experience natural temperature fluctuations through winter, breaking dormancy when conditions are right.
This method has pros and cons. You don’t have to monitor bags in your fridge or worry about timing. However, it’s harder to monitor germination or keep pits away from pests. Alternatively, try starting multiple pits both ways. It’s a good strategy if you have plenty of pits and want to maximize your chances of success.
Step 4: Planting
 Deep containers with proper drainage holes are ideal.
Once you see a root emerging or your stratification period is complete, it’s time to get that pit in the soil. Choose large and deep containers with drainage holes. Fill with quality potting mix (not garden soil, which can harbor diseases and doesn’t drain well in containers). Plant about an inch deep with the root pointing downward if it’s already emerged.
Water gently but thoroughly after planting. Place containers in a warm, bright location out of direct sunlight. A temperature between 65-75°F (18-24°C) encourages growth. If nothing has emerged yet, be patient, as it can take several weeks for shoots to appear after planting.
Once you see green growth, gradually introduce more sunlight. Young peach seedlings can handle full sun once they have a few sets of true leaves. Keep soil consistently moist but not waterlogged during this early growth phase.
Step 5: First Year Care
 Water regularly until the baby tree sprouts.
Your baby peach tree needs attention during its first year. The goal is to establish a strong root system and healthy growth pattern that will support future fruit production.
Water regularly, checking soil moisture every few days. Young trees in containers dry out faster than you’d expect, especially once summer heat arrives. But avoid the opposite extreme, as constantly soggy soil leads to root rot.
Start feeding about a month after growth appears, using a balanced liquid fertilizer every two weeks or so. Once the tree is several inches tall, switch to a slow-release granular fertilizer.
Watch for pests, particularly aphids, which love tender new growth. A strong spray of water usually handles minor infestations. Fungal issues are more serious. Good air circulation and avoiding overhead watering help prevent problems.
Step 6: Transplanting
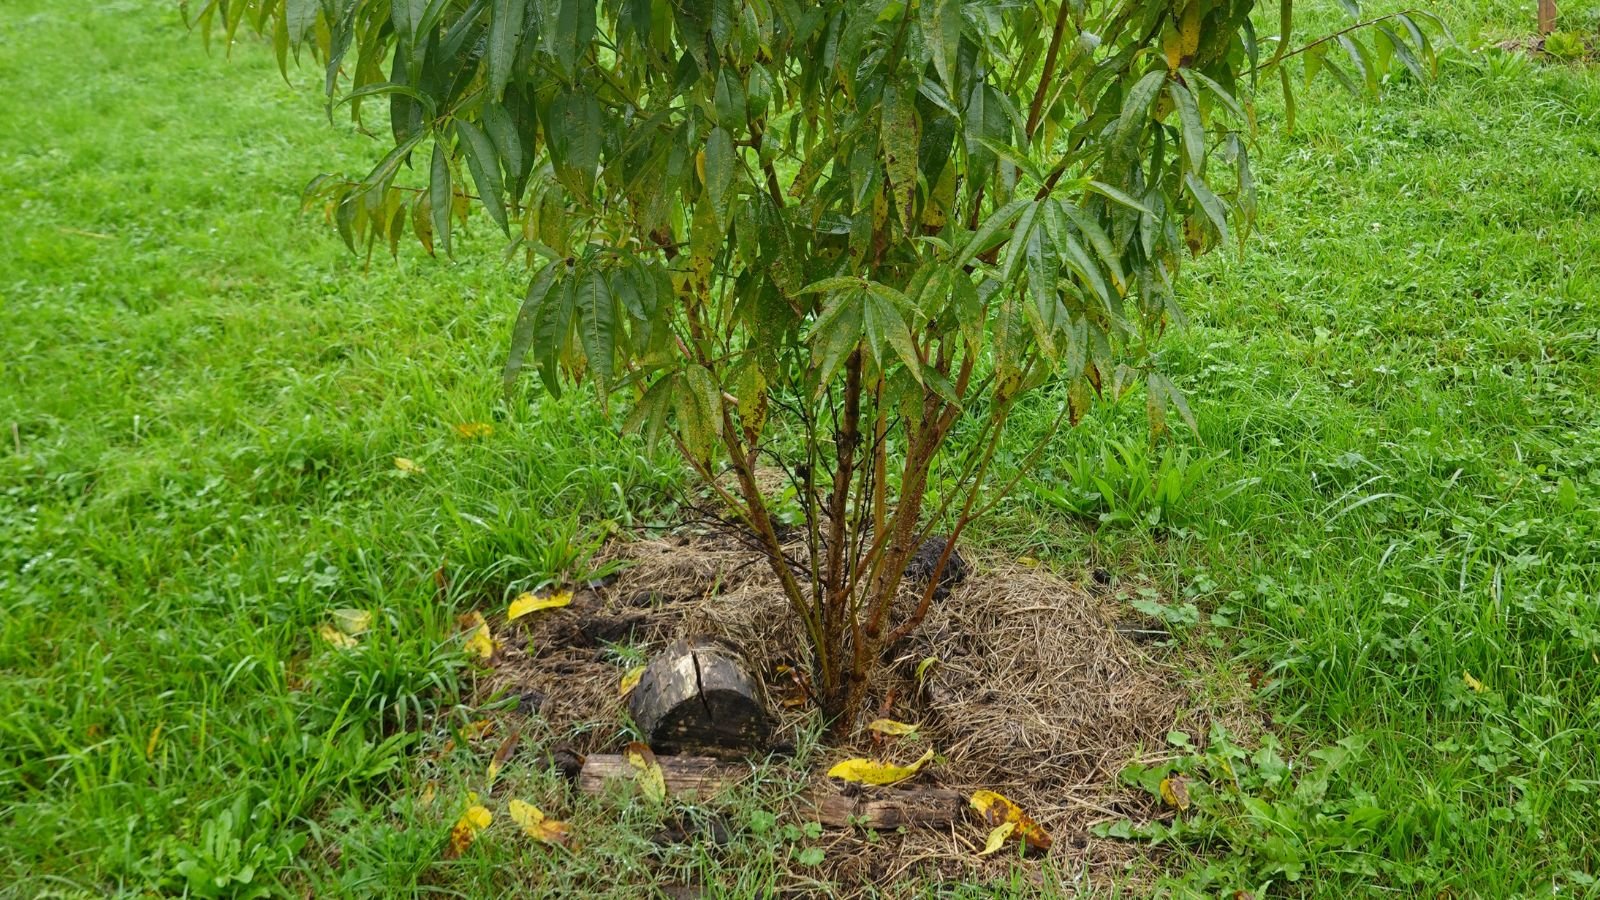 Transplant in the ground after 2 years, or when the sapling is at least 2 feet tall.
Year two is typically when your peach tree is ready for its permanent home, though you can keep it container-grown longer if needed. The tree should be at least 2 feet tall with a well-developed root system before transplanting.
Choose a site with full sun and well-draining soil. Peaches absolutely cannot tolerate soggy soil, so avoid low spots where water collects. If your soil is heavy clay, amend with compost or consider a raised bed.
Spring is the ideal transplanting time. Position the tree at the same depth it was growing in the container. Planting too deep is a common mistake that can kill young trees.
Water thoroughly after planting and mulch around the base, keeping mulch several inches from the trunk. Your transplanted tree might struggle for a few weeks, but with regular water and patience, it should take off once roots establish.
Step 7: Be Patient!
 It can take many years for trees grown from pits to yield fruit.
Now for the patience part. Peach trees grown from pits typically take 3-6 years to produce fruit. It seems like forever when you’re watching that little seedling. But it’s fun to tend to the trees in the meantime, and makes harvesting that much more exciting.
Your first fruits might surprise you. They could be smaller than expected or something completely unique. Some pit-grown trees produce excellent fruit, while others are better suited as ornamentals or rootstock for grafting.
If, after a few years of production, you’re disappointed with fruit quality, don’t give up on the tree. You can learn to graft and add branches from proven varieties, essentially creating your own custom tree. Or simply enjoy it for spring flowers and buy a new peach tree for eating.


 English (US) ·
  French (CA) ·