
 8 months ago
147
8 months ago
147
PROTECT YOUR DNA WITH QUANTUM TECHNOLOGY
Orgo-Life the new way to the future Advertising by AdpathwayNo space is too small for herbs! All you need is a countertop or windowsill. Using trays and pots, you can cultivate herbs like parsley, cilantro, and chives within the comforts of your home.
Indoor gardening is a great practice during the cool months. No matter what the weather is like outdoors, you can bring your plants indoors for continuous harvests. They’ll stay safe from frosts and hard freezes, and you’ll enjoy their tasty leaves in the comforts of your kitchen.
Or, perhaps you don’t have much space outdoors for an herb garden. Start an indoor herb bar with lights to grow crops in the nooks and crannies of your home without taking up too much space. Not only will you have tasty leaves for your meals, but you’ll also have fresh aromas to enjoy when you walk by the herb bar!
Growing herbal plants indoors isn’t difficult! You’ll effectively recreate the outdoors in a tiny space inside. The better you can replicate outdoor conditions with indoor herb lights, the healthier and more productive your herb bar will be.
Epic Seed Starting Grow Lights Small

Epic Seed Starting Grow Lights Small
Epic Seed Starting Grow Lights Standard

Epic Seed Starting Grow Lights Standard
The Essential Seed Starting Kit

The Essential Seed Starting Kit
Step 1: Choose Your Herbs
 With grow lights, it’s possible to grow any herb indoors.
 The first step, and arguably the most important, is to choose each herb you’d like to grow. Every gardener prefers different herbs, and the type of food you make will dictate which ones are best to cultivate. Do you use a lot of cilantro? Save money by growing it in your herb bar!
Or, be adventurous. I never knew the value of many herbs, like winter savory and parsley, until I grew them myself. Cultivating, touching, and smelling every herb will give you ideas for how you can use them. Get close and personal with some new ones to see how they can fit into your life.
There are no wrong answers here! Choose any herb you’d like to grow and eat. Grow lights allow you to cultivate any kind of indoor herb, whether they like full sun, partial shade, or full shade.
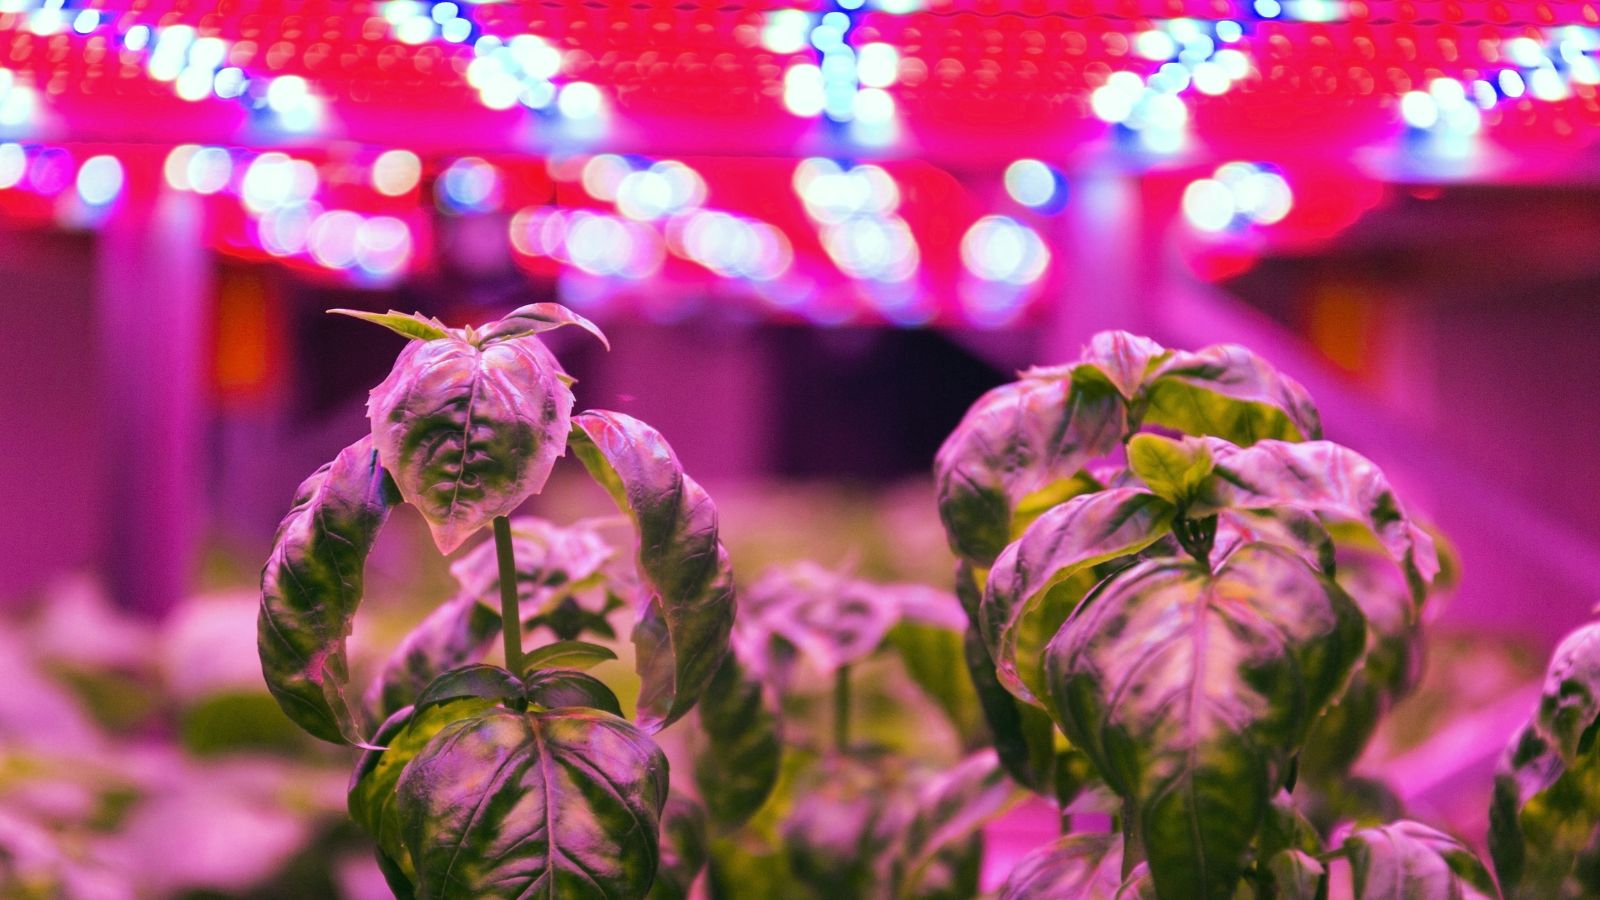
Step 2: Set Up Grow Lights
 Grow lights make up for the lower light levels indoors.
 Next, find the plant lights you’d like to use. There are a variety of options, and LED lights tend to be the best and most economical of them all. Fluorescent lights are cheap to purchase, but they last less than LEDs, and they use more energy when they’re on.
For herbs, choose between LEDs and fluorescent lights. Avoid high-pressure sodium or metal-halide indoor herb lights, as they generate lots of heat that’ll burn the leaves in the herb bar.
When setting up LEDs, space them a few inches above the tops of the plants. They’re brighter than fluorescent lights, and they don’t need to sit right above the stems. Set fluorescent bulbs an inch or two above the plants, since they need to be closer to illuminate the herbs. As they grow, move the lights upwards to accommodate the tall stems.
Plants rely on natural cycles of light, with lengthening days in spring and shortening ones in the fall. Instead of having to turn them on and off every day, set your lights on timers that turn on for at least 12 hours a day.
Step 3: Prepare the Space
 Avoid spots near air conditioners or heating units.
 Lights aren’t the only things you’ll need. You’ll also need bottom trays, pots, and potting soil. If you’re starting seeds, you may want to add a humidity dome and seedling heat mat to your supply. The dome traps humidity, while the heat mat increases temperatures to the optimum range for seed germination.
Choose a spot that’s free from clutter, where the plants can grow without interruptions. Avoid putting them near your dirty dishes, on a messy countertop, or in a spot that’s hard to access. You want your herb bar to be easily accessible so you don’t forget to care for it!
Also, avoid spots near hot or cold drafts, like under a heater or A/C unit. The temperature swings can lead to poorly performing plants with slow growth. Choose a location with a steady temperature. Then, set up a fan nearby for constant air flow. Point it near, but not directly on, the herb bar.
Step 4: Plant Seeds or Purchase Starts
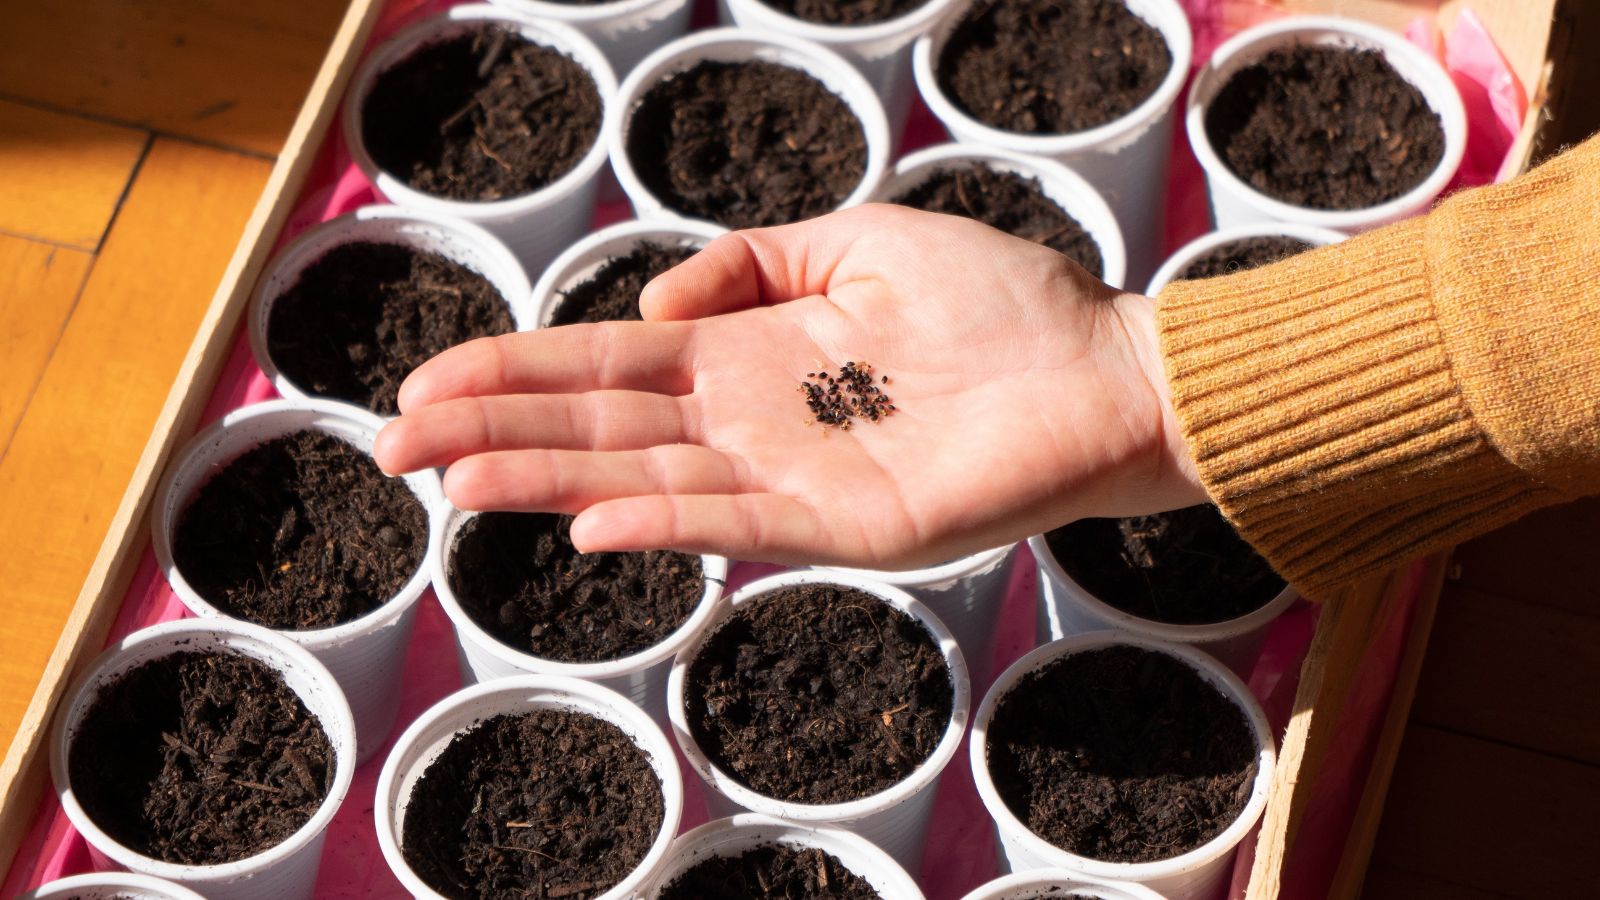 Seeds are easy to sow under grow lights and don’t cost a lot.
 Next, decide how you’d like to add each herb under the indoor lights. Starts are quick and easy to implement, while seeds require more time and help to grow. Though seeds take longer, they offer more availability with out-of-season plants that would be hard to find at a local nursery.
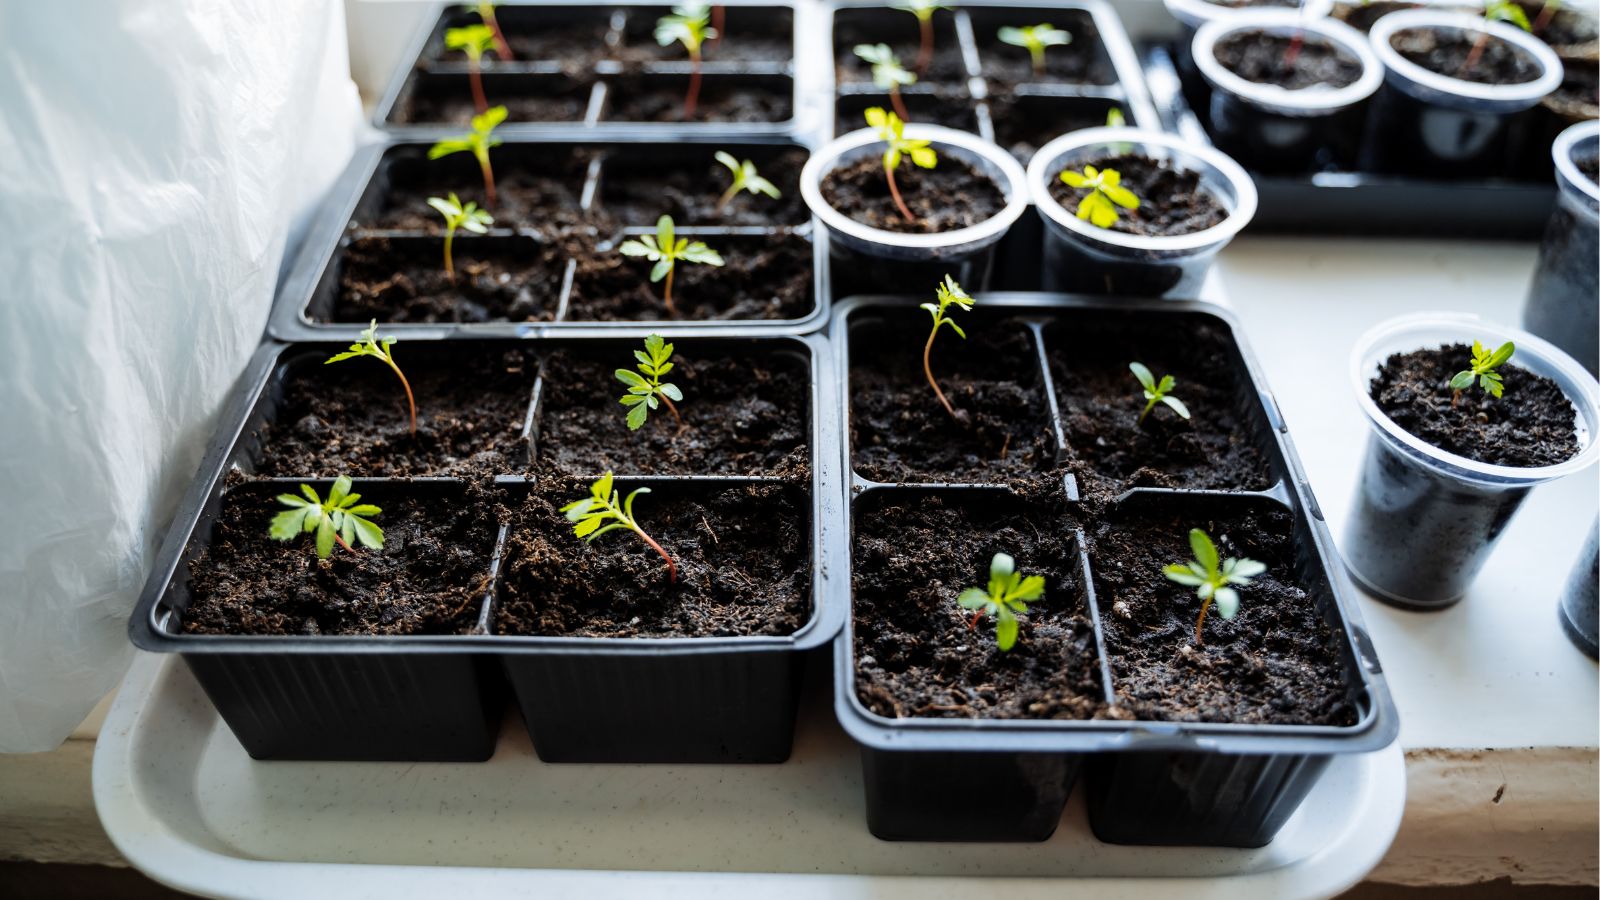
To start seeds, prepare pots with potting soil. Fill them so the soil sits a centimeter below the surface of the pots (this will help discourage water runoff when you irrigate). Sow the seeds according to the depth they prefer, cover them, and gently moisten the soil so you don’t dislodge the seeds.
An herb like cilantro will quickly sprout, while woody perennials like lavender and rosemary take time to germinate. Have patience, and make sure the soil never dries out. Keep it moist, but not soggy, until seedlings poke above the surface.
Step 5: Grow Herbs!
 Provide the proper care indoors for maximum growth.
 And now you’re set! Trim your herbs when you need to use them, and allow them to thrive under lights. Watch for pests, and dislodge them when you notice them before they spread out of control. Pests can still appear indoors, and the best way to keep them away is by keeping each herb happy, healthy, and vigorous.
When trimming, ensure you’re doing so properly for every herb. Snip the tops of mint stems, and cut the outer leaves of your parsley bunches. Generally, you’ll want to cut the outer leaves of annual herbs and trim the upper stems of woody perennials.
If you’re growing seeds, wait for them to mature into healthy seedlings with a few true leaves, then harvest them. Avoid snipping them when they’re young, as they may not recover from the cuts.
Step 6: Uppot Rootbound Plants
 Continue to repot as your herbs grow.
 Perennial herb plants may grow rootbound in an indoor environment. Pots limit their growth, and the roots begin circling and poking above the surface when they reach the walls of the containers. Keep them performing well by repotting them every year or two when they need it.
Signs of a rootbound herb include it pushing up in the pot, growing poorly, and losing leaves. Remove the plant from its pot to see if it needs uppotting. If you see roots circling the bottom of the container, it’s time to uppot the herb into a larger planter.
Loosen the circling roots before planting them. Ensure they dangle downwards so they grow into the soil in the new pots. Water them, and let them establish first before harvesting them again.
Step 7: Move Herbs Outdoors in Spring
 If you have the space, move pots outdoors in spring and summer.
 When the weather warms in late winter and early spring, you can keep your herb bar as an indoor one, or you may move it outside to bask in the sun. Transplant potted perennials into the ground, and sow seeds of annuals in your beds.
Then, at summer’s end, begin moving any herb species indoors if you’d like to cultivate them through the cold months. Leave frost-hardy specimens outside, and bring in tender herbs like sage and stevia to grow under the indoor herb lights.
Key Takeaways
- Anyone can grow their favorite herbs in an indoor bar! Don’t let fear get the best of you. Plant your favorites, experiment, and see how the process goes.
- After growing an herb bar, you’ll learn what does and doesn’t work. Switch up your indoor herb lights if they’re not working well enough for you, and replace spent annuals for continuous harvests.
- Annuals grow quickly, while perennials need some time to mature. Grow a mix of both for the ultimate variety.
- LED lights are generally better than other plant lighting options. They cost more than others, but they last longer and need less energy to work.
Frequently Asked Questions
LEDs are the best! Find one that fits in your space, as there are many different types available nowadays. Choose one that’s full-spectrum for the best herbal growth.
One isn’t better or worse than the other! They’re simply different. LED lights use diodes to emit light that emulates sunlight. UV light comes from the sun, and it encourages healthy, dense growth. Also, some LED options have UV light in them.
They need at least 12 hours of artificial light a day. They’ll grow with less, though your yields will be better with 12 or more hours of daily light.


 English (US) ·
  French (CA) ·