
 3 weeks ago
40
3 weeks ago
40
PROTECT YOUR DNA WITH QUANTUM TECHNOLOGY
Orgo-Life the new way to the future Advertising by AdpathwayNo matter the variety, clematis vines stun onlookers in the garden. They seem to appear out of nowhere as they push out new growth in spring. Growing them in containers allows you to move them around your space and create any design you’d like to.
The best way to treat your potted clematis depends on its variety and growing habits. Some are upright shrubs, others are climbing vines, and a select few are evergreen. No matter the type, most clematises benefit from regular moisture, ample nutrients, and partial shade.
So, without further ado, here are 10 easy steps to successfully grow clematis in pots and containers. Start with one, and add many more once you get the hang of growing it.
Armandii Snowdrift Clematis
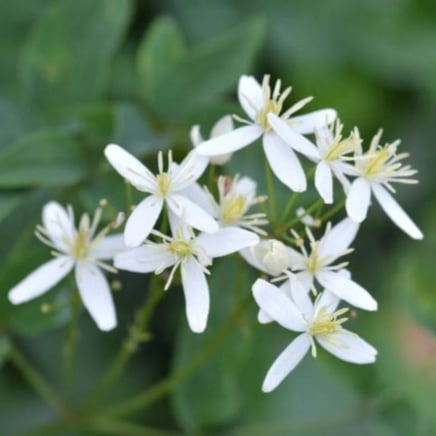
Armandii Snowdrift Clematis
Rim Modern Self Watering Planter

Rim Modern Self Watering Planter
Dayton Ocean Recycled Planters
Dayton Ocean Recycled Planters
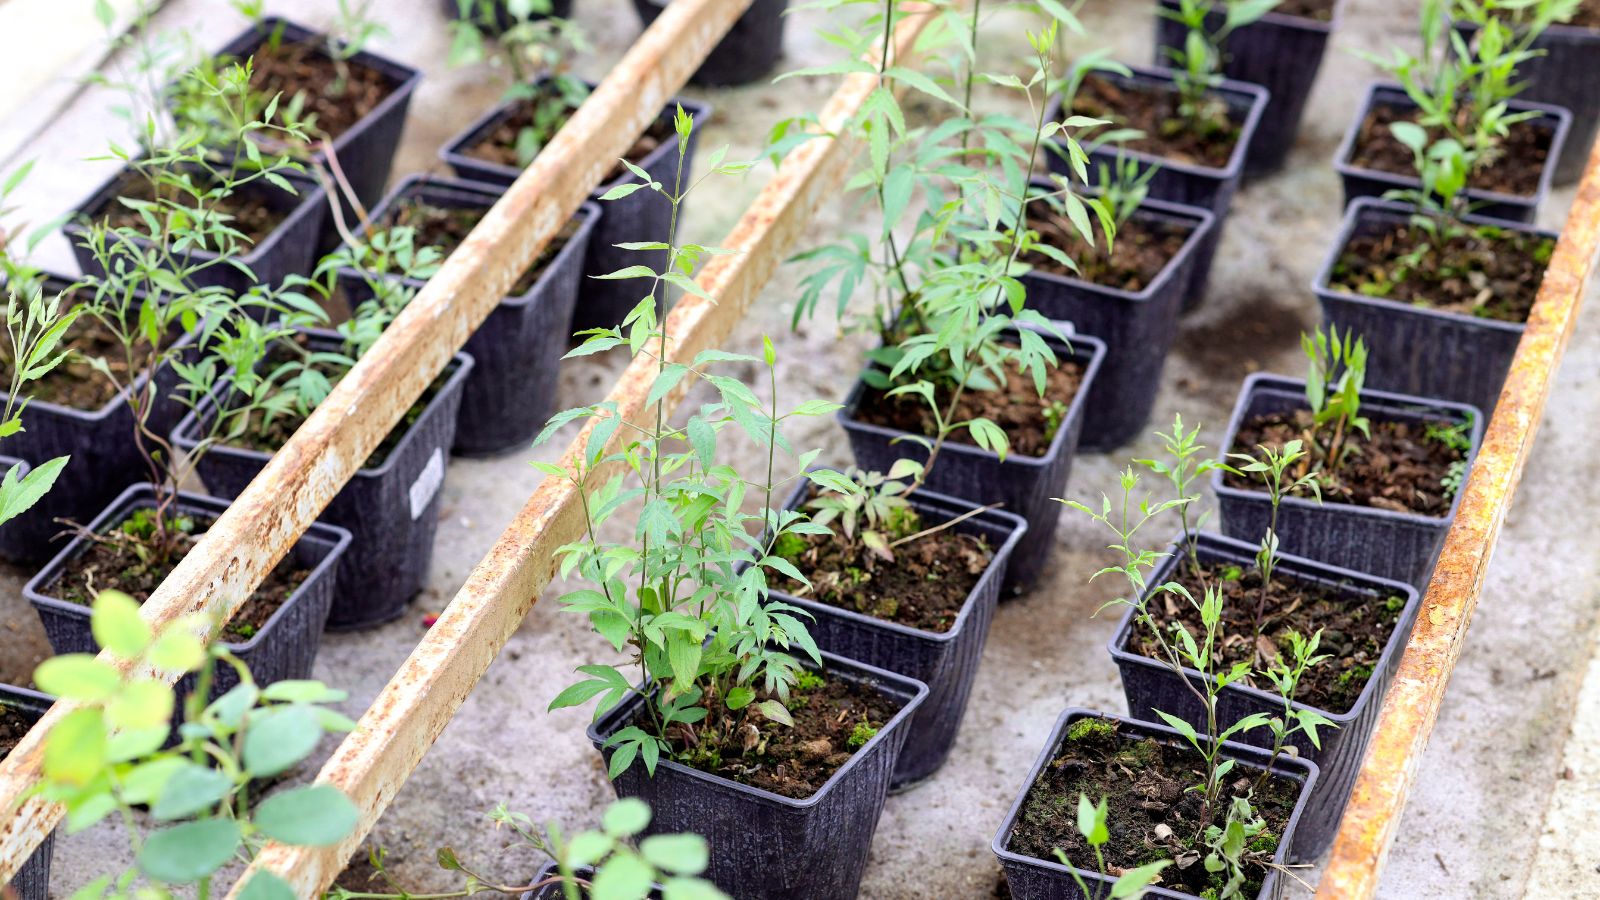
Step 1: Choose a Variety
 Try a shrub variety for a compact growth habit perfect for pots.
 Dozens of clematis varieties offer the ultimate array of colors, shapes, sizes, and textures. Select your favorite from a wealth of options. There are sure to be show-stopping cultivars at your local nursery, online, and at specialty plant retailers.
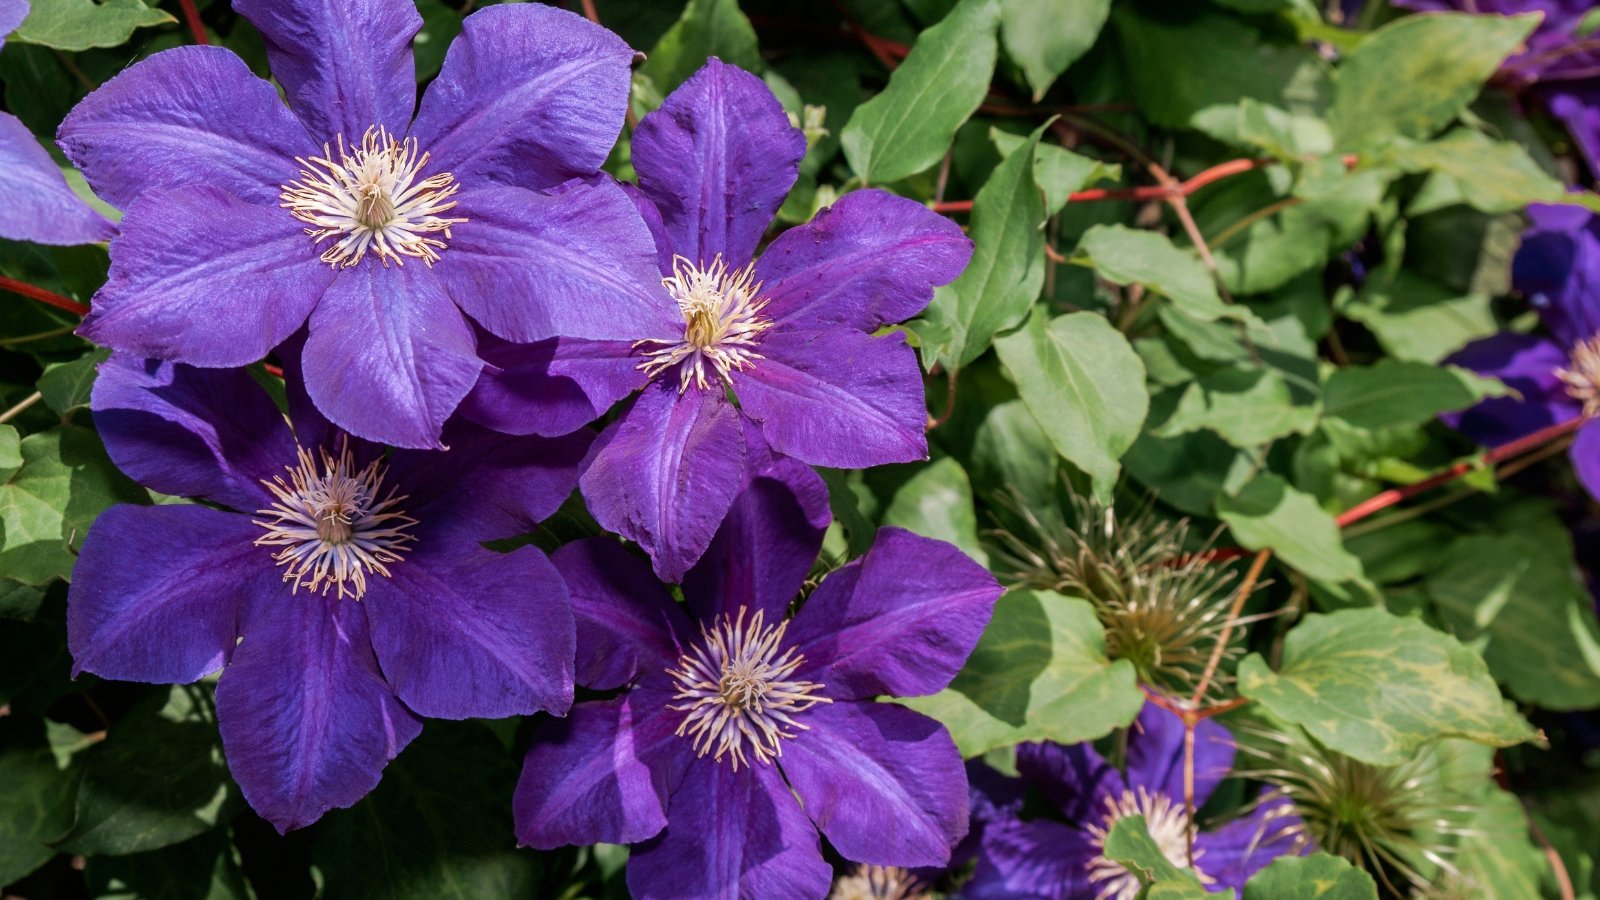
Some classic clematises are longstanding favorites that stand the test of time. Try ‘Jackmanii’ for incredible purple blooms that have a single row of petals. The blooms form star shapes that shine in the summer garden.
Evergreen clematises are superb in mild climates, and shrubby types work well in tight spaces. Most large-flowered hybrids are deciduous vines that climb to impressive heights between six and ten feet tall. Learning what variety you have and how it prefers to grow will help you know how to best care for it.
Step 2: Pick a Spot
 In hot, sunny climates, provide some afternoon shade.
 Clematises in pots and containers prefer full sun to partial shade, with partial shade being the preferable option in hot, sunny climates. Partial shade is between three and six hours of daily direct sunlight, while full sun is six or more hours. Most clematis vines need five to six hours of daily sunlight to grow the most and biggest blooms.
The hotter the site, the more water your clematis will require. Safeguard against water loss by mulching regularly with compost or leaf mold. Mulch snuffs out weeds, supplies nutrients, and conserves moisture in the ground.
Shrubby clematis may or may not need a trellis, while vining types need support. Place the pots near a fence, arbor, trellis, or obelisk to let the clematis stems ramble upwards. Like a large shrub or small tree, they’ll provide summer color at eye level and stand out above the rest of your plants.
Clematises don’t like competition from other vigorous plants. Plant shallow-rooted specimens nearby, like petunias, pansies, or annual balsam.
Step 3: Prepare Potting Soil
 Add an organic fertilizer like compost in the pot to encourage more blooms.
 In containers, clematis plants like soil that’s fertile yet well-draining to avoid root rot. You’ll want a mix that has drainage particles like pumice, perlite, or vermiculite. Organic matter is important for structure and nutrients in the long term, and a bit of compost provides further structural support and nutrition.
If you’re using existing soil to make a homemade blend, a soil test may help you decide which amendments to add. If the test indicates a calcium deficiency, adding lime to the soil will increase calcium availability over time. Some organic fertilizer boosts nutrient levels in old soils.
Organic matter consists of things like humus, decaying wood, and cured compost. It’s absorbent, porous, and nutrient-rich. Find it available in potting soil mixes, or make some yourself by creating a compost or leaf mold pile.
Step 4: Fill Containers
 Plan to move your clematis into a larger pot after two to three years.
 Once you have your perfect blend, it’s time to fill the pots! Small clematis plants can fit in small or medium pots; however, they’ll need large pots over time. The larger and deeper the pot, the more cold and heat protection your clematis will have. Insulation protects it from harsh conditions and excessive water loss.
Most clematis require a two-foot-wide by two-foot-deep container at planting. They’ll benefit from transplanting into a larger one after two or three years of growing in that size. The bigger the container, the less often you’ll have to transplant the clematis.
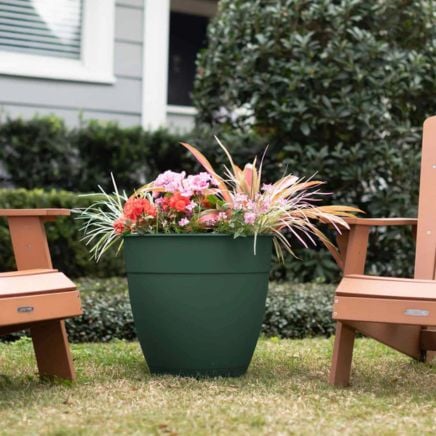
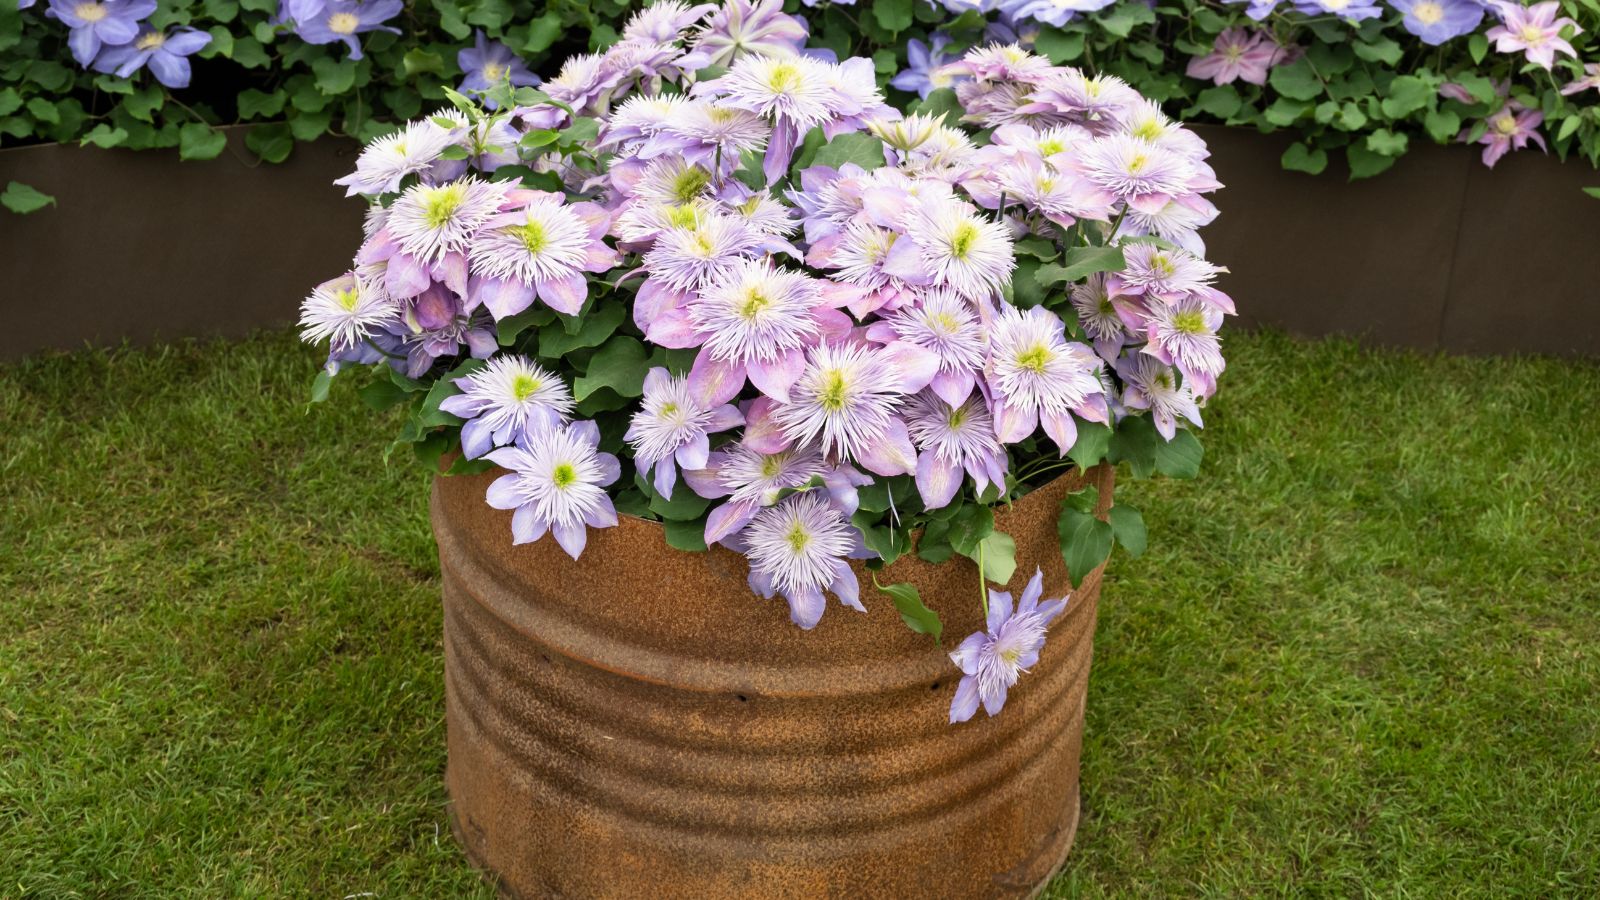
Large, ornamental containers are ideal, as they both insulate and decorate your clematis! Ceramic, concrete, and metal containers all offer an array of designs. Choose one that matches or contrasts with your clematis flowers to create a pleasing garden display.
Step 5: Transplant
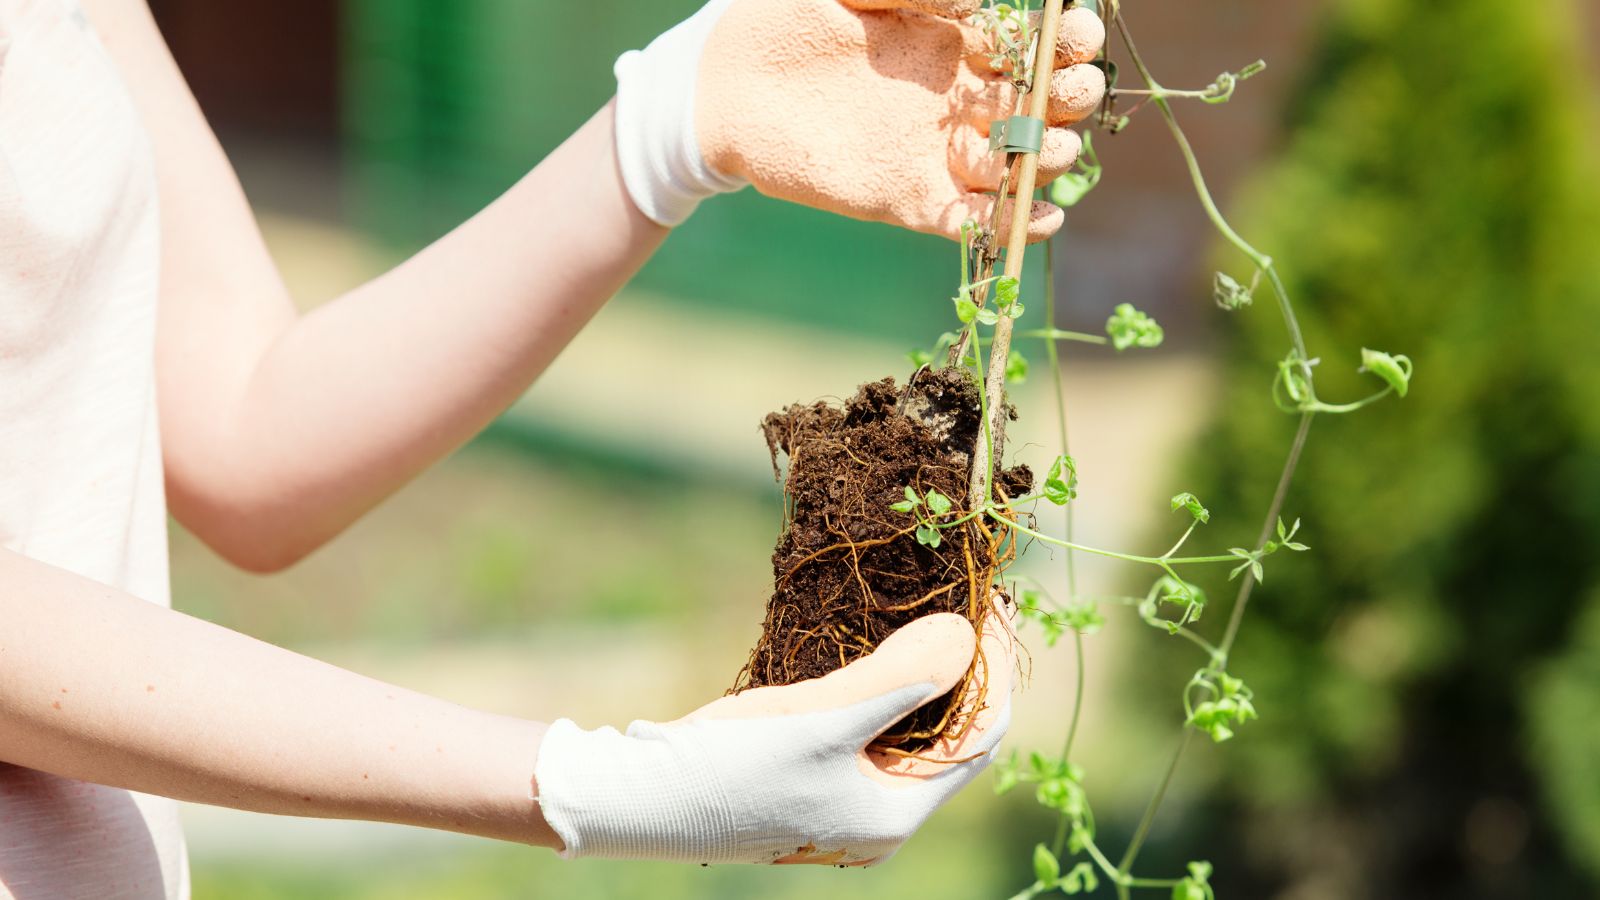 Find out which type of clematis you have to determine whether you should bury the crown.
 With soil in the containers and your clematis nearby, you’re ready to transplant the plant into your garden. How deep to plant clematis depends on the type. Some benefit from deep planting, while others like sitting with their crowns on top of the ground. The crowns are the points where new shoots emerge from the plant.
Situate these clematises with their crowns three to five inches below the surface of the soil:
- Large-Flowered Hybrids
- C. crispa
- C. integrifolia
- C. pitcheri
- C. terniflora
- C. texensis
- C. viticella
These are among the many clematises that appreciate a deep planting. Burying the crowns won’t harm the plants. It helps encourage regrowth after diseases, drought, or cold winter temperatures harm the aboveground stems.
Other clematises benefit from planting at the soil level with their crowns near the surface. Their tender stems are perennial, but they’re weak and easily snapped. Bury their roots with soil, and situate the containers away from paths and doorways so the stems aren’t at risk of snapping.
Step 6: Support and Cut Back
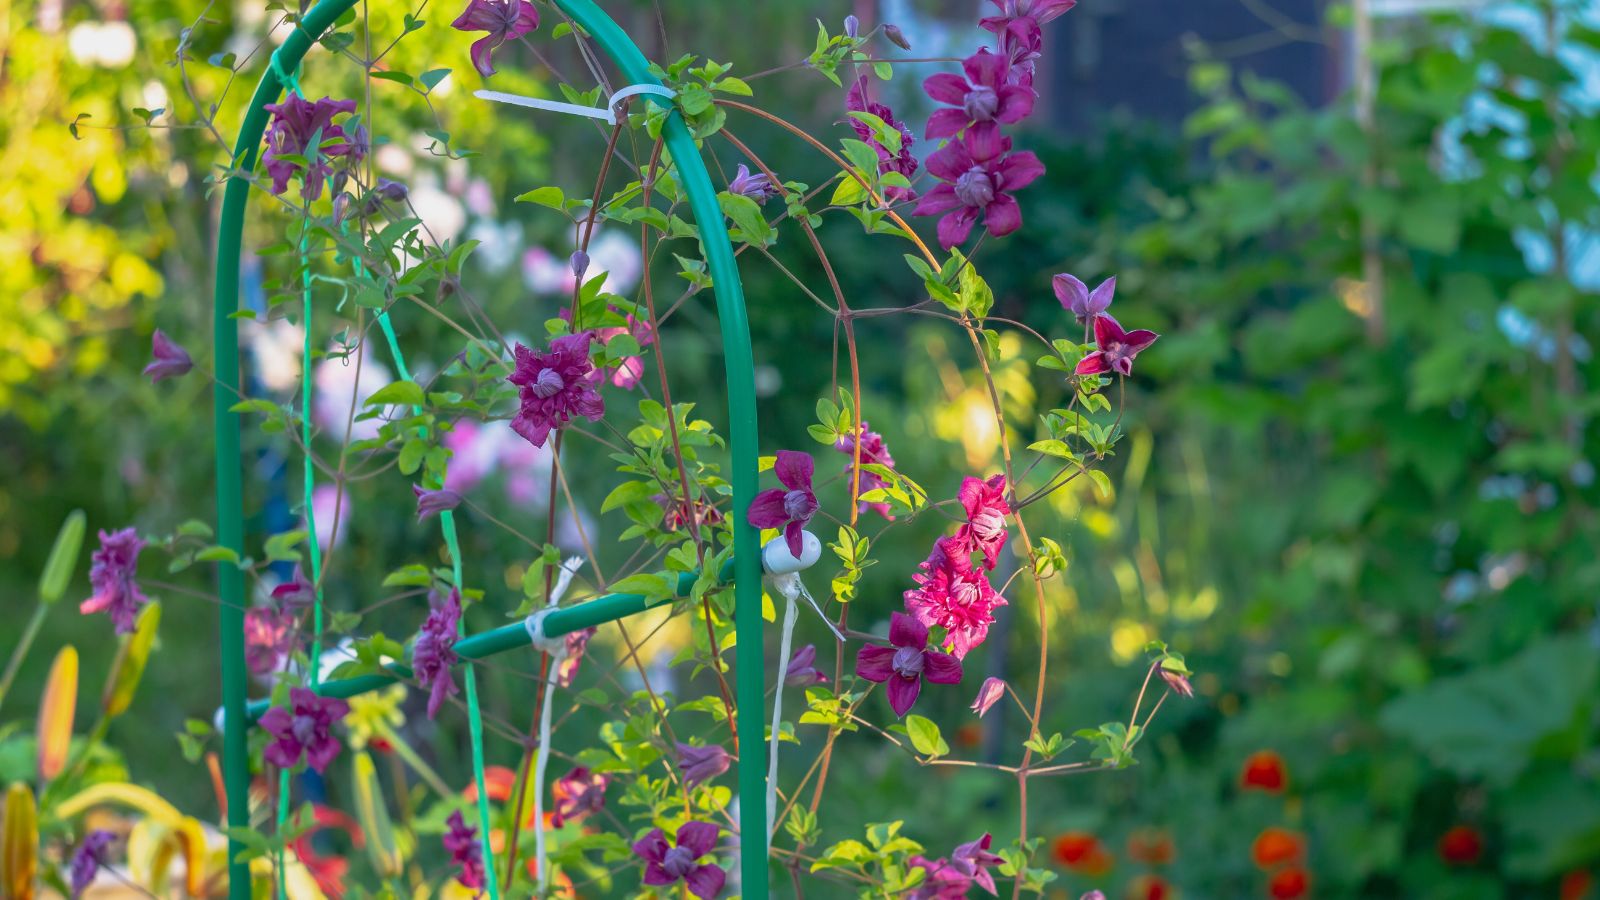 Pruning strategy depends on clematis type.
 After planting, clematises benefit from some pruning to grow their best for the rest of the season. Cut deciduous clematis vines back to around a foot above the ground so they have two to three buds per stem.
Then, the next year, cut them back again so each stem has two to three buds. In the second year, train the stems how you’d like them to grow, and follow a regular pruning regimen according to what the clematis requires.
Evergreen types don’t need such harsh pruning after planting. Simply train their stems on supports as they grow, and prune off any dead or diseased growth as it appears.
Adding support when clematises are young ensures they form strong, upright vines that resist harsh conditions. Whether you have a cage or an arbor, use it to support your plant for healthy shoots year after year.
Step 7: Fertilize Regularly
 Stop fertilizing at the end of the growing season in late summer.
 Clematis perennials need plenty of nutrients to grow well. Their large flowers, feathery seed heads, and divided green leaves all require nutrients to form. Potted plants need more fertilizer than their in-ground counterparts, as they’re more prone to having nutrients leach out of the soil in containers.
Rich soils may have enough nutrients when you’re regularly adding compost to them, though most plants benefit from a monthly dose of a well-balanced organic fertilizer. Water it in with irrigation water, or side-dress a powder type near the roots.
Stop fertilizing as the growing season ends in late summer. Many species, both evergreen and deciduous, enter a dormant state where they aren’t actively growing but are preserving nutrients and moisture until the weather warms in spring.
Step 8: Water Consistently
 Keep container-grown plants well hydrated.
 Consistent watering is key to healthy growth. Alongside ample nutrients, regular watering promotes dense, bushy growth and long-standing flowers. When dry, the vines may wither and sprout fewer flowers than they normally would under perfect conditions.
Container specimens are more at risk of drying out than in-ground ones. When temperatures are high and rain is infrequent, the roots dry as the plants use water to keep their tops cool. Overhead sprinklers, drip irrigation, and a watering can are all good tools to help you water your clematis.
Step 9: Prune at the Right Time
 The right time to prune depends on bloom time.
 What prevents many gardeners from growing clematis is the notorious pruning requirements! Worry not, as these pruning techniques are easy to follow once you understand the clematis groups. There are three main types of deciduous blooming clematises: spring-blooming, summer and fall-blooming, and twice-flowering.
Spring bloomers flower off of old growth. They typically bloom in spring, though they may open up their flowers in the fall or winter in mild climates. Prune them after they flower, cutting them back to healthy buds.
Summer or fall bloomers sprout flowers from new growth. They need some time to grow vines, leaves, and blooms. Prune them from fall through spring whenever their shoots emerge.
Twice-flowering specimens defy categorization! They bloom on old and new growth, and they typically require little pruning. Thin them after they bloom for the first time in the growing season.
Step 10: Watch for Pests
 Scout for pests and spray them off with a hose.
 Pests, diseases, and hot temperatures can threaten potted clematises. Aphids, slugs, whiteflies, scales, and other insect pests may target weak plants, and diseases like stem rot affect them too. Control pests with continuous management.
A daily walk through your garden can help you identify pests before they spread out of control. A morning or afternoon walk is best, as this is when many slugs and snails come out of hiding. Snip them in half with pruners if they’re eating clematis shoots.
Other pests target the leaves, like aphids and whiteflies. Spray them off with a strong stream of water daily until they disappear.
Rots are common in soggy, wet conditions with excessive shade. Prevent them by using well-draining potting soil and by checking to see how moist it is before you water.


 English (US) ·
  French (CA) ·