
 9 months ago
162
9 months ago
162
PROTECT YOUR DNA WITH QUANTUM TECHNOLOGY
Orgo-Life the new way to the future Advertising by AdpathwayIt’s not difficult to grow garlic. The allium’s bulb grows underground, while its leafy foliage sprouts above the soil. Half of garlic growing success relies on choosing the right variety for your region.
Opt for hardneck garlic varieties in cold, northern climates. Hardneck types need low temperatures over the winter to form healthy bulbs. In warm, southern climates, opt for softneck cultivars. They fare better in regions without hard freezes and frosts.
No matter which cultivar you choose, you can successfully grow garlic in containers, planters, or raised beds. Learn exactly what it needs to thrive, and give it the care it needs for a successful home harvest.
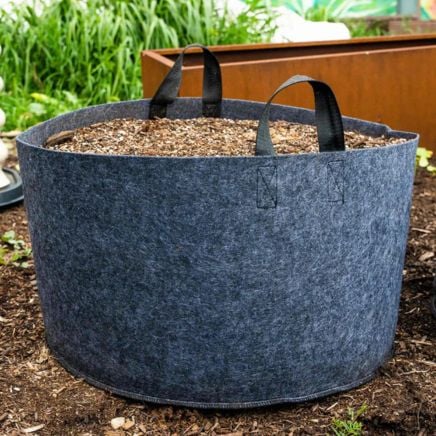
3-Minute Raised Bed and Extension Kit

3-Minute Raised Bed and Extension Kit
Perhaps you lack the space to grow bulbs underground, or you only have room on your porch or patio. No matter how big or small your space is, it’s possible to grow garlic in containers. These steps will guide you through the process, from planting to harvest.
Step 1: Pick the Right Planters
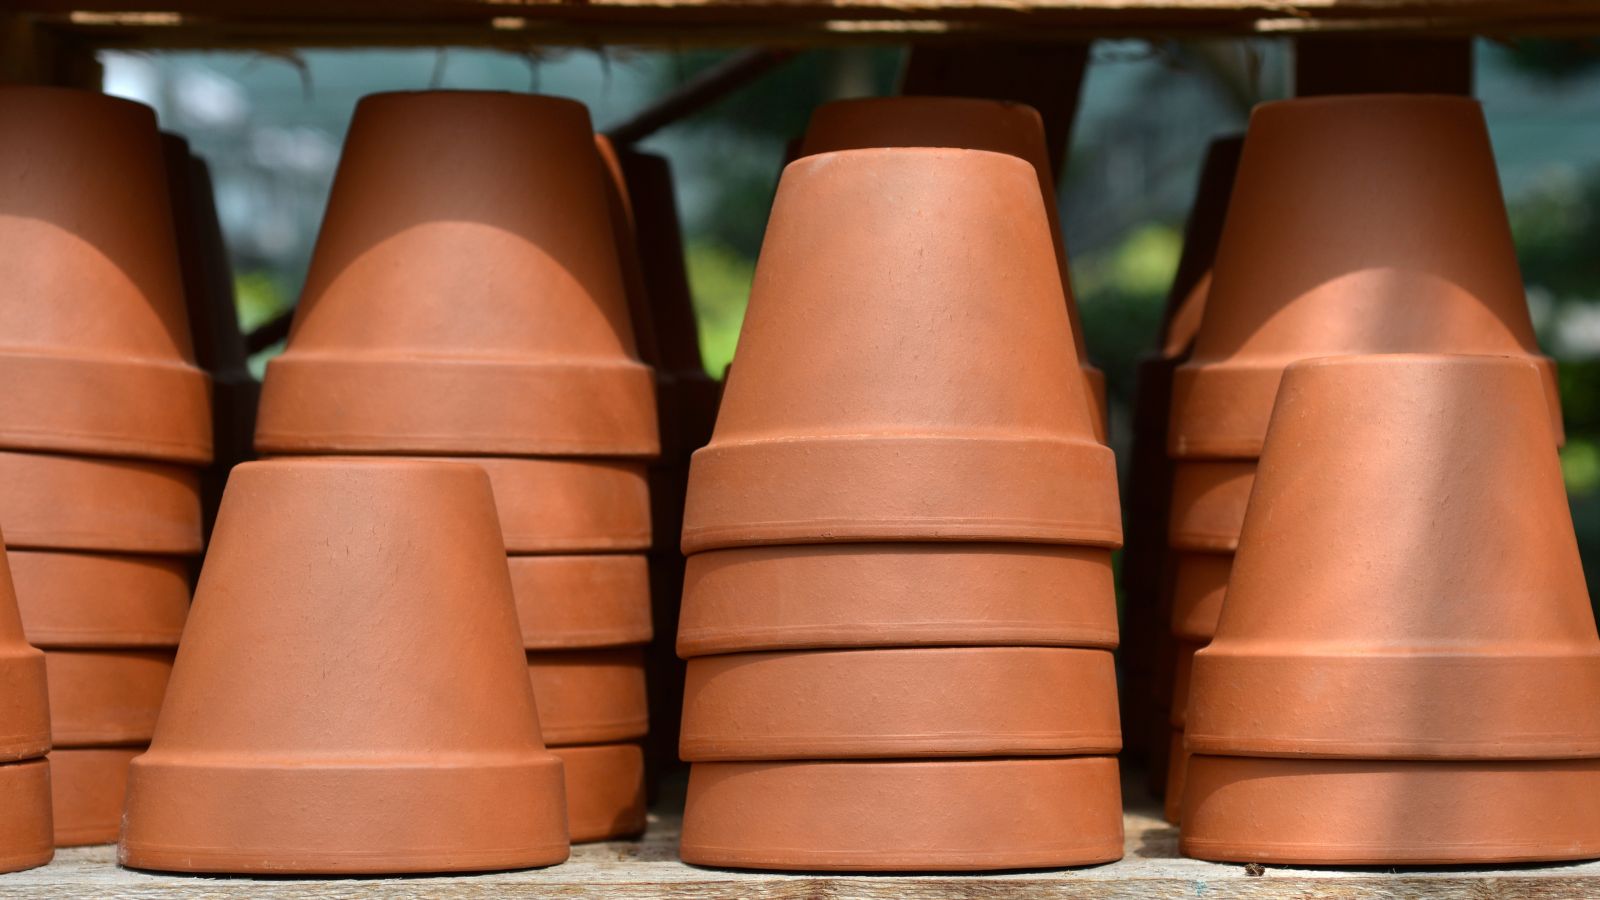 Pots should have drainage holes in the bottom.
 Because garlic is a root crop, it needs a deep container to grow well. The roots need room to spread, and a deep pot has sufficient space for them to grow. Shallow pots will lead to cramped roots and poor yields.
To grow garlic in containers, choose containers eight inches or deeper for your cloves. Two- or three-gallon pots are sufficient. Larger pots, like five- and ten-gallon sizes, can hold more than one clove.
Plastic containers are cheap to source, though they’re quick to heat up in the summertime. Choose clay, ceramic, or terra cotta pots to provide better drainage and airflow, and to protect your crops from sweltering heat during the warm months.
Step 2: Find Seed Garlic
 Choose seed garlic from a reputable supplier.
 A healthy planting starts with the right cloves. Seed garlic is a term that refers to cloves that growers use for planting. They sprout into identical clones of the bulb they came from.
Most commercial growers purchase seed garlic from a reputable source. It’s best to buy the cloves from certifiable sources, as they guarantee that the stock is disease and pest-free.
Or, try sourcing garlic from a neighbor or friend! If you know other gardeners, it’s likely they also grow this root crop in their home. They may have a few cloves they’re willing to gift you.
The final option is to use garlic from the grocery store. Though not the best option, it’s a great way to cut costs. Store-bought garlic may have growth inhibitors on it that prevent sprouts from growing. Get around this issue by buying organic bulbs for planting.
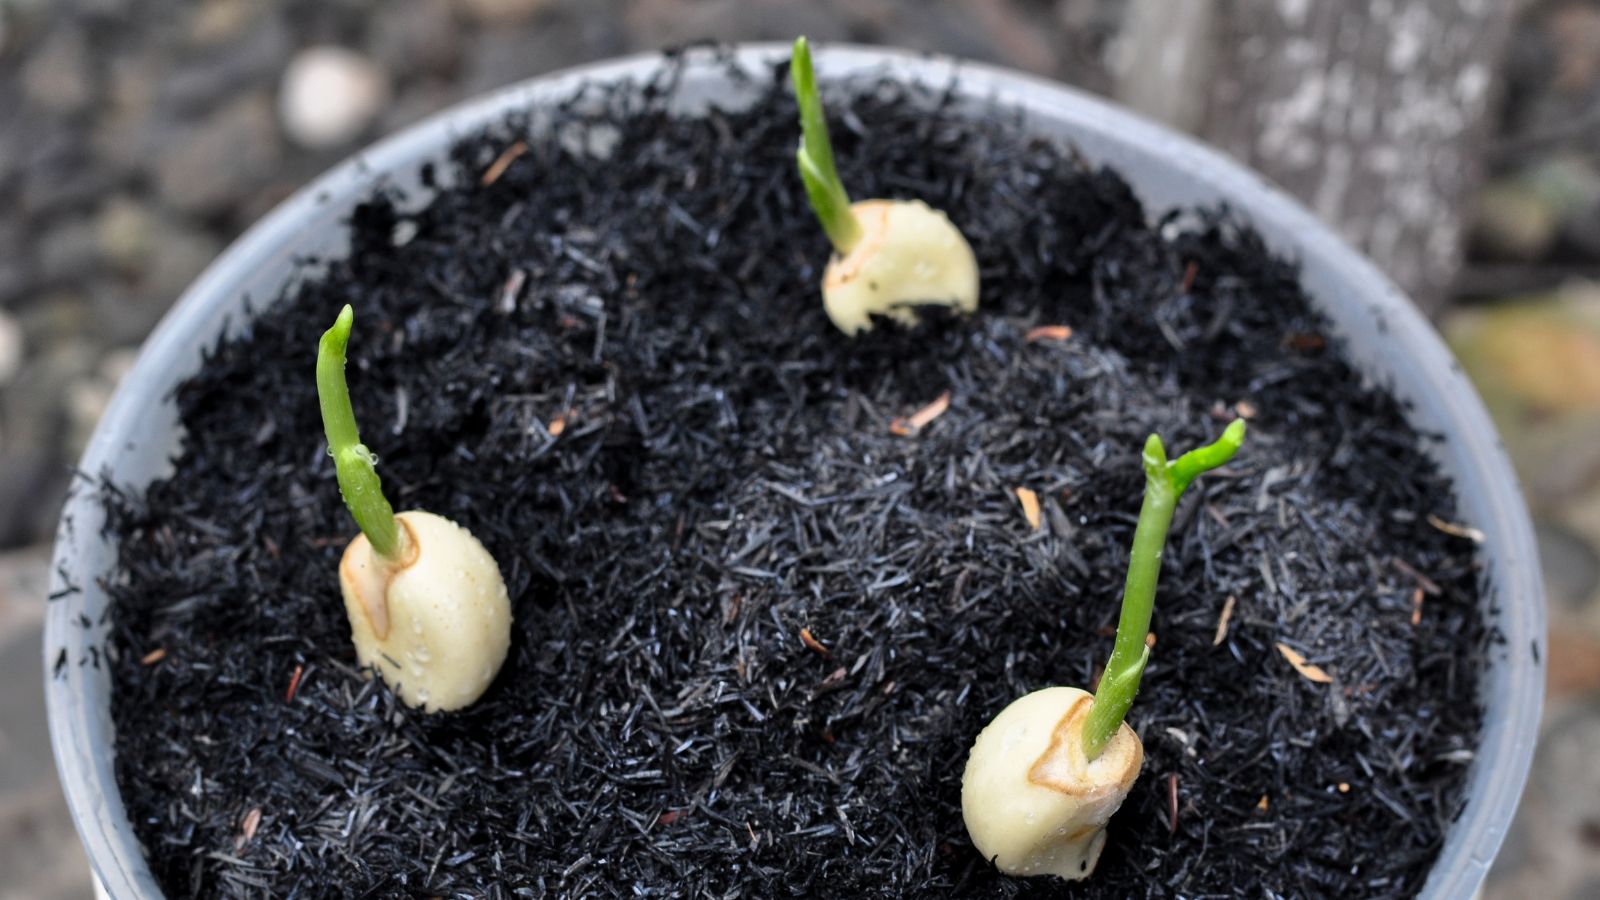
Step 3: Plant Cloves in Autumn
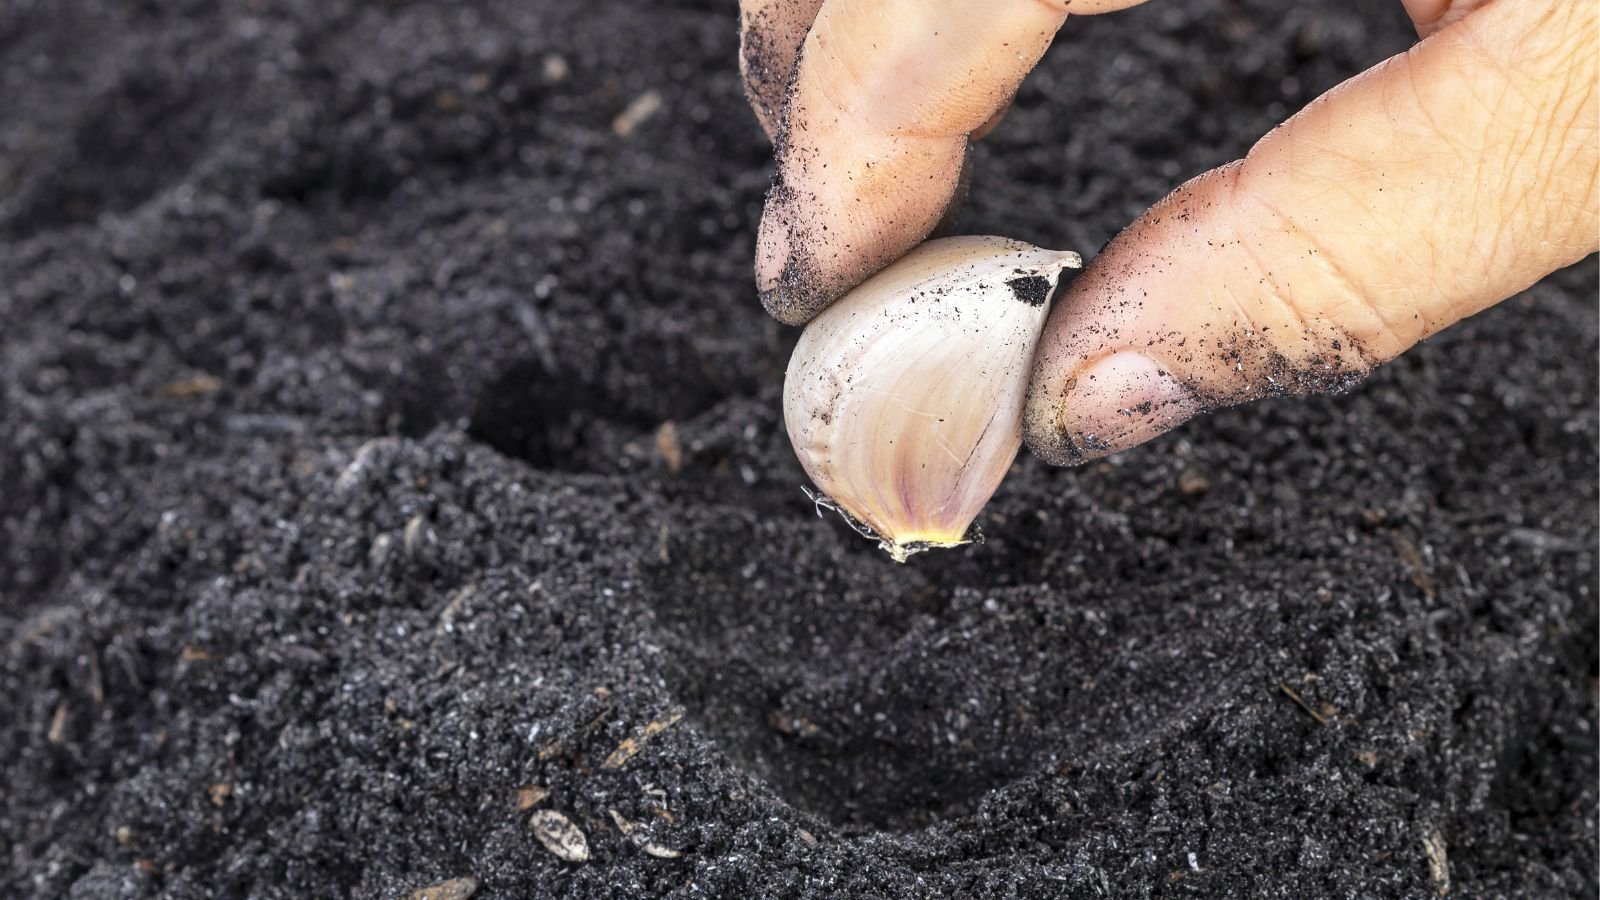 Cloves need a period of cold in fall to develop bulbs.
The best time to grow garlic in containers is fall, when the days are shortening and temperatures are cooling. The cloves use the winter’s cold to separate each clove into multiple pieces. Then, when the weather warms, each piece swells into a full-size clove.
The clove won’t divide if you plant it too late. It’ll swell into a single, large, and round bulb, called snow garlic. The round tastes just like the normal bulbs, but it lacks individual cloves with paper skins. You’ll have to store the leftovers in the fridge.
Plant garlic from September through November, before hard freezes arrive in your region. If you live in a warm, frost-free region, store the cloves in the fridge for two to three months before planting them during the cool season.
To plant, bury each garlic clove an inch to an inch and a half deep in the pots. Space them three to six inches apart from each other. Add water to the pots to help the dirt settle.
Step 4: Overwinter Containers
 Add mulch to retain moisture and regulate soil temperature.
Pots provide less insulation than raised and in-ground beds. They sit above the soil, and cold temperatures are quick to freeze them. You’ll need to protect them this winter to guarantee a successful harvest next summer.
Start by adding mulch on top of the dirt. Use compost, or find an alternative like leaf mold, straw, or fallen leaves. Place the compost in a layer two to three inches thick, and tamp it down to help it stay in place.
Frost cloth, or a row cover, is an easy way to offer protection during hard freezes or frosts. Simply drape it over the pots and weigh down the edges with stones or bricks. Then, remove the cloth during the day to let sunlight and fresh air in.
Find frost cloth at garden centers and landscape supply stores. Or, use an old bedsheet instead! It’ll do the trick. Another option is to drape blankets around the pots like a Christmas tree skirt for extra insulation on warm nights.
Finally, you may also store the pots in an unheated garage to grow garlic in containers. The garage will get cold enough to promote proper bulbing without freezing the roots.
Step 5: Care for Sprouts
 Keep the soil lightly moist but not soggy.
 You won’t see sprouts until late winter or early spring. Once the days begin lengthening and warming, the shoots will sprout from underground and poke above the soil. Once you see green leaves, it’s important to move the pots somewhere they’ll receive full sun.
Full sun equates to six or more hours of daily direct sunlight. Alongside full sun, give the sprouts regular water. Irrigate the containers after the soil surface dries. If you’re unsure, use your finger to prod the dirt and see how wet or dry it is.
Hardneck types sprout scapes that pull energy from bulb-formation. Snip or pick the scapes off, and cook them in stir-fries or sautés. They’ll grow bulbils if you leave them on the plants.
Compared to other plants, garlic is relatively problem-free. Watch for mites on the leaves, and look out for fungal conditions that affect the bulbs below ground.
Step 6: Harvest Ready Bulbs
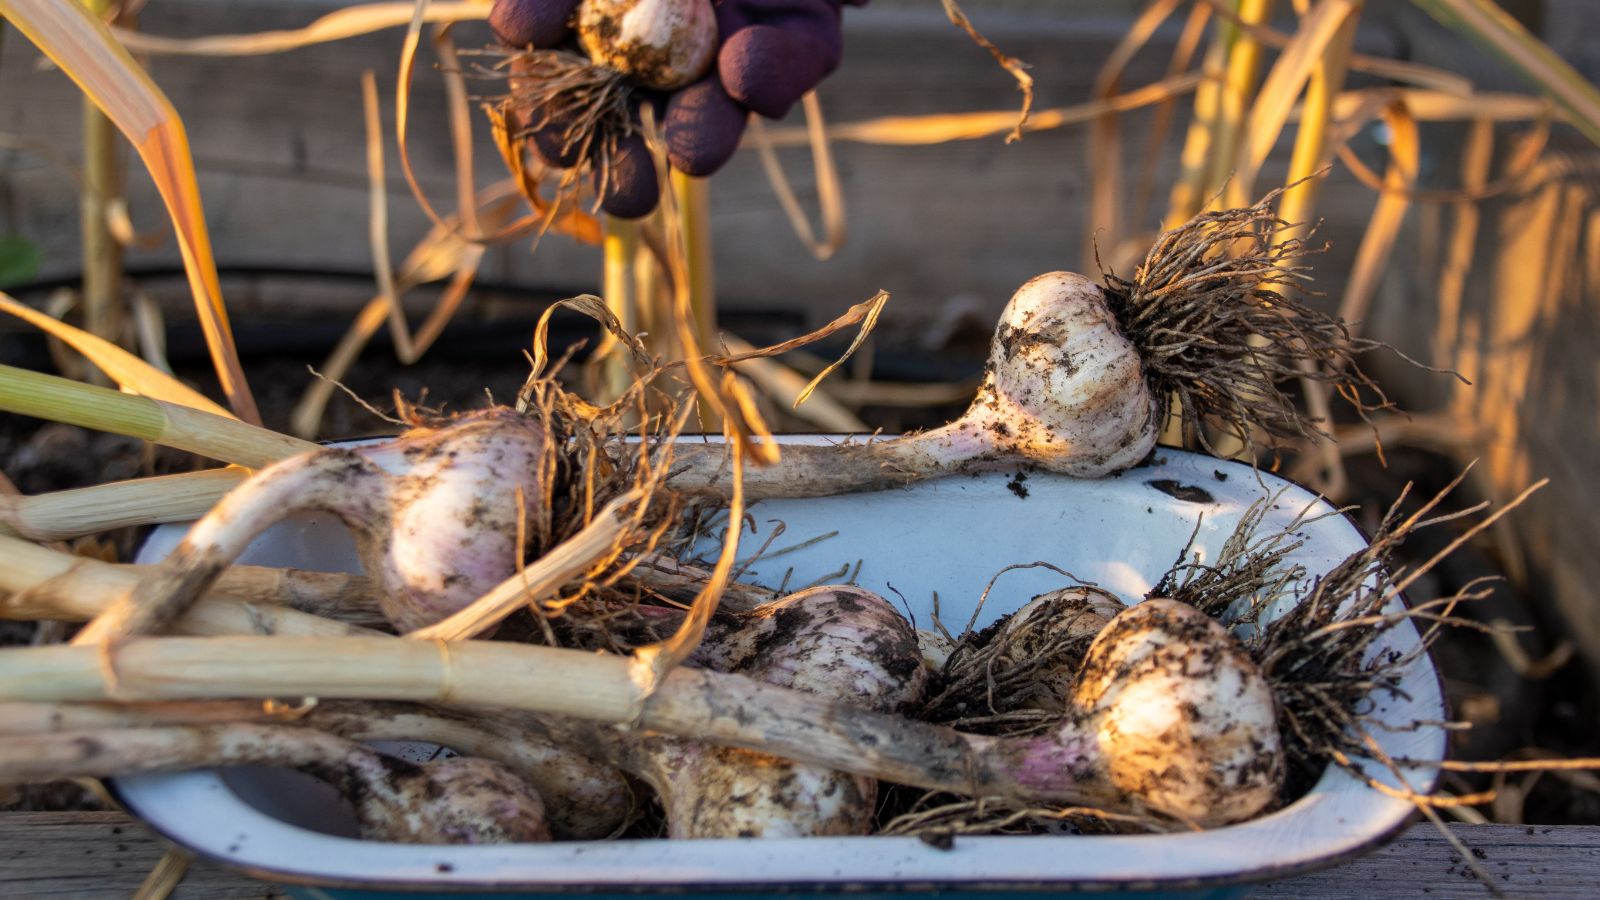 Wait until the leaves turn yellow before pulling.
 Most varieties take eight to nine months to mature after planting. Wait until the plants’ lower leaves turn yellow, then pull one up to see how big or small it is. If the bulb is of a good size, you may harvest the rest of the crop.
Most gardeners will harvest the ready bulbs in June or July. Don’t dig near the stalks, as you might puncture the bulbs in the process. Instead, use a pitchfork to stab below the garlic. Then, lift gently upwards to dislodge the roots from the dirt.
Grab the plants from the soil and gather them all together. They need to dry and cure before they’re ready for long-term storage.
Step 7: Cure and Store Garlic
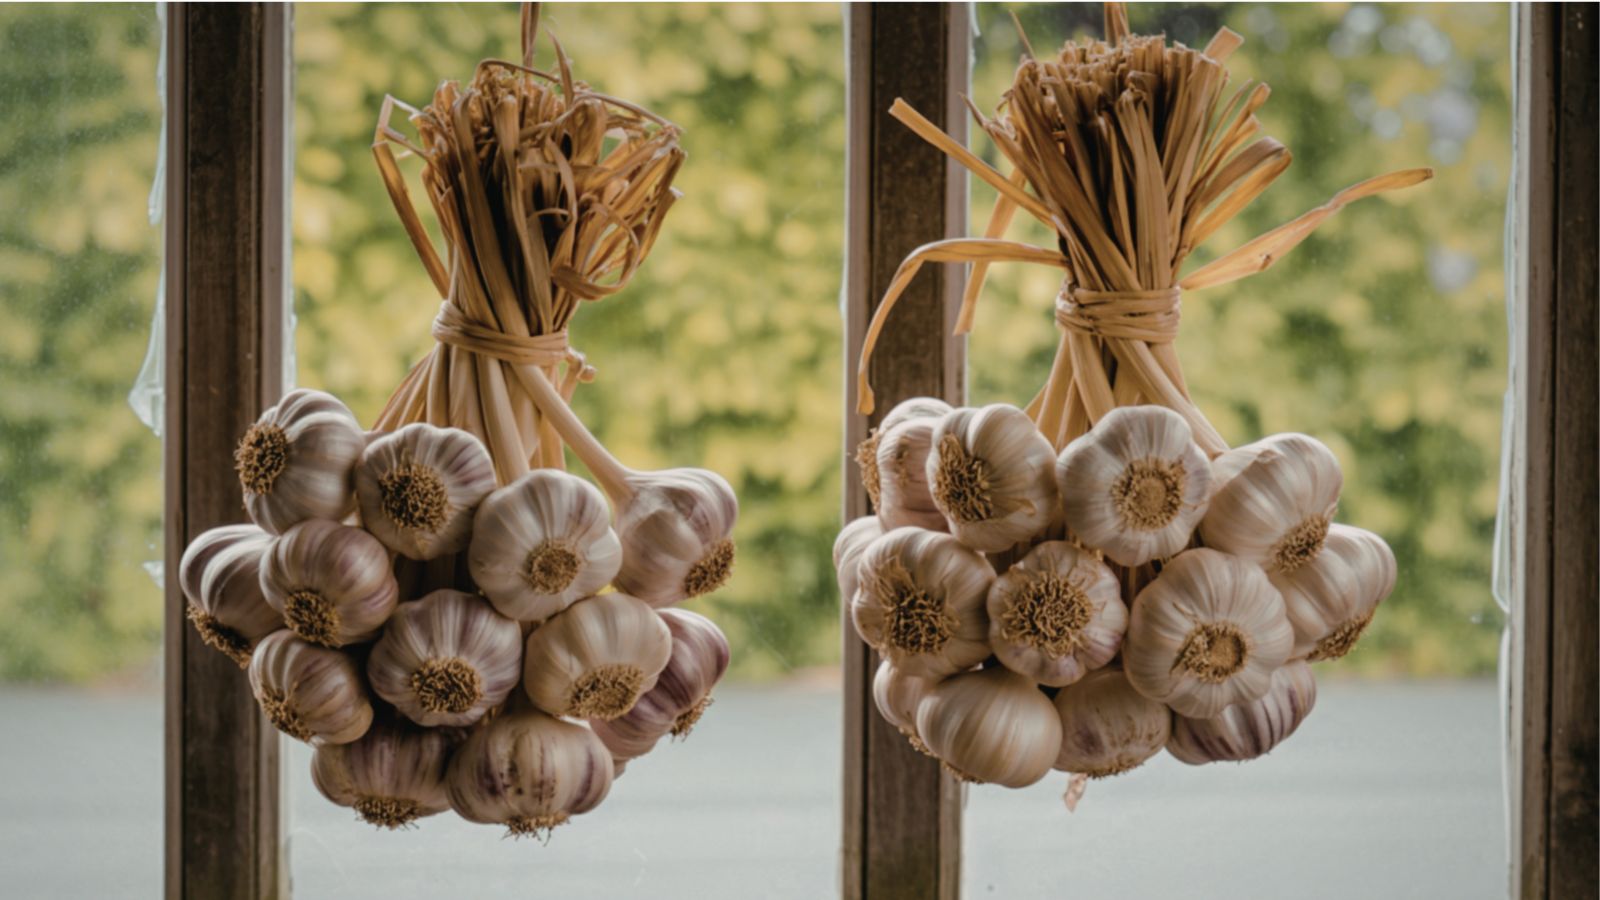 Cure your garlic to prepare bulbs for storage.
 Curing is a process that prepares your harvest for storage, helping it last until you’re ready to use it. There are a few ways to do this, though the easiest way is to hang the plants to dry. The skins will thicken and turn papery to create a protective layer between the cloves and the environment.
A clever and pretty way to cure softneck varieties is with braiding. You may braid the floppy stalks together to create intricate bunches of weaving leaves and hanging bulbs. Then, hang the bunches to dry in a location with regular airflow away from direct sunlight.
I grow hardneck types, and I zip-tie the plants together and hang them by their leaves. You may also set them on mesh screens or metal trays to cure.
After a week or two, the bulbs are ready for storage. Snip off the dead leaves, leaving an inch of stalk attached above each cluster. Store the garlic in a cool, dark, and dry location, like a pantry or cellar.
Key Takeaways
- Anyone can grow garlic in containers! It’s easy to do.
- Use containers eight inches or deeper to ensure there’s room for the roots to grow.
- Overwintering is the challenge; protect the pots with frost cloth, old bedsheets, or blankets, and add mulch on top of the dirt.
- After harvesting, cure the cloves to help them last many months in storage.
Frequently Asked Questions
Yes, it will! The root crop will thrive so long as the pots are eight inches or deeper.
Yes, so long as you protect it from harsh freezes and frosts.
Yes, you can, although you won’t grow large cloves. The plants need cold temperatures to form bulbs. Grow them indoors for edible leaves.


 English (US) ·
  French (CA) ·