
 3 weeks ago
12
3 weeks ago
12
PROTECT YOUR DNA WITH QUANTUM TECHNOLOGY
Orgo-Life the new way to the future Advertising by AdpathwayWhat is an emancipation garden? Put simply, it’s a garden that celebrates the end of slavery and the hope for a new future. After they received news of their freedom, many formerly enslaved Americans continued working on the farms where they were freed. Sharecropping, indentured servitude, and Jim Crow laws prevented many from finding true freedom in America.
To resist the pressures of the state, many of the formerly enslaved grew the crops they loved to eat. These “emancipation gardens” received their name because they stood as symbols of freedom in a new era.
Black Americans grew crops for themselves for nutrition, sustenance, and a sense of pride. The more food they had for themselves, the less reliant they were on employers or landowners.
Learn more about these historical gardens by planting one yourself! By growing the crops they grew in a similar fashion, you can recreate these living examples of resistance, freedom, and resilience.
Pinkeye Purple Hull Bush Cowpea Bean

Pinkeye Purple Hull Bush Cowpea Bean Seeds
Clemson Spineless 80 Okra

Clemson Spineless 80 Okra Seeds
Florida Broadleaf Mustard

Florida Broadleaf Mustard Seeds
Step 1: Find A Spot
 Some plants and crops require significant sunlight, so choose a sunny spot with fertile soil.
Summer veggies need full sun to thrive, with six or more hours of daily direct sunlight. Choose an open site with plenty of sun, airflow, and space for planting. Poor soil can be amended, but areas with fertile soil are ideal.
Shade gardens work too, though they require shade-loving and shade-tolerant crops like leafy greens and quick-growing root crops. If you’d like to grow corn, squash, and beans, you’ll need a site with six or more hours of daily direct sunlight.
If you lack the space for an open plot, consider using containers or raised beds to modify the space to work for you. Many vegetables, like cucumbers and okra, grow well in pots and planters.
Step 2: Plot the Site
 Growing crops in rows is a common practice, which can be challenging for small yards.
There are a few options when it comes to plotting the site. The typical gardening setup involves multiple rows spread out over many beds. Though this style is easy to plan and plot, it’s less than ideal for small spaces and medium-sized yards.
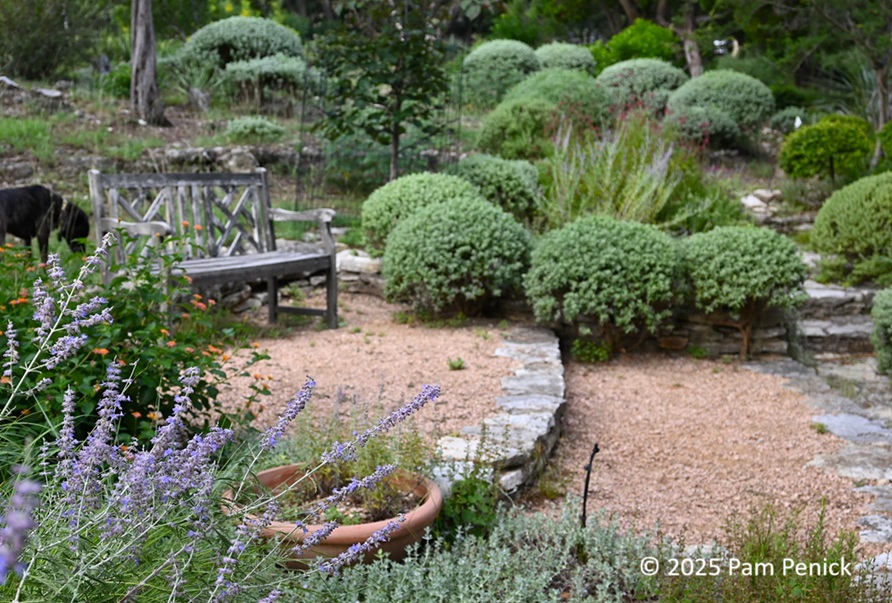
To emulate the emancipation gardens of history, try using a more organic shape when plotting the site. Round or irregularly shaped spaces lend themselves well to having multiple vegetables growing near each other. Though the formerly enslaved grew crops on large farms in rows, they preferred a loose, natural shape for their own gardens.
You can create a circular garden with in-ground or raised beds. Mound the soil to create circular in-ground beds with small pathways in between them, or situate raised beds close together. Cover the dirt with compost to feed, insulate, and protect plant roots. Line the outer bounds of the plot with a fence, stones, or logs to define the space.
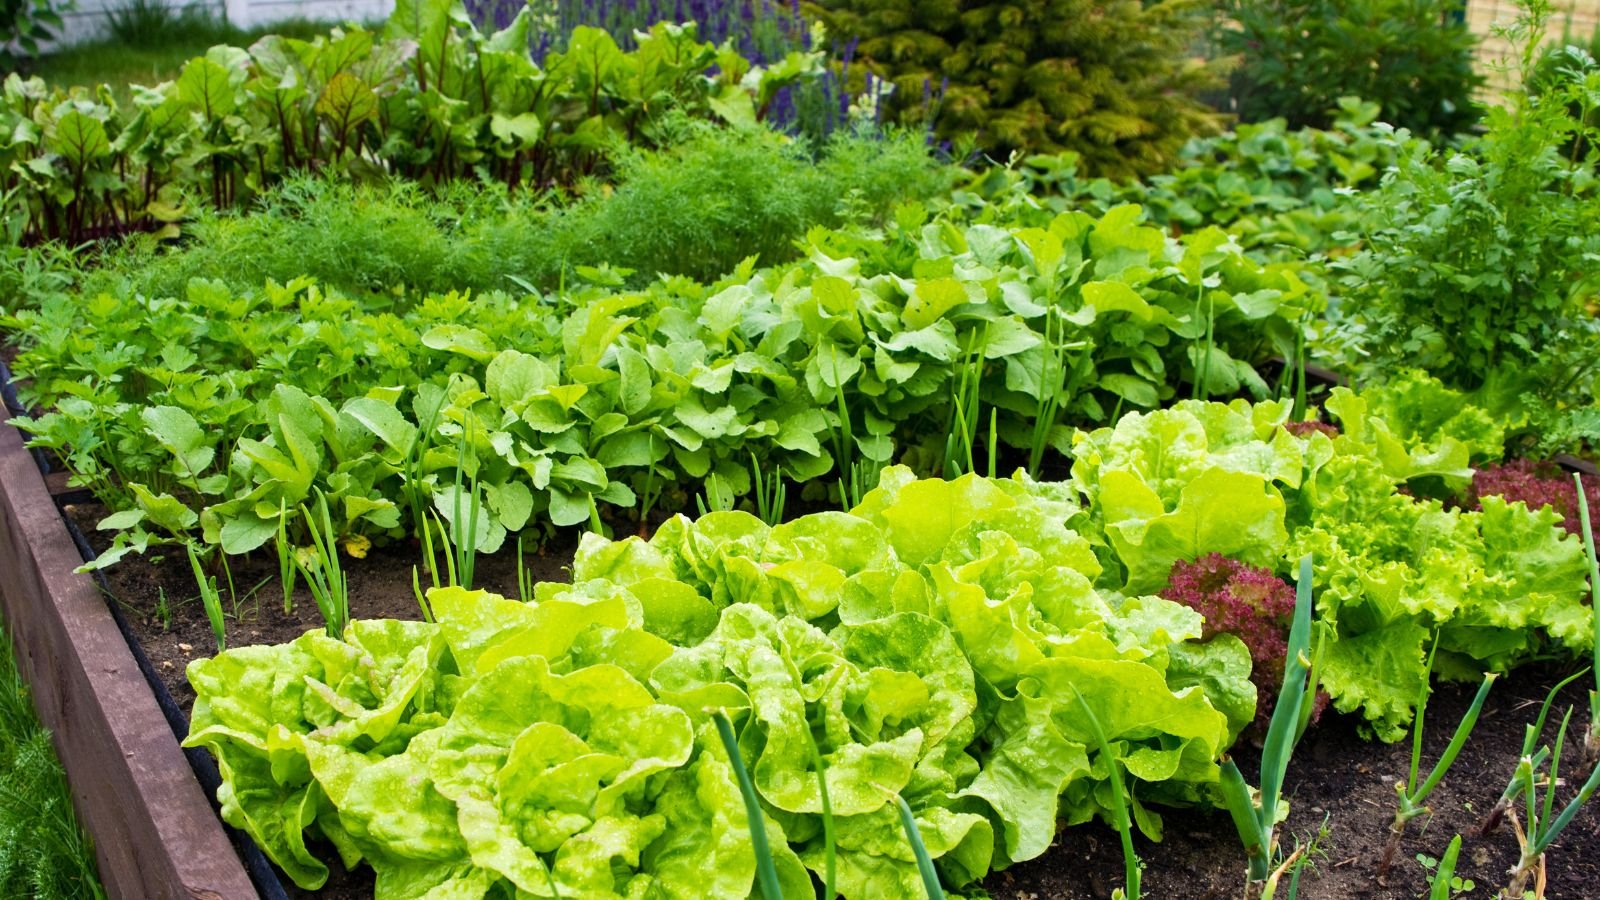
Step 3: Pick Your Crops
 Collards, tomatoes, okra, and other vegetables are perfect options.
If you want to honor the legacy of emancipation, you should plant the vegetables and fruits that Black Americans grew in the past. Some of these plants originated from Africa and other parts of the world, while others are descendants of wild American species.
To start, try one or many of these nutritious, easy-growing, and delicious veggies:
- Soybean
- Peanut
- Sweet Potato
- Okra
- Eggplant
- Tomato
- Sesame
- Rice
- Collards
- Mustard
- Corn
- Squash
- Black-Eyed Pea (Cowpea)
- Garlic
- Onion
- Cayenne Pepper
- Melon
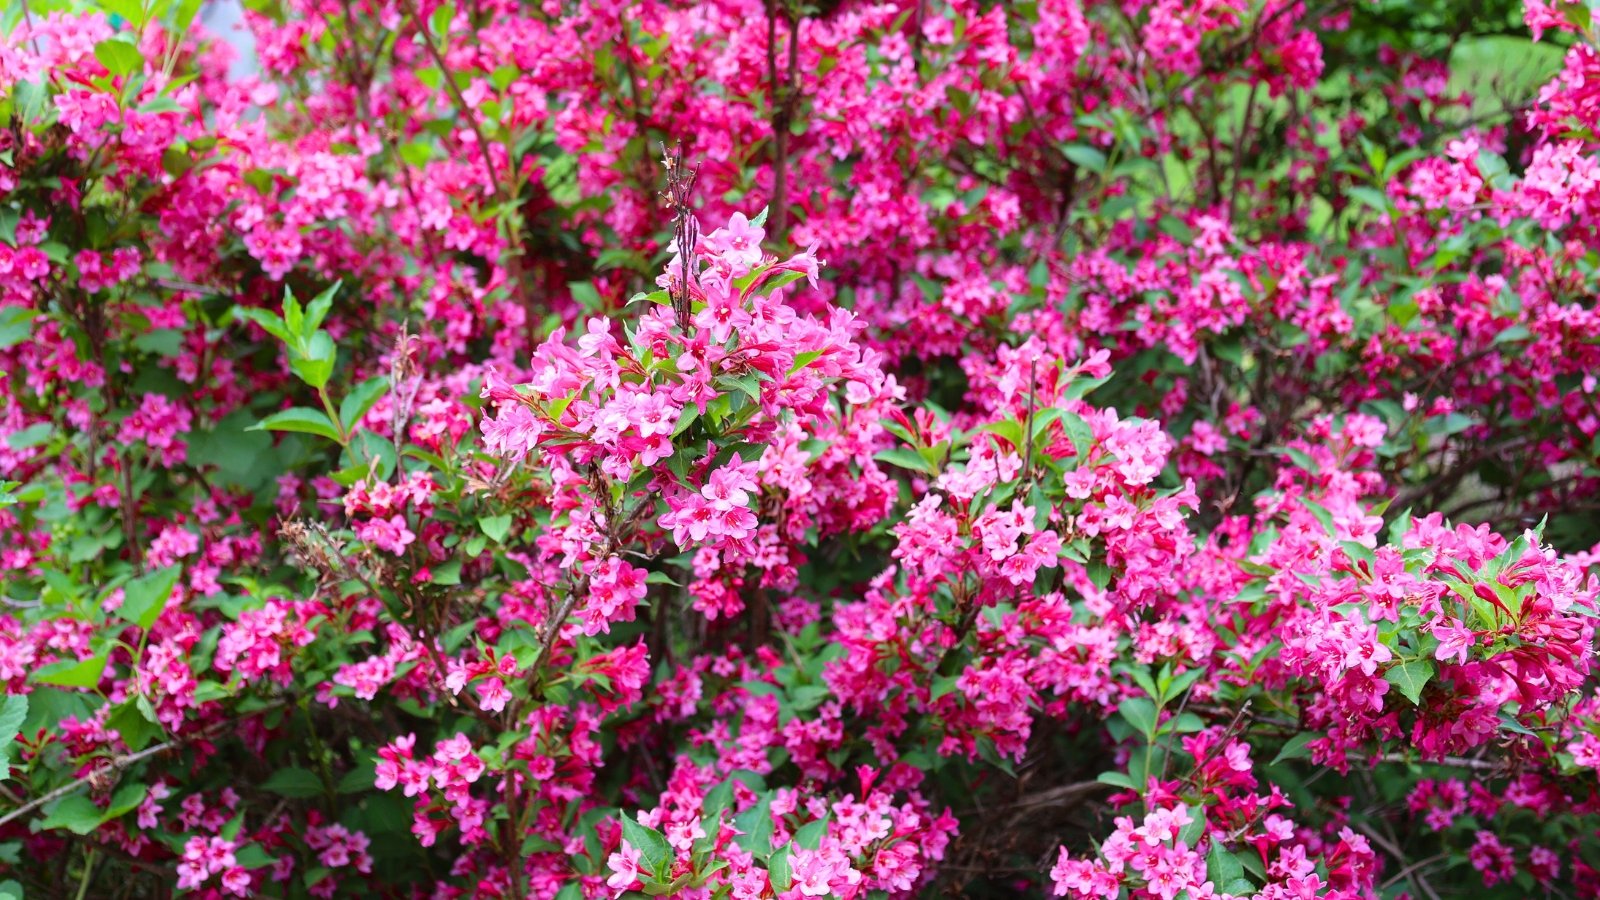
Veggies aren’t the only things you can grow in a freedom garden. Consider adding useful herbs like rosemary, oregano, and chamomile to attract beneficial insects and repel pesky pests. The possibilities are endless—you can grow a mix of these crops with new ones for a modern take on the historical tradition.
Step 4: Plant Seeds
 Squash and other vining options require more space to spread out.
Once you’ve selected your crops of choice, you’re ready to plant them! Rather than making neat rows or furrows, scatter seeds throughout the plot and thin them as they sprout. Many of them grow well together, like corn, squash, and beans. These three create a Three Sisters garden, a setup that comes from American Indian planting traditions.
Other plants need space. Give melons, squash, and similar vining plants plenty of space to ramble along the ground. Consider adding trellises, stakes, or cages to the plot to give vining species room to climb.
Most summer growers benefit from direct sowing once the weather warms in late spring and early summer. Some, like peppers and tomatoes, grow well when you start them indoors for transplanting after the last frost date.
Step 5: Transplant Seedlings if Sown Indoors
 Harden them off before transplanting.
If you started seeds indoors, harden off the seedlings so they adapt to outdoor conditions. Keep them in dappled sunlight or partial shade for a week or two, and bring them inside when temperatures drop. They’re ready for planting after the hardening-off period is over.
Transplant in the morning or afternoon so your seedlings don’t have to deal with intense afternoon sun. Start the process by preparing holes in your emancipation garden. Dig them as deep and twice as wide as the plants’ rootballs, and situate the roots inside each one. Cover them with soil, water them well, and stake them if they need support.
When transplanting, think of the seedlings’ eventual sizes at maturity. Though corn starts small, it reaches towering heights after a few weeks of growth. Thin seedlings and transplant potted specimens in a way that gives them all sufficient space to thrive.
Step 6: Care for Your Veggies
 Some crops require support as they grow upwards.
After planting, some care and maintenance ensure your plants fare well for the rest of the growing season. Water them consistently so the soil stays moist, but not soggy. Soggy and dry conditions are difficult for sensitive roots to thrive in.
As rambling climbers like beans, peas, and melons grow tall, they need support to ensure they stay upright. Replace short cages with tall ones, and tie vines to the supports if they struggle to cling to them.
With regular helpings of compost, you’ll feed the earth and protect your plot from pests and diseases. Compost is a free soil amendment that’s easy to make at home. Build economic resilience and make a pile in your freedom garden.
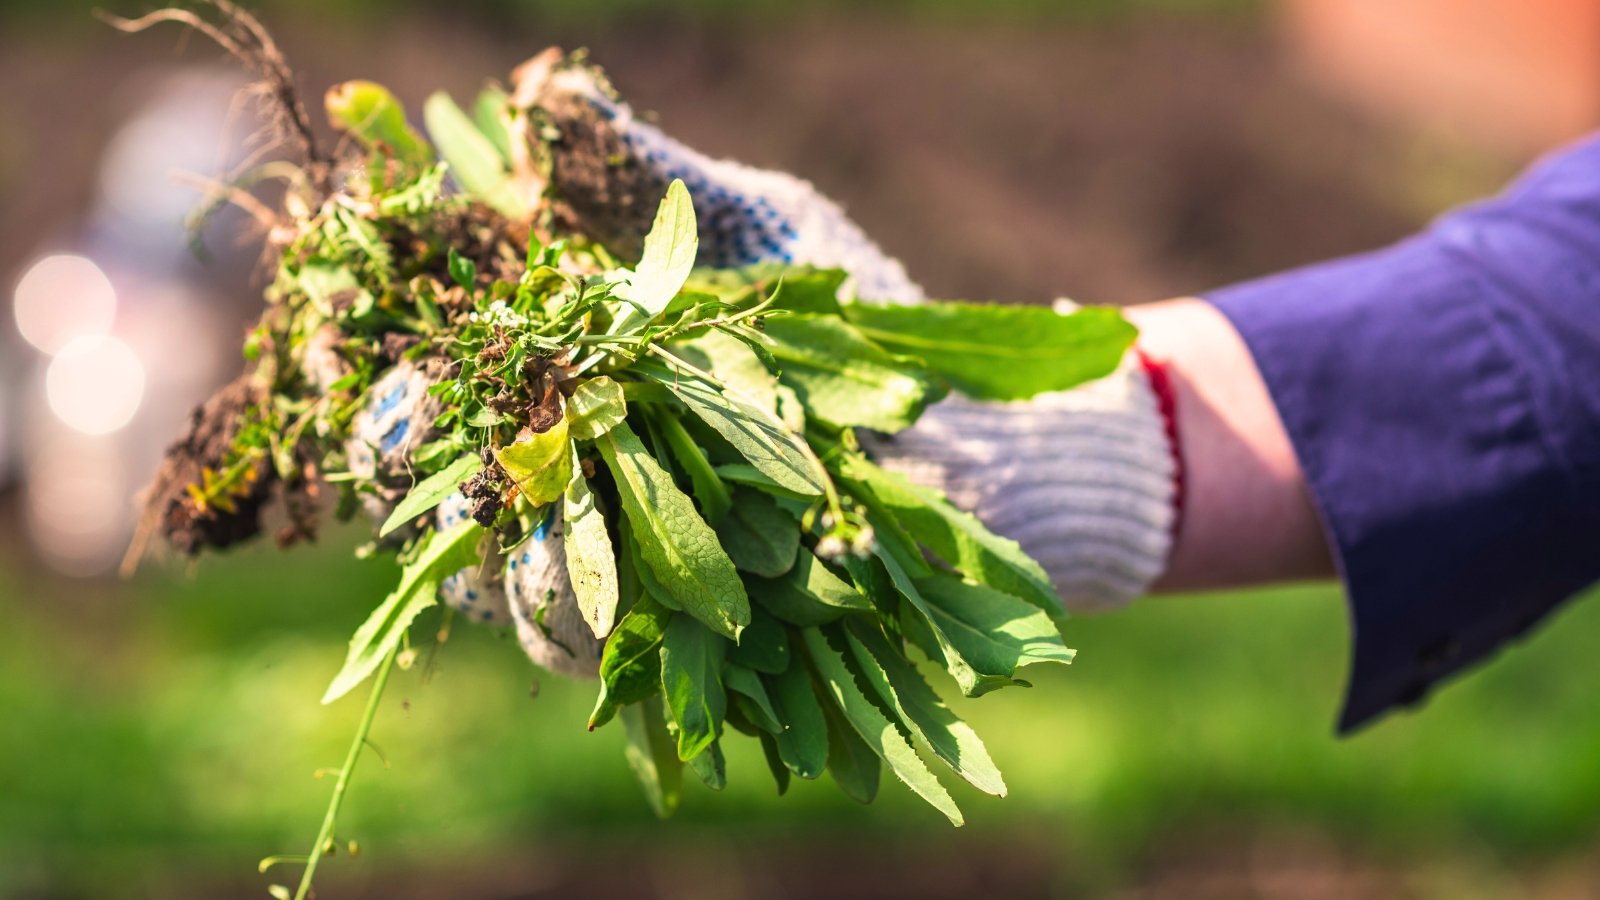
Step 7: Harvest Continuously
 Squash, peas, and other crops thrive with regular harvesting.
To harvest the most crops possible, you’ll want to pick the ripe vegetables, fruits, and herbs when they’re ripe. Constant picking tricks your plants into growing more flowers, leaves, and fruit. If you don’t let them produce seeds, they’ll rush to grow more before the end of the season.
Beans, peas, and squash benefit the most from routine harvests. They’ll stop producing if you let their pods and fruit reach maturity, and you’ll have to plant new seedlings.
Others, like corn and garlic, are a one-and-done harvest. It’s important to pick them on time, not so their plants will keep producing, but so you harvest the biggest, most delicious yields possible from your emancipation garden. Leave corn ears on the stalks too long, and they may rot or dry in the field. Pick them on time to ensure they last long in storage.
Step 8: Preserve Your Harvest
 There are many ways to store squash and other crops.
Preserving your harvest allows you to eat your fresh fruits and vegetables long after the Juneteenth holiday. Freezing, canning, drying, refrigerating, and fermenting are all viable methods of preserving. Freeze bean and pea pods, spinach, and diced squash for meals and recipes.
If you’re growing lots of fruit, like strawberries or blackberries, consider preserving them with sugar and pectin to make homemade jellies and jams. Refrigerate leafy greens like collards and mustard for use within the week, and ferment vegetables like carrots or green beans to give them a punchy kick.
Dry peppers, small tomatoes, and herbs for use for the rest of the year. Dried herbs and vegetables lend their flavor well to wet dishes, like soups, rice, and chili.


 English (US) ·
  French (CA) ·