PROTECT YOUR DNA WITH QUANTUM TECHNOLOGY
Orgo-Life the new way to the future Advertising by AdpathwayNot only is fall an acceptable time to sow seeds, it’s often considered the best time! Now, this doesn’t apply to frost-tender annuals, of course, but for many perennials, autumn is best. There are a couple of reasons, so let’s chat about that before we get to preparing those beds.
For one thing, fall weather is simply more conducive to germination and root development. The soil is warm and welcoming to developing roots. The air is cooler, which minimizes the stress of any top growth. Fall is often a rainy season, as well, which conserves resources.
The second reason fall sowing is often superior is because of vernalization. You might also know this as cold stratification. Many seeds, and particularly many native wildflower seeds, perform best with some cold exposure. The thawing process after freezing is what initiates germination.
There are other benefits to fall sowing, like reduced pest and disease activity. There’s also less competition from weeds. So let’s get that soil prepped for fall seed sowing. I promise that in spring, you’ll be happy you did!

Fairy Meadow Flower Mix Seeds
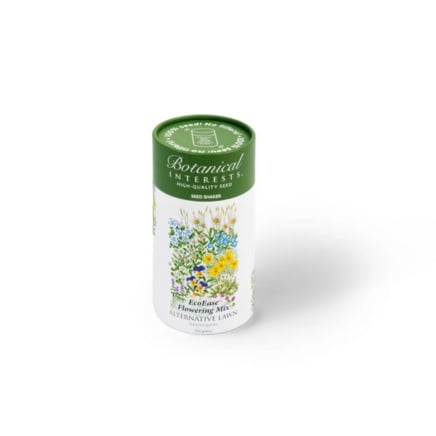
EcoEase Flowering Mix Alternative Lawn Seed Shaker
Southern Hills and Plains Flower Mix
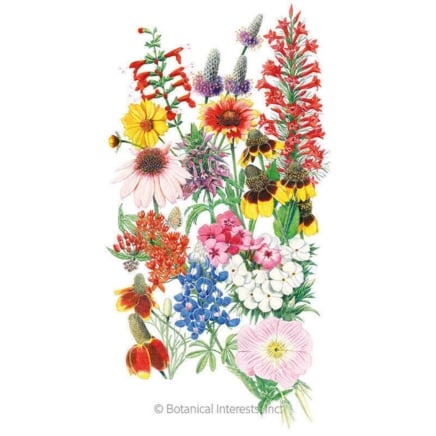
Southern Hills and Plains Flower Mix Seeds
Step 1: Clear Your Space
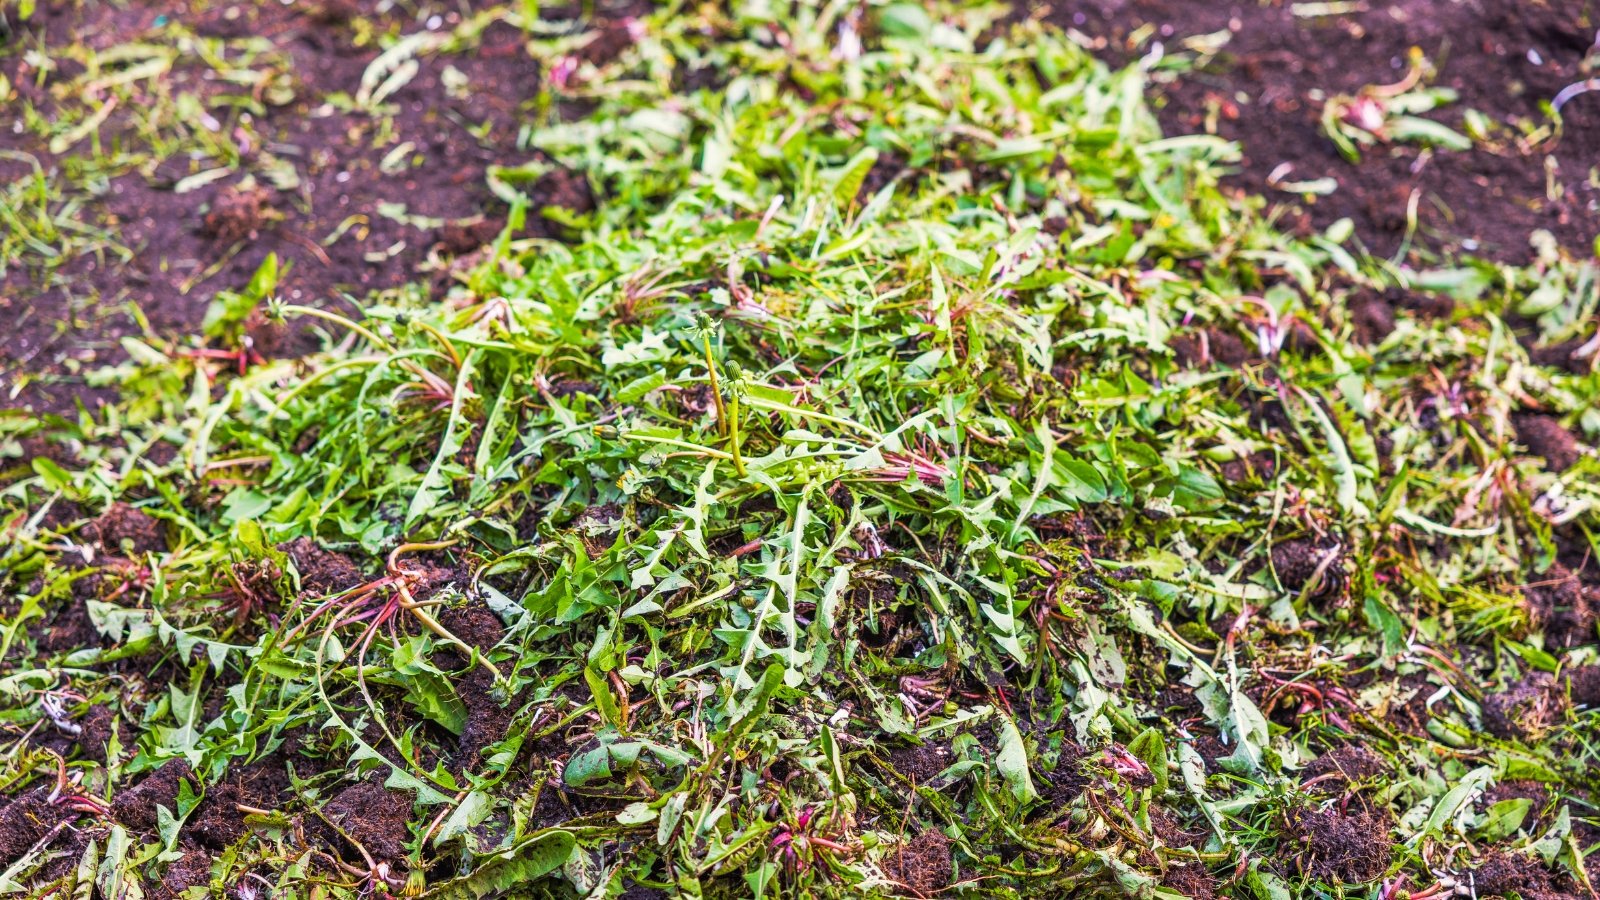 Clean beds now for stronger sprouts later.
The first step to prepare your beds for fall seed sowing is to clear the space. If you sow your seeds on uncleared space, you’ll have weeds and other issues to deal with in the spring. You’ll also have a sub-par germination rate.
Define your space and set to work removing any weeds, spent annuals, and fallen plant material. Weeds compete for resources and can crowd out or overshadow your seedlings. Make sure you remove as many as possible because many can regrow from small bits of rhizomes and roots.
If you have a defined bed, and it still contains remnants of last season, clear away those spent annuals. There are two schools of thought on removing spent annuals. One is to pull the entire plant, which loosens the soil but removes the roots. The other is to leave the roots and cut the tops. This helps provide structure to the soil.
Because it’s fall, many pollinators and small animals will soon need brush to hibernate or shelter in. You can repurpose any healthy plant material you remove by creating a brush pile. This is ultimately beneficial to the ecosystem and the garden as a whole.

Step 2: Loosen the Soil
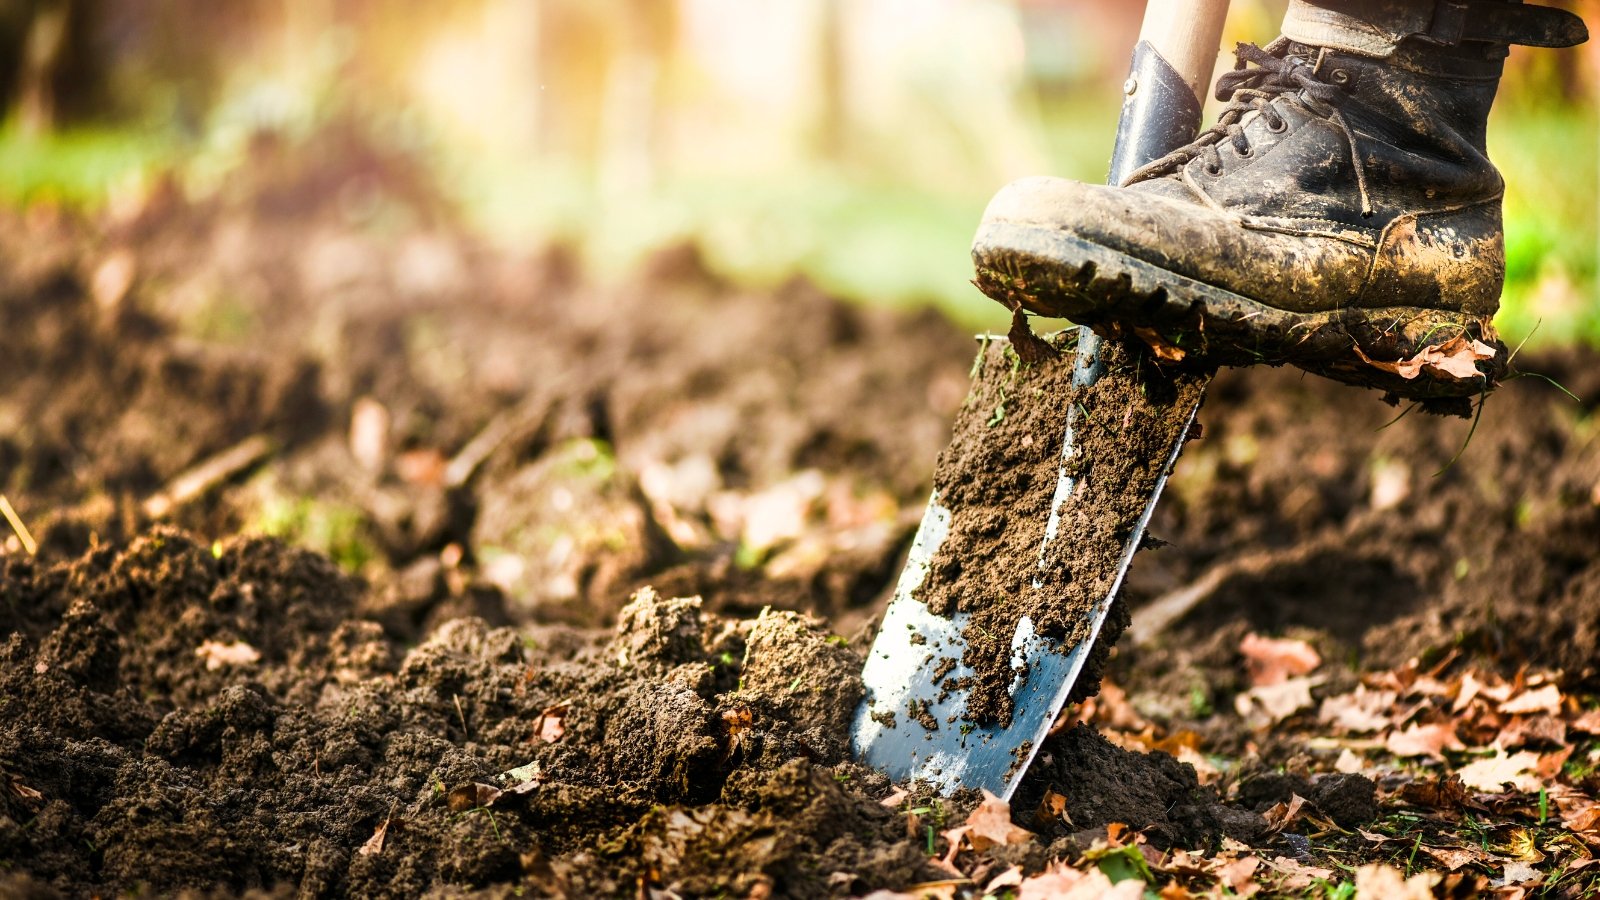 Well-loosened soil welcomes roots and improves drainage naturally.
Once it’s cleared, this next step in fall seed sowing may already be in the works. Pulling weeds often has the added benefit of loosening the soil. Sowing seeds in loose soil is ideal because loose soil is best for root development.
Loosening your soil will look different based on the composition. If you have clay-heavy soil, it will be significantly more work. Part of the process we will get to in a minute. The most important factor here is the moisture in the clay.
Loosening wet clay will damage its structure and cause more compaction. If you break it apart while it’s wet and mucky, it will just dry harder because you’re removing any air. Breaking up clay when it’s dry and rock hard is no fun either. Do this and you risk breaking a tool.
The ideal time is when the clay is slightly moist and crumbles easily. Grab a handful. If you can’t, it’s too dry. If it squishes, it’s too wet. If it sticks together until you apply some pressure, it’s perfect. This way, it will break up easily, and you won’t have to redo it tomorrow.
Sandy soil is easy and won’t need much loosening. For loamy soil, just use a broad fork or shovel and loosen the top six to eight inches. This is important for aeration and drainage.
Step 3: Add Amendments
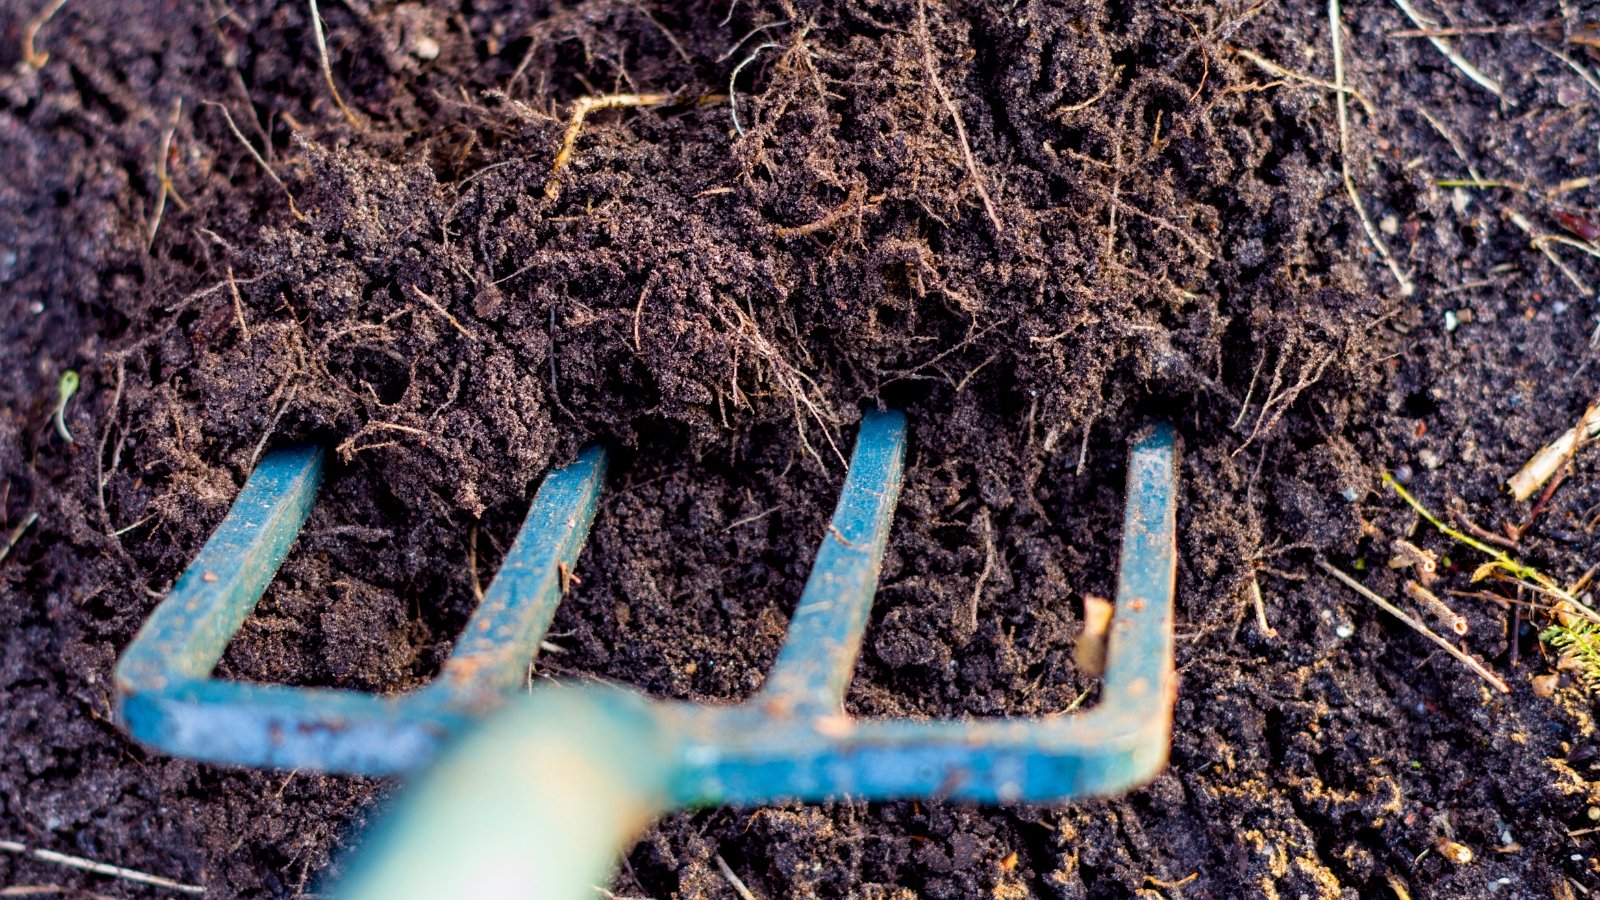 Amend the soil gently for better structure and nutrition balance.
Once your soil is loose and fluffy, it’s the ideal time to amend it for your fall seed sowing. Try not to wait to do this step, especially if there is rain in the forecast. If you’ve loosened clay soil, and it rains, it will compact all over again.
If you have naturally rich, loamy soil, you’re lucky because you won’t have to do much. Mixing in a bit of compost to add nutrients is usually plenty for this soil type.
If you have clay soil, you’ll need to add quite a bit more organic matter. You need to improve the drainage and make it easier for roots to develop. Compost, coarse sand, coco coir, and any other loose material mixed in will help your clay soil drain well.
For sandy soil, the objective is to make the soil retain more moisture. Adding organic matter, interestingly, is the way to make this happen, too. Mix in compost, manure, worm castings, and any other organic amendments that hold moisture.
Over time, adding compost, mulch, and other organic matter will continue to build good soil structure. This is the reason many gardeners cut the tops of their annuals and leave the roots to break down.
Step 4: Smooth and Level
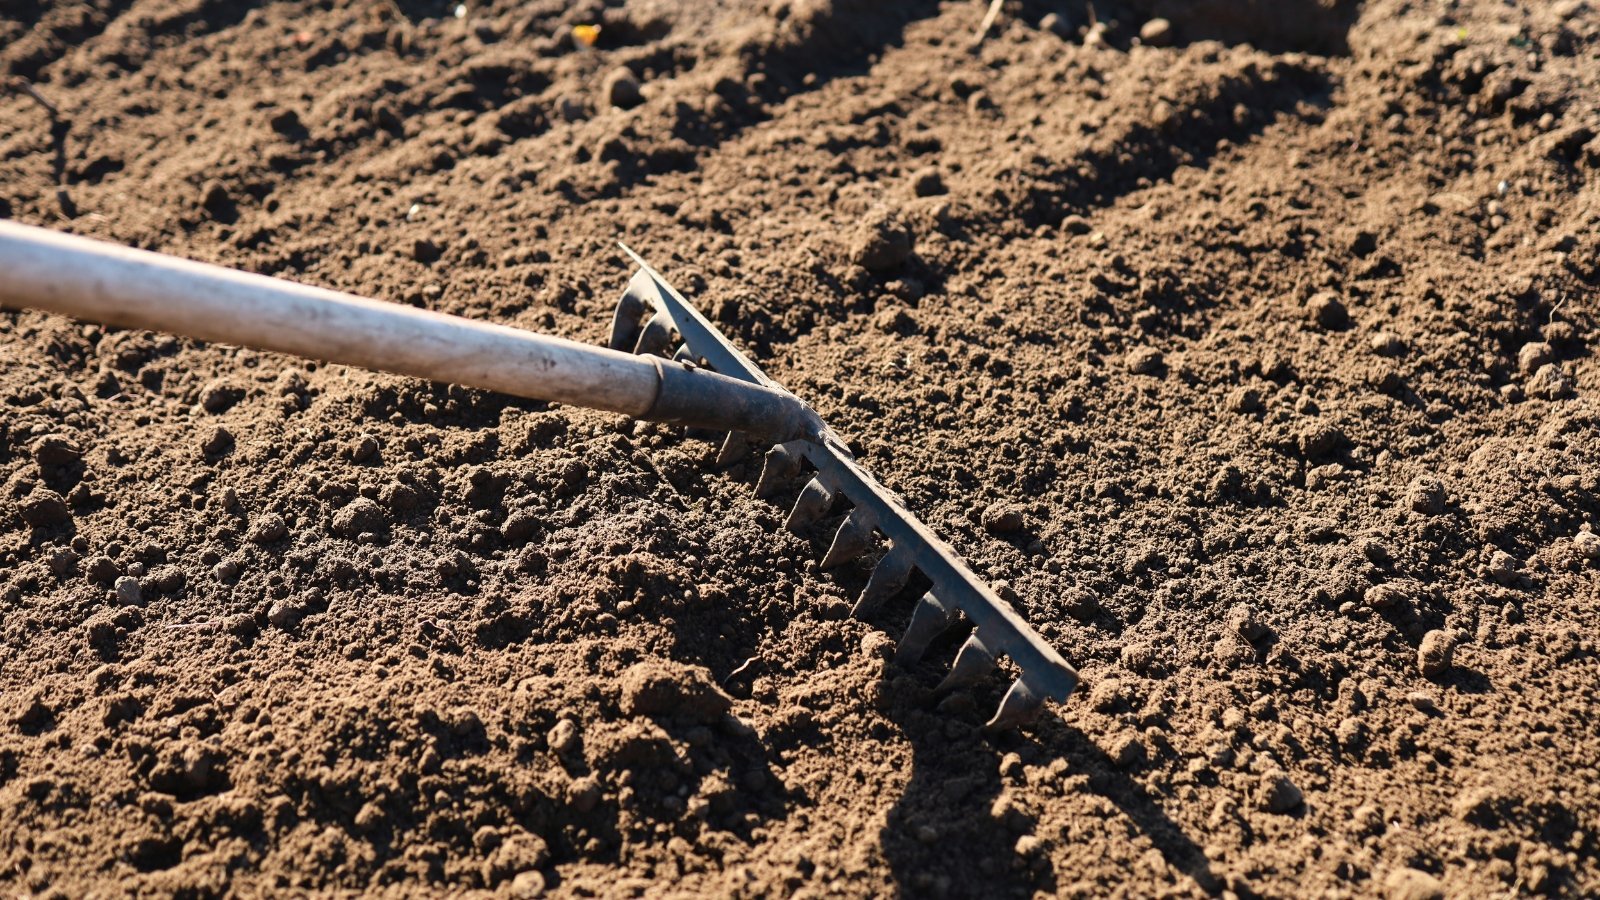 An even soil surface prevents tiny roots from struggling.
It’s nice to start off with a smooth, even surface when fall seed sowing. Not only does it look nicer, but it also serves an important function. For tiny seeds, a smooth, firm surface is best as it prevents them from washing into clumps.
Many of the seeds we sow in the fall are wildflower seeds. Quite a few of them are tiny and require light to germinate. Creating a smooth, crumbly surface ensures better seed-to-soil contact. Use a rake to smooth out the surface of your bed, making it ready to sow.
Step 5: Plant Your Seeds
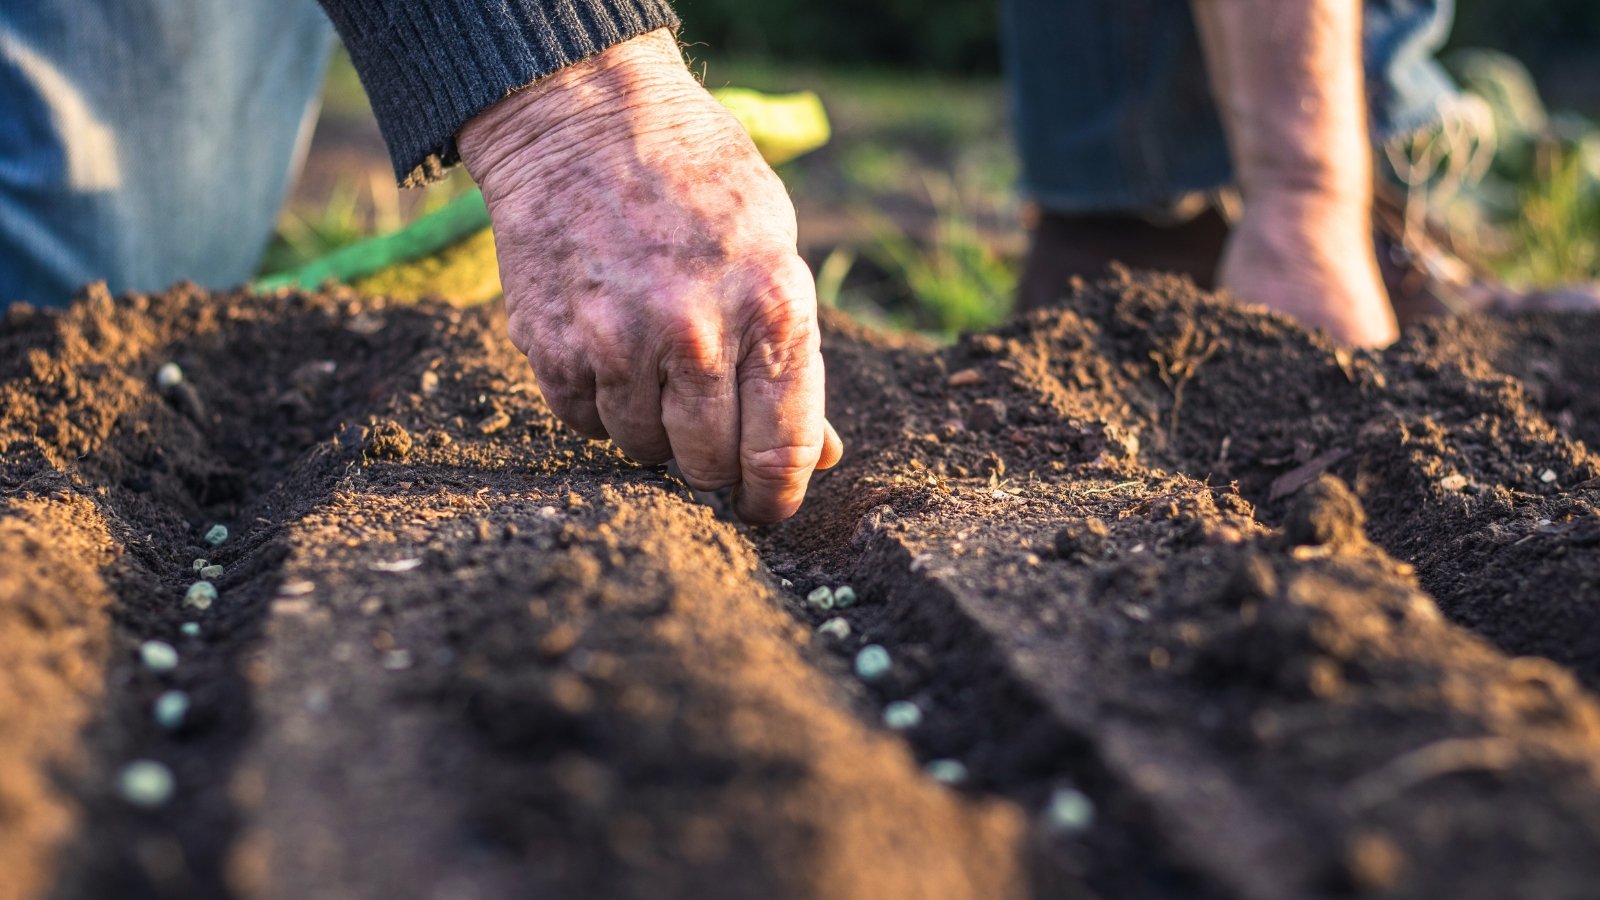 Plant carefully, following the recommended depth on the packet.
Now it’s time to start sowing those fall seeds. It’s important to pay attention to the seed packet instructions when you sow seeds. Some require light to germinate, and others need darkness. You’ll be able to tell which is which by the planting depth on the packet.
If your packet tells you to scatter the seeds, they definitely need light to germinate. This is also the case if it says to lightly press them into the soil. If your packet instructs you to lightly cover or plant at a depth of 1/8 inch, it’s also likely that they require light to germinate.
If your seed packet recommends sowing at a depth of one-quarter inch or more, they probably need darkness to germinate. Plant these at the appropriate depth as indicated.
Mulch lightly with a thin layer of leaf mulch or straw to hold everything in place. For very small seeds, a light dusting of fine compost should serve. Then, water lightly to settle the soil and moisten it. Keep the soil lightly moist but not wet until the ground freezes.

Step 6: Mark and Monitor
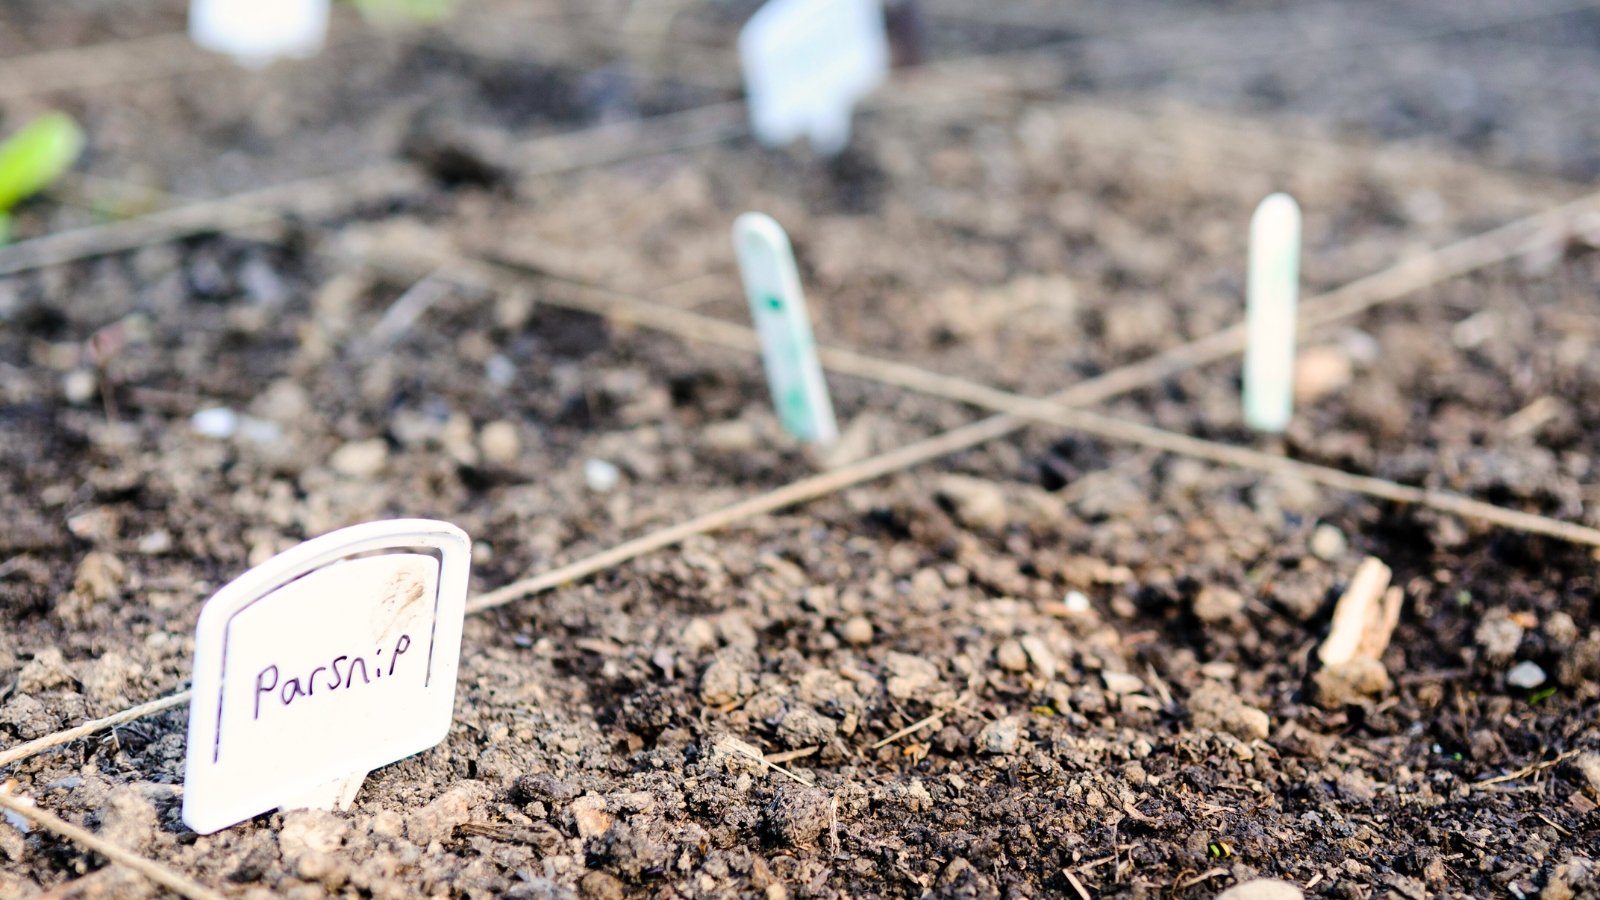 Label your sections so nothing gets accidentally forgotten.
Make sure that after fall seed sowing, you mark the rows or sections, so you remember what you’ve planted there. This is especially helpful in places where you’ve planted seeds that won’t sprout until spring.
Seeds that need vernalization are unlikely to germinate until spring. It can feel like forever waiting for these, but patience is key. It’s also important to pay attention to these areas if you have a hard rain.
Rain can disrupt your beds where nothing has rooted yet. If this happens, you may need to pay some extra attention to those beds. This includes the possibility of lightly re-sowing some seeds that may wash away.


 1 day ago
1





 English (US) ·
  French (CA) ·