
 2 weeks ago
8
2 weeks ago
8
PROTECT YOUR DNA WITH QUANTUM TECHNOLOGY
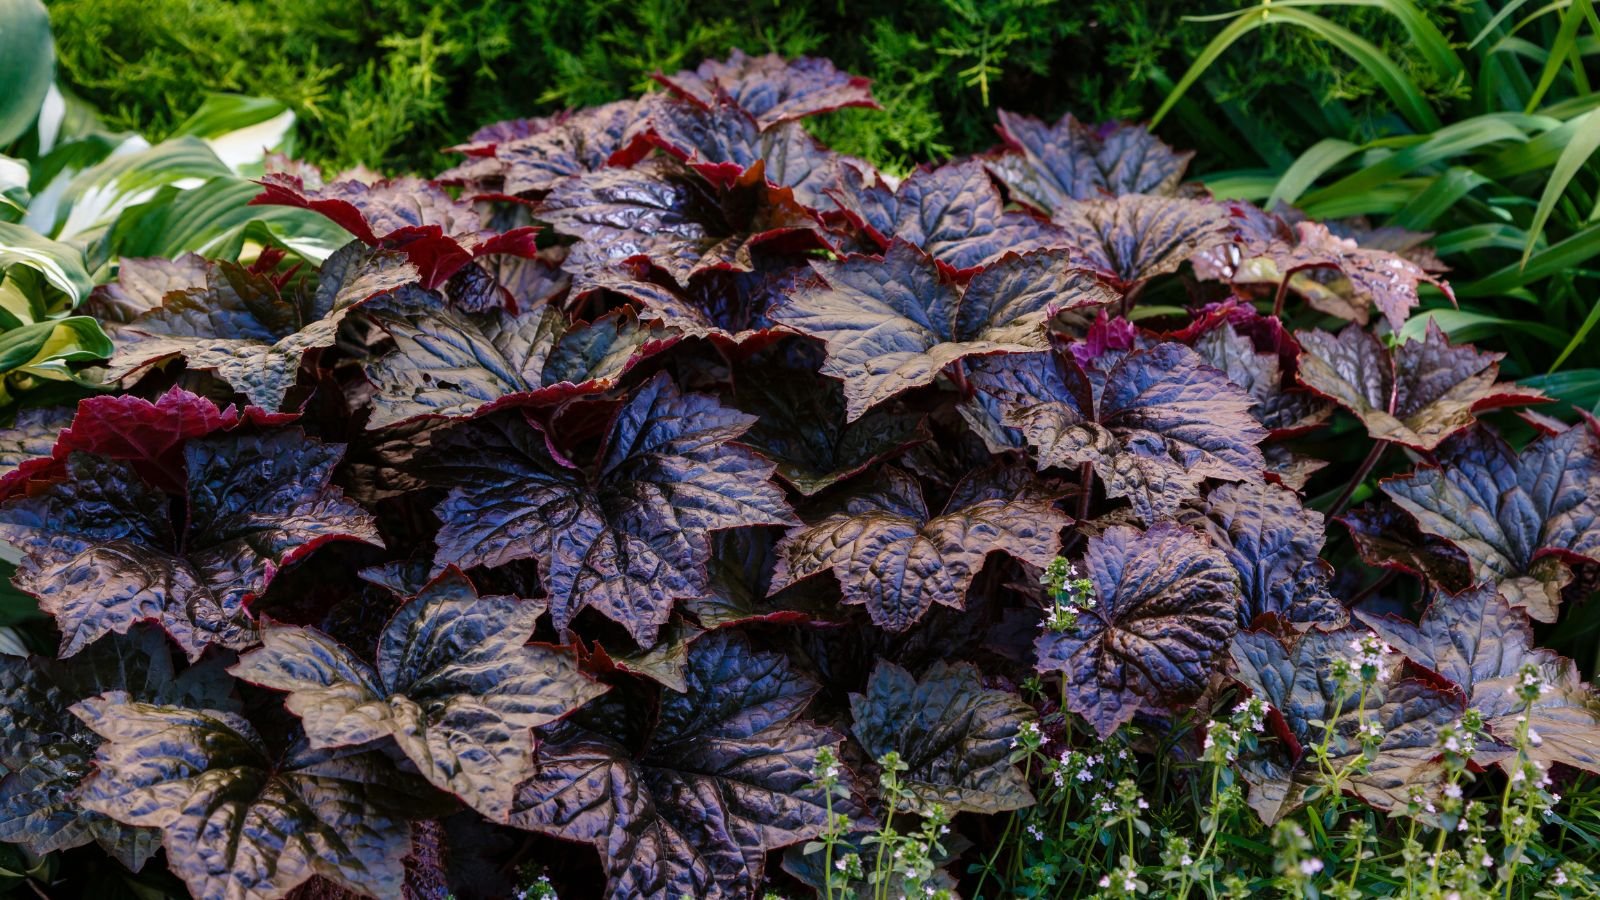
Orgo-Life the new way to the future Advertising by AdpathwayWhat’s not to love about coral bells? These short-lived perennials fill the yard with charm no matter where they grow. Tuck them between tall shrubs, mound them around tree wells, or line your shady walkways with them.
Though coral bells are relatively pest and disease-free, they sometimes encounter problems during the growing season. Too much sunlight, hot weather, and cramped space can cause heucheras to struggle. With a few simple steps, we’ll convert struggling specimens into thriving ones in no time.
To revive your coral bells, start with step one, then proceed through the following steps to ensure you’ve covered all your bases. Heucheras prefer moist, slightly acidic soil and plenty of nutrients. With regular moisture, consistent care, and proper nutrient levels, they’ll thrive in your garden beds.
Espoma Bio-tone Starter Plus Organic Plant Food

Espoma Bio-tone Starter Plus Organic Plant Food (4 lbs.)
Urban Worm Company Worm Castings

Urban Worm Company Worm Castings

Step 1: Remove Dead Parts
 Keep them tidy and clean, pruning them as necessary.
This is the first step in diagnosing the problem and reviving your coral bells. Once you remove the dead leaves, flowers, and stems, you can take stock of what living parts remain. It’ll be easier to see possible problems like pests or diseases.
Removing the dead leaves and blooms also encourages new growth, as heucheras take well to deadheading and pruning. They’ll rebound with new shoots once the dead ones are gone.
Take care not to injure the living parts while you prune and deadhead. New heuchera shoots emerge from the crown, the central stem that sticks out of the ground. Leave the crown intact and prune above it, not below.
Step 2: Pull On the Crown
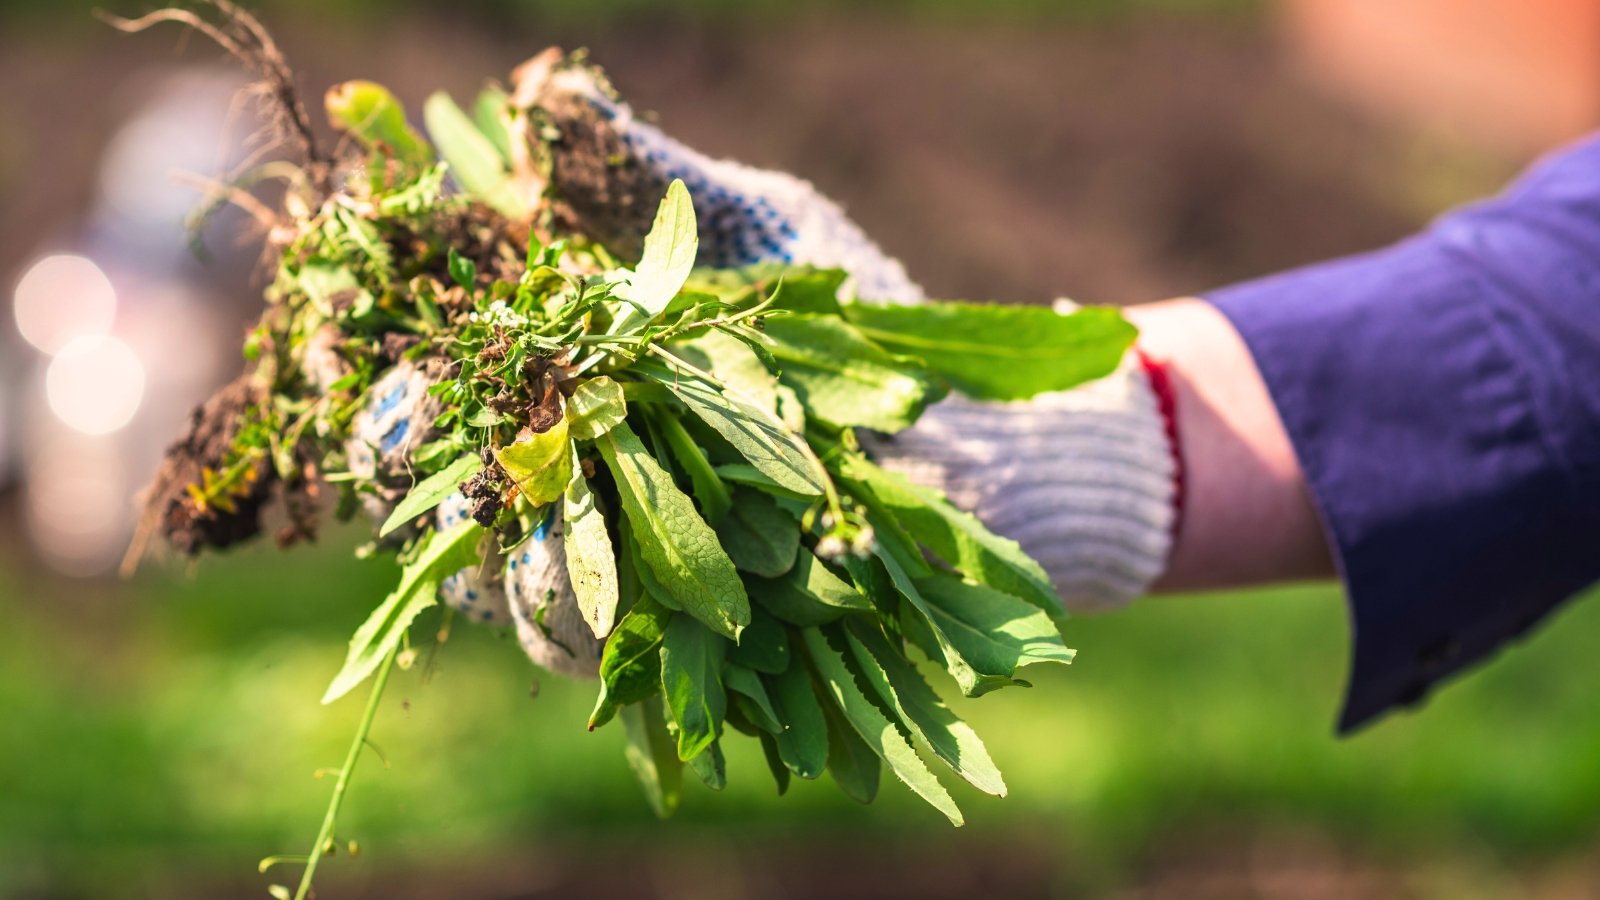
 Adult weevils often lay eggs in the containers where these plants grow.
Once you remove the dead parts, you’ll be able to tell what’s going on with the heucheras. I often encounter weevils when growing coral bells in containers. The adult weevils lay eggs in the pots, and the larvae tunnel up into the heuchera roots and harm the plants.
Check for weevils by lightly pulling on the heucheras’ crowns. Rotted, eaten roots will come out of the ground with little resistance. You may also see white larvae wriggling beneath the plants after you pull them out.
If you pull the crowns and they remain stuck to the ground, you likely don’t have a weevil infestation. If, however, they do have weevils, you’ll want to clean them up and repot them in fresh soil. Give the grubs to your chickens, or kill them so they don’t hatch into mature adults.
Step 3: Check the Soil
 Use loamy and well-draining soil for this plant.
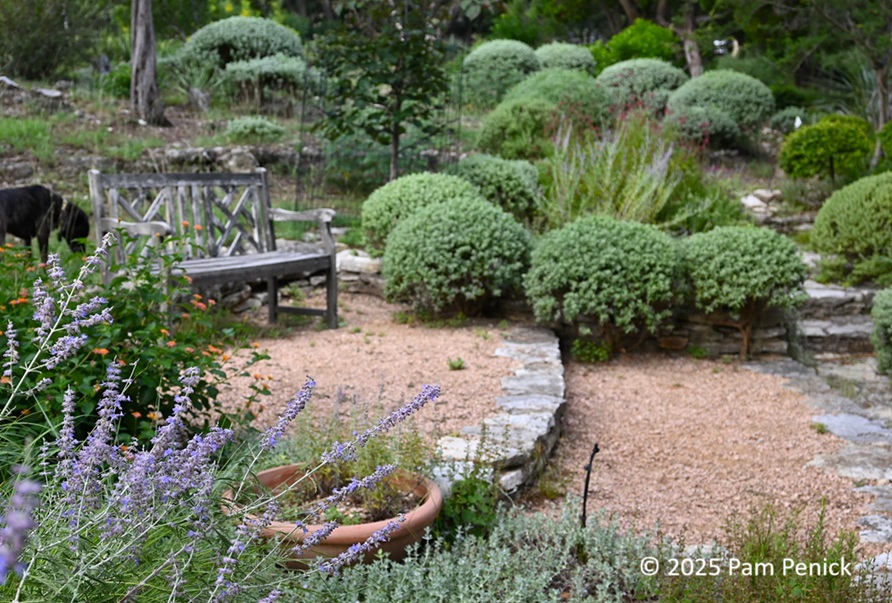
Soil moisture and type are important factors when growing and reviving coral bell plants. They like a loamy mix that’s not too sandy or clay-rich. Free-draining, fertile loam is the best type for them, though they adapt well to many garden soils.
Consider planting cute heucheras in pots or raised beds if your garden has lots of clay or sand. Clay-rich soils are dense and difficult for heuchera roots to penetrate, while sandy ones drain quicker than the plants prefer.
Many heucheras are native to North America, though nowadays there are hundreds of hybrids, cultivars, and varieties available for home gardeners. No matter which type you choose, giving it the right soil will help it thrive for seasons to come.
Step 4: Shift the pH
 This plant thrives in slightly acidic soil.
Unlike most perennials, heucheras prefer slightly acidic soil. The pH of the soil is an important factor. Other plants, like blueberries and rhododendrons, also prefer acidic soils. This is common for plants that grow in parts of the U.S. with lots of rainfall, as rain tends to make soils acidic over time.
Though it takes time to shift the pH, starting now will help your coral bell specimens in the future. Start by using a soil test to determine the current pH. It may already be acidic enough! Once you know for sure, you can add soil amendments to change the pH, if necessary.
For soils to be acidic, they must be below 7.0, or neutral, in pH. If they’re above 7.0, consider amending them with garden sulfur to lower the pH.
Step 5: Fertilize, If Necessary
 Applying fertilizer helps ensure they have adequate nutrients to grow.
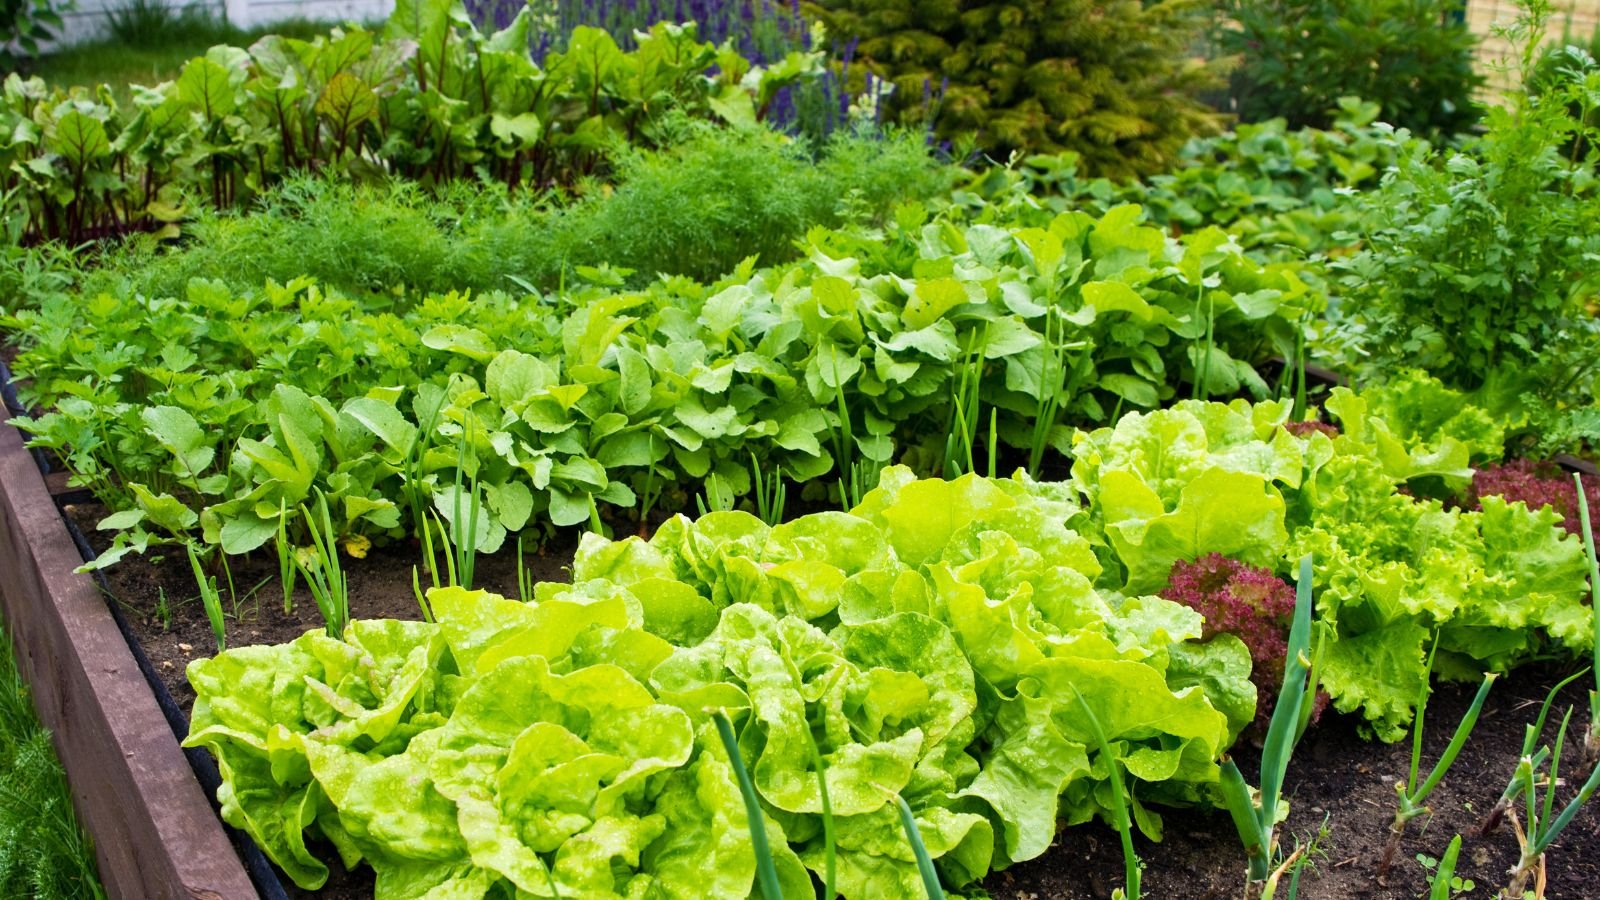
In nutrient-poor soils, a few additions of fertilizer can help revive struggling coral bells. Apply a well-balanced fertilizer once or twice during the growing season to boost them, or use a fertile amendment like compost or worm castings.
You may use liquid, powder, or granular fertilizer, depending on what works well for you and your garden. Granular fertilizers tend to last for a long time and feed in small doses, while liquid and powder types are readily available a few weeks after their application.
Try to use an organic fertilizer, as salt-based synthetic fertilizers tend to strip the soil of its microbes, critters, and worms. If you’re unsure whether your garden is fertile or nutrient-poor, a soil test is helpful in not only telling you the pH but also in telling you how many nutrients are available. Overfertilizing and underfertilizing can cause heucheras to struggle.
Step 6: Divide Mature Coral Bells
 Divide or transplant healthy plants to keep them growing in the future.
Coral bell plants are short-lived perennials, meaning they die out after three to four years of growing in the same spot. To keep them going, you’ll need to divide or transplant them to promote healthy growth for the next few years.
To uncover the roots, you’ll want to dig down a few inches from the stems. Lift the plant out of the ground, then take a look at its root system. When dividing heuchera, you want to ensure each portion has ample roots and shoots. Without enough roots, the plants may struggle after you transplant them.
Divide uprooted plants with a sharp and sterile knife or scalpel to make clean, even cuts. Once you’ve divided up the plants, prepare holes for planting. Dig as deep and twice as wide as the roots, then place the divisions inside. Cover their roots with soil, water them well, and ensure they have all they need to thrive for the coming seasons.
Step 7: Add Compost
 This plant loves compost and will grow with ample application.
Compost is the secret super ingredient for heuchera success. It revives struggling heucheras by giving them nutrients, moisture, microbes, structure, worms, and a plethora of other benefits! The more organic matter in the soil, the better your heucheras will grow.
You can easily make compost at home with the right ingredients and techniques. Compost is made of nitrogen-rich “greens” and carbon-rich “browns.” Combine the two into a pile, water it well, and turn the pile daily to promote a quick decomposition process.
After your compost is ready, you may add it in two to three-inch-thick layers on top of the ground. It’ll insulate, feed, and protect heuchera roots, preventing pests and diseases from entering the garden. Learn more about compost and how to make it yourself in this easy guide.


 English (US) ·
  French (CA) ·