
 1 week ago
14
1 week ago
14
PROTECT YOUR DNA WITH QUANTUM TECHNOLOGY
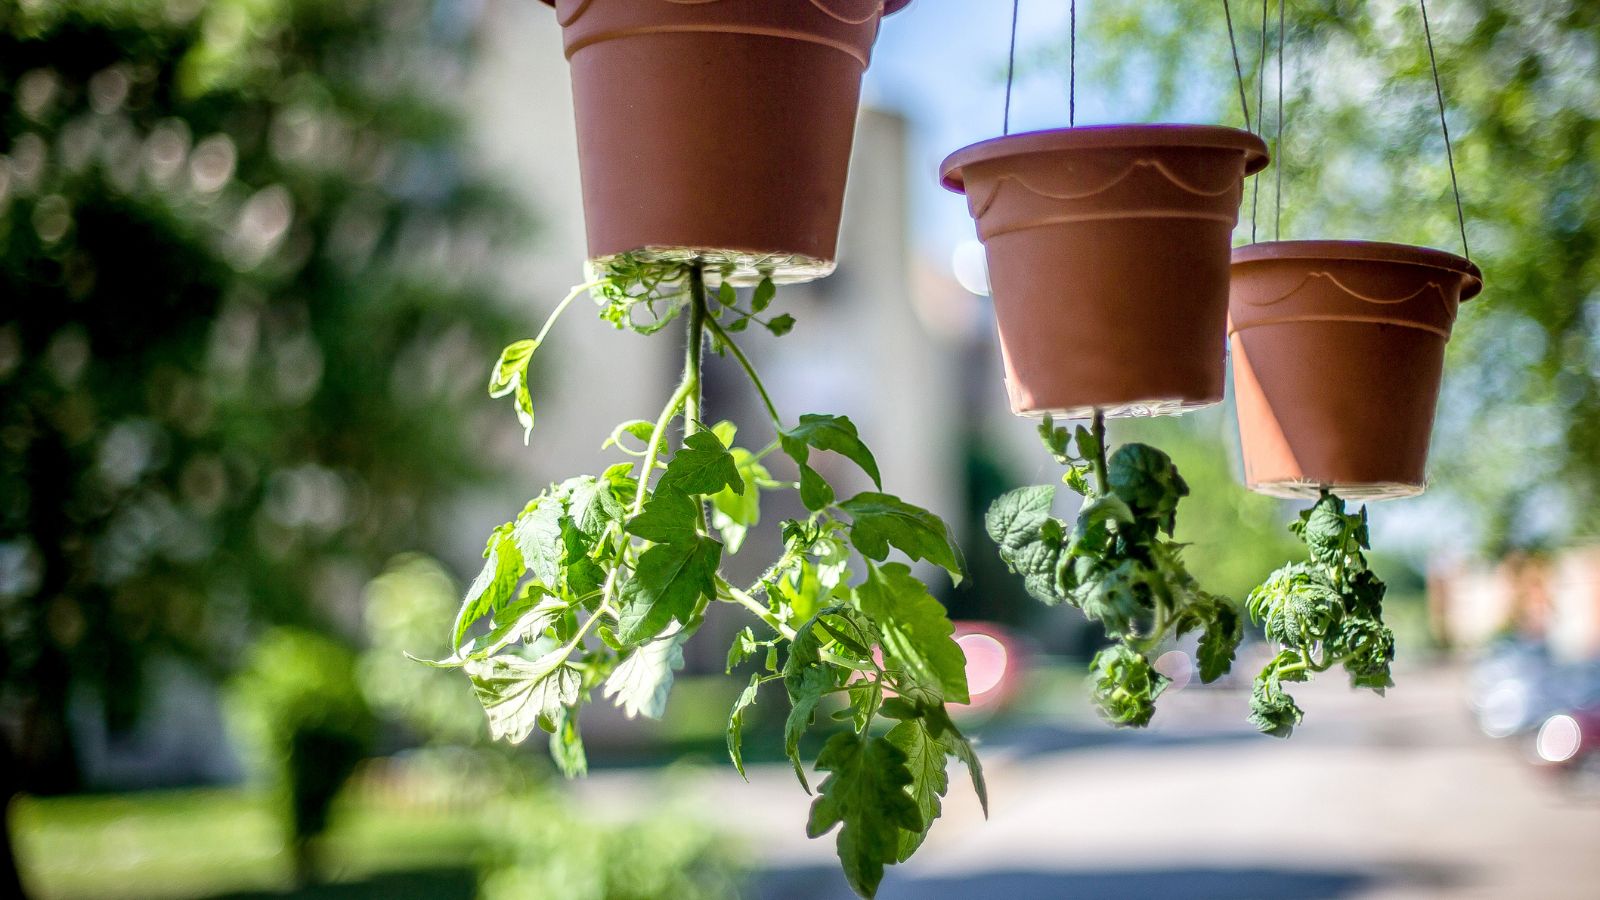
Orgo-Life the new way to the future Advertising by AdpathwayGrowing tomatoes is my favorite thing to do in summer. There’s nothing like enjoying a tomato right off the vine. Tomatoes are not super fussy, but they do need plenty of sunlight and nutrients. If you live somewhere without full sun access, try growing your tomatoes upside down!
Epic Gardening founder, Kevin Espiritu, recently met someone at a garden show who asked what he would do if he had a north-facing patio with almost no sun, and they wanted to grow tomatoes. His response was to grow them high up and upside down.
Using the Italian ‘Roma’ variety, Kevin successfully grew his vines upside down and managed to produce a hearty crop. This unique tomato-growing trick saved space and offered a unique aesthetic. Aside from a few supplies and a hook to hang your pot on, there’s not a ton you need to do this at home yourself! Here’s how!
Italian Roma Bush Tomato

Italian Roma Bush Tomato Seeds
Cream Sausage Bush Tomato

Cream Sausage Bush Tomato Seeds
Ace 55 Bush Tomato


Step 1: Choose the Right Variety
 Determinate types are best for this method.
Look for a bush style or determinate tomato. Kevin chose Italian Romas, but there’s plenty more determinate or bush types out there. He also found that a cherry would work in this kind of planting, but heavier tomatoes are best, as they help the vines stay downward as the plant tries to grow upward.
If you have enough time before tomato season ramps up, you can purchase seeds and start them ahead of planting. Roma types are great, as they have a mid-sized fruit that draws vines down, and they’re not so heavy they’ll break the vine.
Supremo Bush romas are a great second option, next to Kevin’s choice. ‘Cream Sausage’ is a yellow, Roma-like variety. There are so many good choices out there, though. Maybe you have one in mind already.
If you’re starting indoors, gather your seed starting supplies, and get your seeds in their cells at least four weeks ahead of your last frost. If it’s well after your last frost, look for a determinate or bush variety transplant.
Step 2: Gather Your Supplies
 This tomato-growing trick requires a bucket, a drill bit, burlap, and a strap.
After you’ve located your preferred tomato, it’s time to get your gear out and get the project started. You’ll need a standard 5-gallon bucket, a hole saw to drill a hole in the bottom of the bucket, a drill bit for drainage holes, and some burlap and a strap to hang your bucket high up. Ensure you use a bucket that is large enough to accommodate growing tomatoes in a container.
Use a three-inch or wider hole saw (no more than four inches), and a ¼ inch drill bit for your holes. When it comes to burlap, that’s what Kevin used. However, you can use cardboard or any other porous material. For your strap, you want something that can hold 30 to 50 pounds to ensure it doesn’t break when your plant is covered in tomatoes.
Step 3: Drill Your Holes
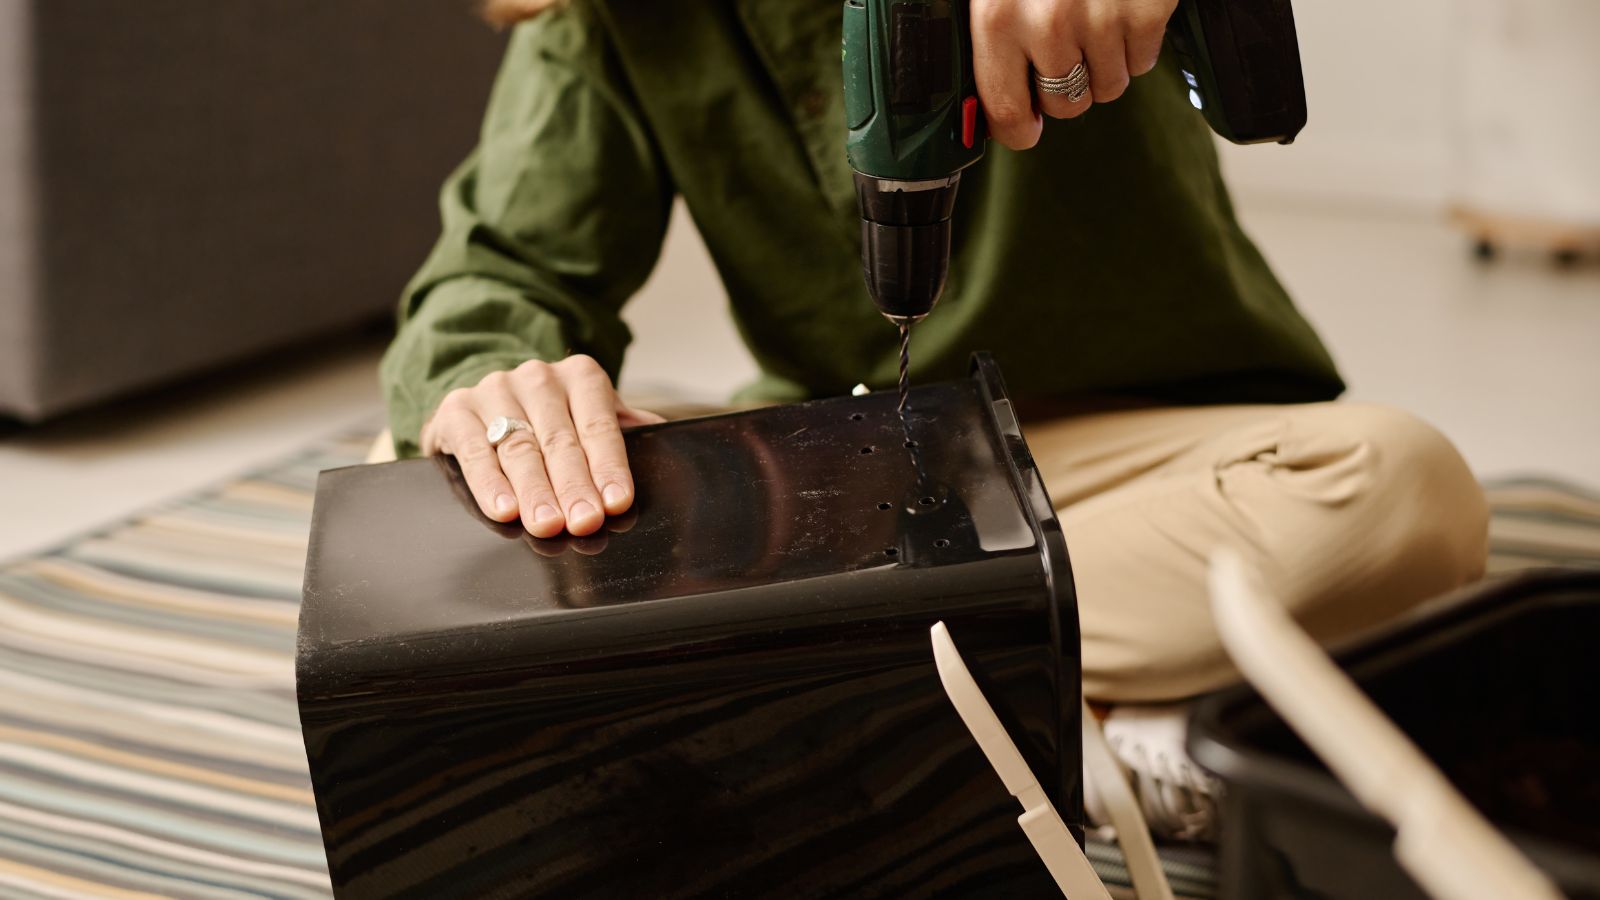 Properly sized holes are crucial for allowing drainage and plant growth.
Since you’ll use the bucket’s handle to hang the tomato, you need a three to four-inch hole where your plant can pop out and hang. Attach the hole saw to your drill, and find the center of the 5-gallon bucket. Most of these have a demarcated circle in the center of the bottom that guides you. Then drill!
Then you need drainage holes to allow water to flow out of the bucket, rather than sitting within and rotting your tomato’s roots. Using your drill bit, drill six to seven evenly spaced holes around the large hole you made with your hole saw.
Step 4: Insert Your Burlap
 Burlap acts as a liner to keep soil inside the container.
You need some kind of liner within your bucket to ensure the soil doesn’t fall out of the holes you just drilled in your bucket when you hang it upside down. This is what your porous material is for. Whether you choose burlap, landscaping cloth, or cardboard, place it on top of the bottom of the bucket to size it up.
Make an outline of the circumference of the bucket, and cut the material so it’s small enough to fit into the inside base. Cut an X in the middle where the tomato will come out of the bucket to hang. If you’re using cloth, simply fold it in half and cut a straight line, then fold it in half the other way and repeat. Easy peasy!
Step 5: Prepare Your Tomato
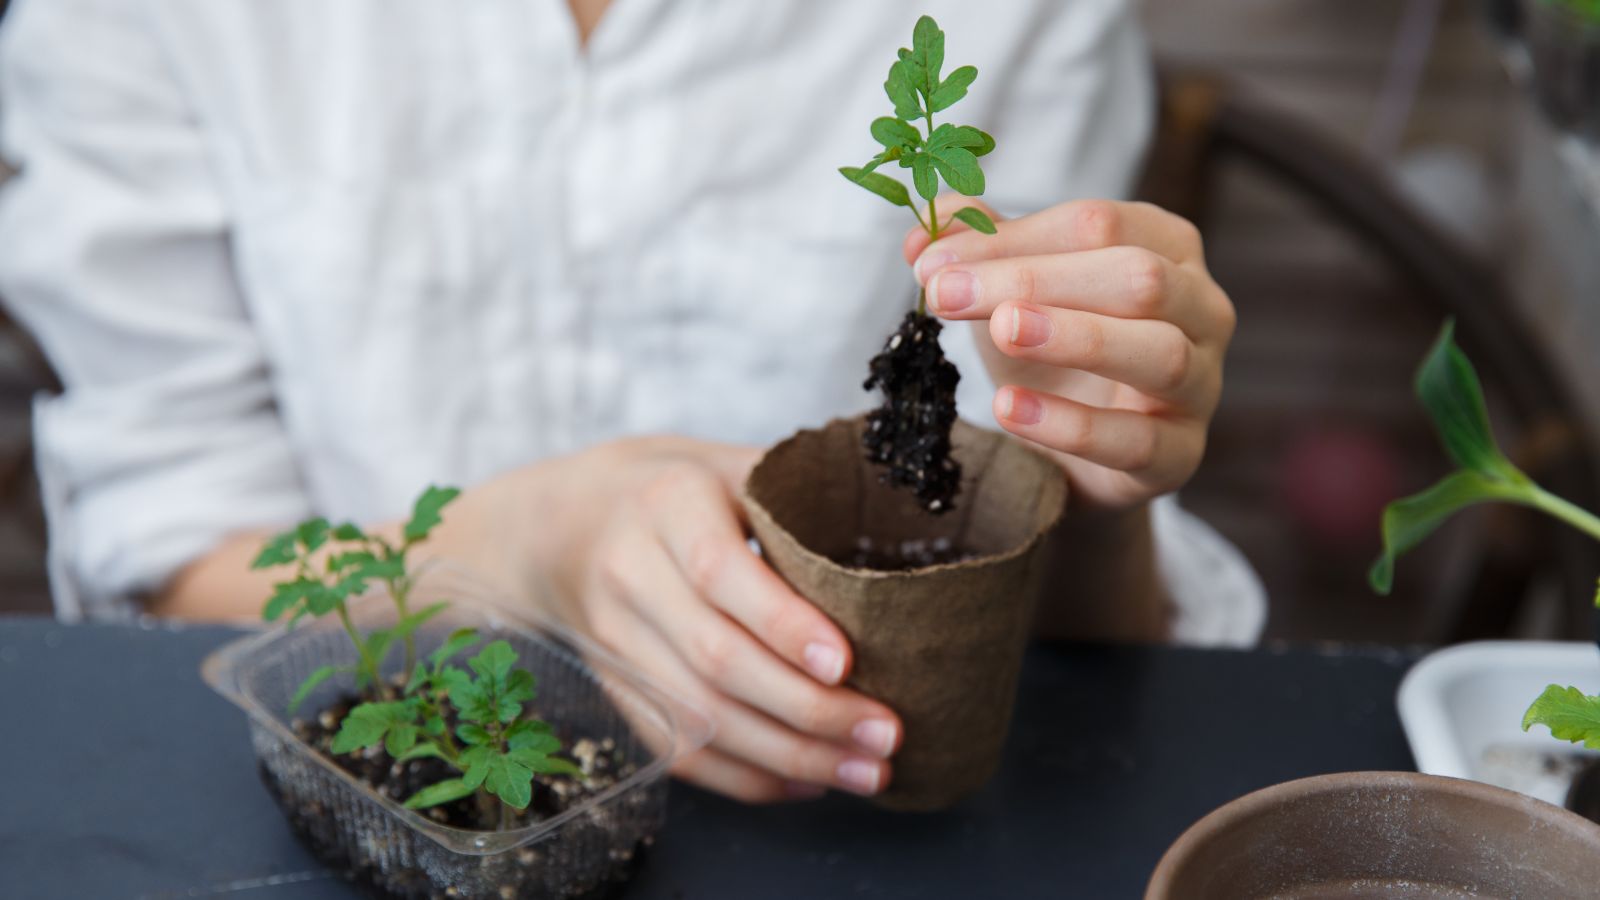
 Remove lower leaves as seedlings grow.
Because you have a pretty small hole to fit that tomato into, use this growing trick to maximize space. Tomatoes develop adventitious roots along their stems easily, so it’s best to start by pruning the bottom tomato leaves. Remove the bottom three to four sets of leaves, leaving ample foliage above. At least a few sets of healthy leaves will do.
Then, inspect the roots and determine whether or not they are slightly bound. If they are, use your hands to gently loosen them and prepare them. If they aren’t, you’re good to get planting.
Step 6: Add the Tomato
Throw your line in first, then thread the tomato through the X you made. This is the only meticulous part of the process. Be careful not to cause too much damage to the tomato as you compress its leaves to weave through the hole. However, tomatoes are pretty tough and bounce back from a little roughness quickly.
Step 7: Top the Bucket Off
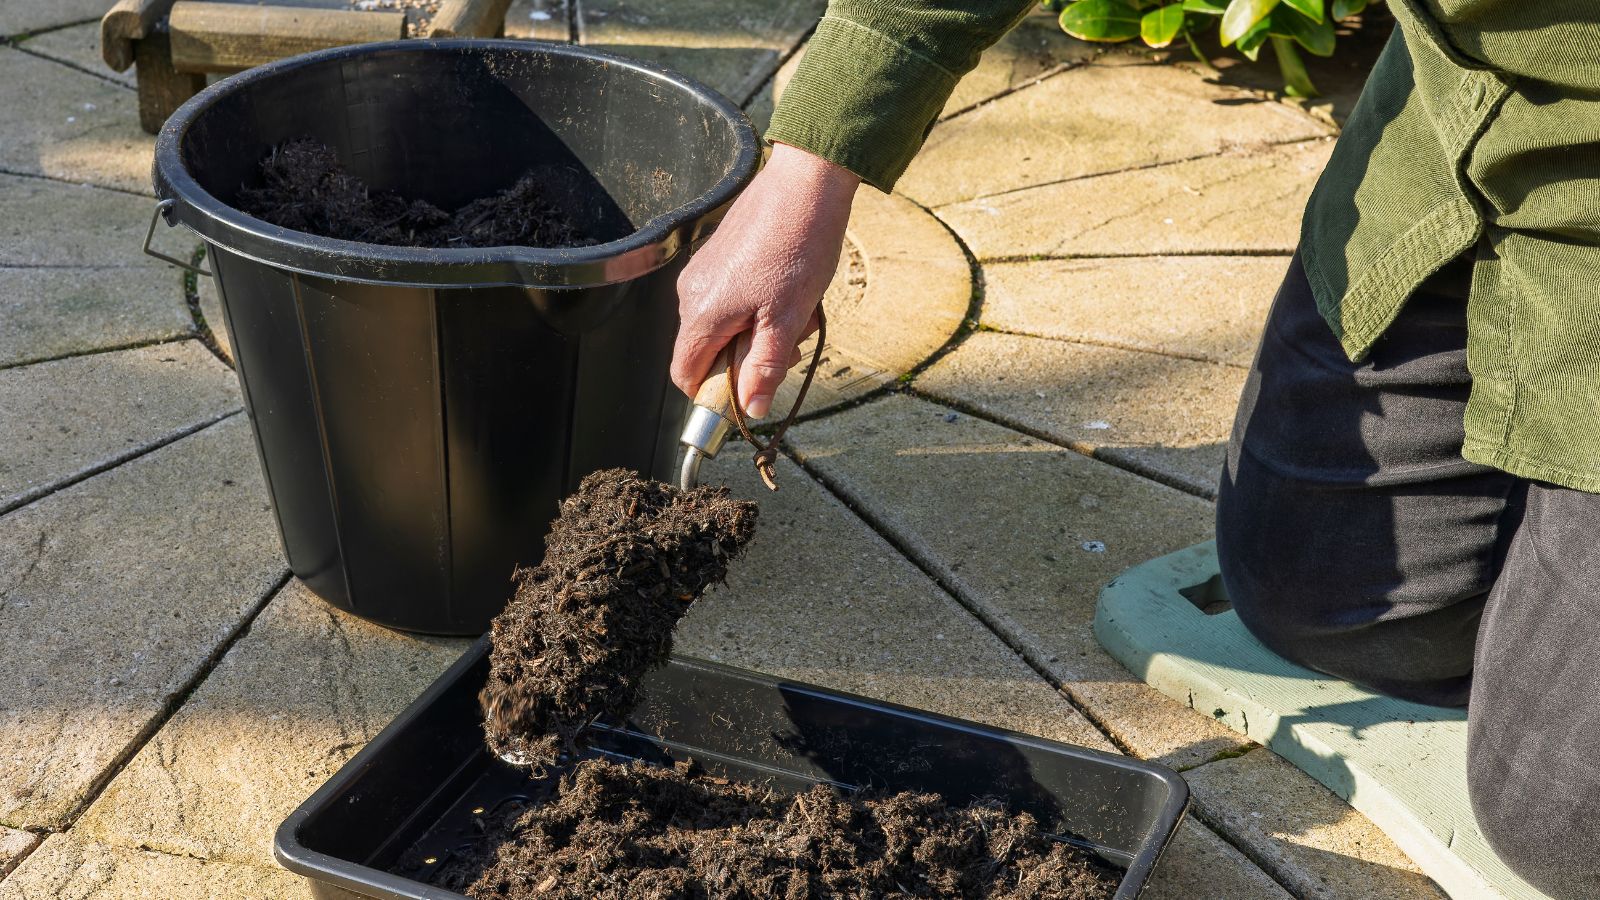
 Fill with quality, well-drained soil.
Turn your bucket to its upright (upside-down) position and set it off the side of a table so the tomato is hanging out of the bucket with no obstructions. Grab a friend or loved one to help you balance while you fill in the rest of the bucket with a good-quality tomato soil.
Any high-quality potting soil is perfect for this tomato-growing trick. You want something that has plenty of nutrients, because as you water, the soil will be slightly depleted through the season. You don’t have to fill the entire bucket with soil, but do fill it so your tomato roots are covered with at least an inch or two of soil. If you do fill it up all the way, you can execute an extra step (more on that later).
Step 8: Hang It Up
 Check that your hanging hook can support up to 50 pounds of weight.
Fold your strap in half and loop it around the bucket handle. Then slide the ends through the small loop, creating a failsafe knot that hangs nicely. Find a spot that can hold 30 to 50 pounds of weight (just like your strap), and a way to affix your bucket to the hanging area.
Kevin used a carabiner, but you can use an eyehook, a tension rod, or even S hooks. Take the loose ends of your strap and make an overhand knot. Then clip the carabiner, a hook, or simply slide the knot over your hook of choice. Hang up your bucket, and water it in!
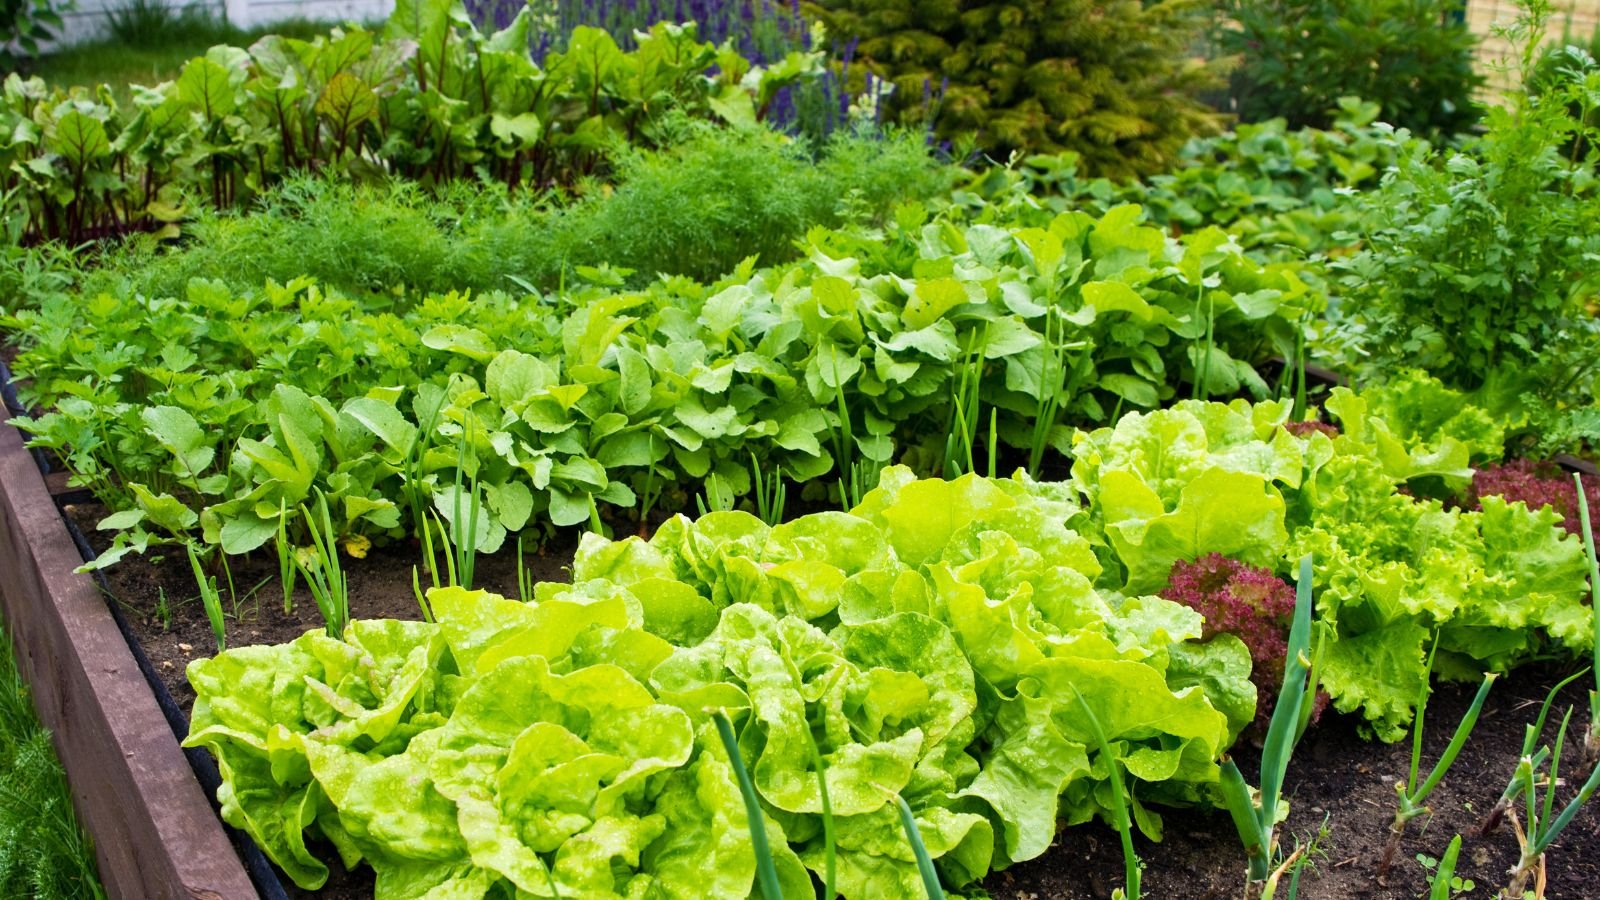
 Growing tomatoes upside down offers a unique opportunity to add companion plants at the top.
One of the coolest things about growing tomatoes upside-down in a bucket that has an open top is that there is room for growing a shallow-rooted plant in that upper section! Kevin used that extra space to grow a few heads of lettuce, which retain moisture as a living mulch.
You can pop some basil or marigolds on top if you’d like. Or try some borage or nasturtium. Not every tomato companion works here, though. Carrots are too deep-rooted, for instance.
If you decide to go this route—which we really think you’d be missing out if you didn’t—wait to hang your bucket until after you plant your topside crop. Then hang it and water it in.
Follow Up
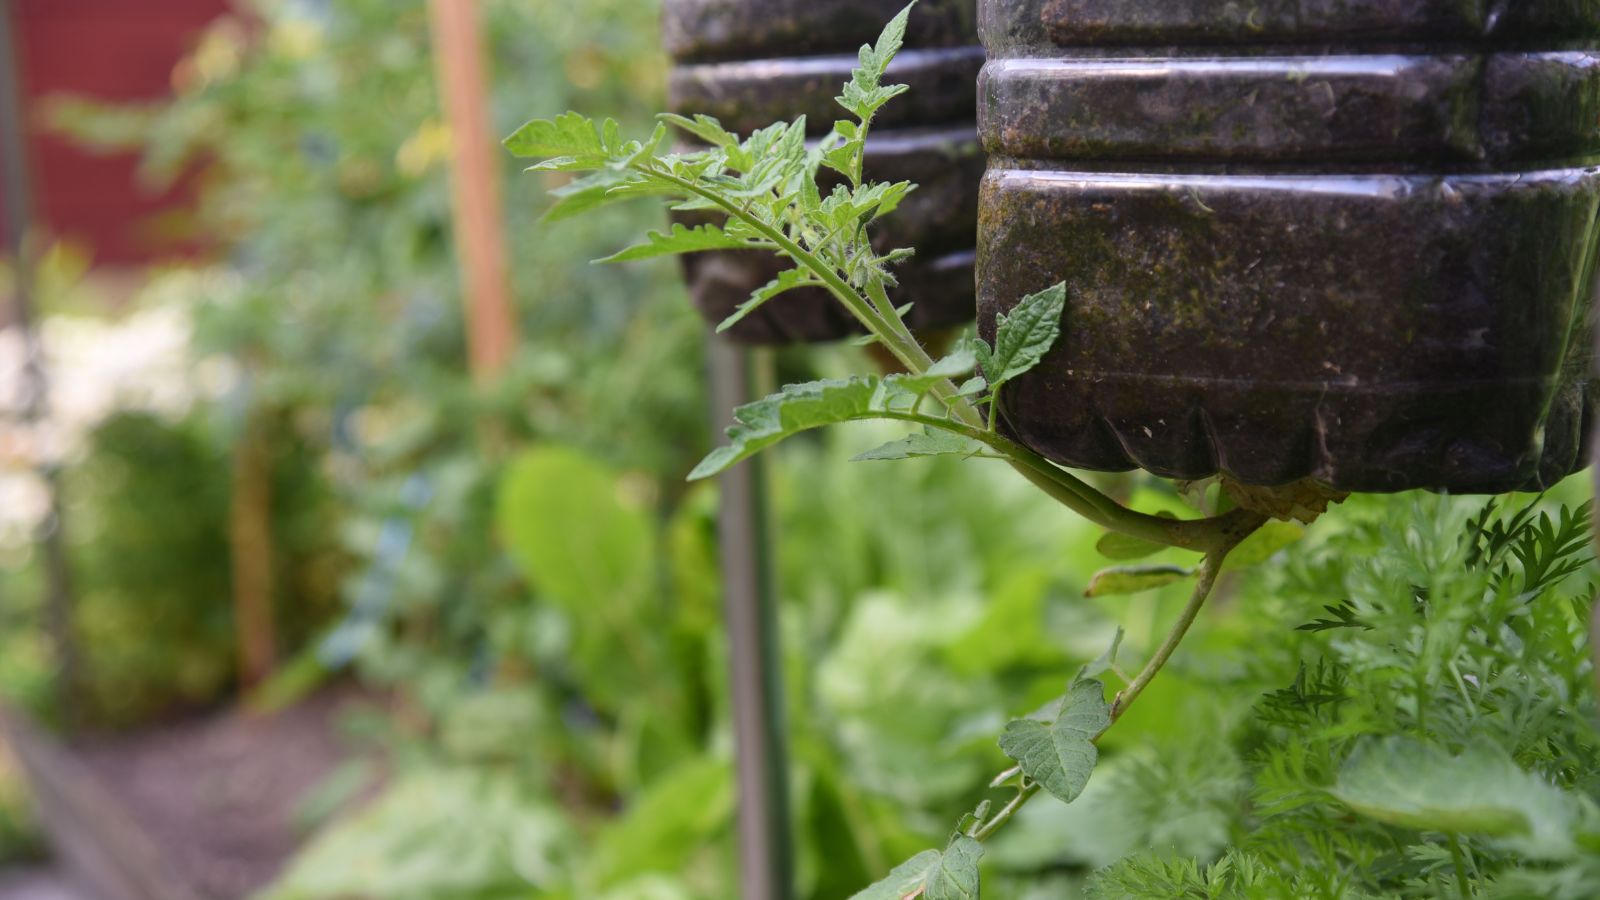
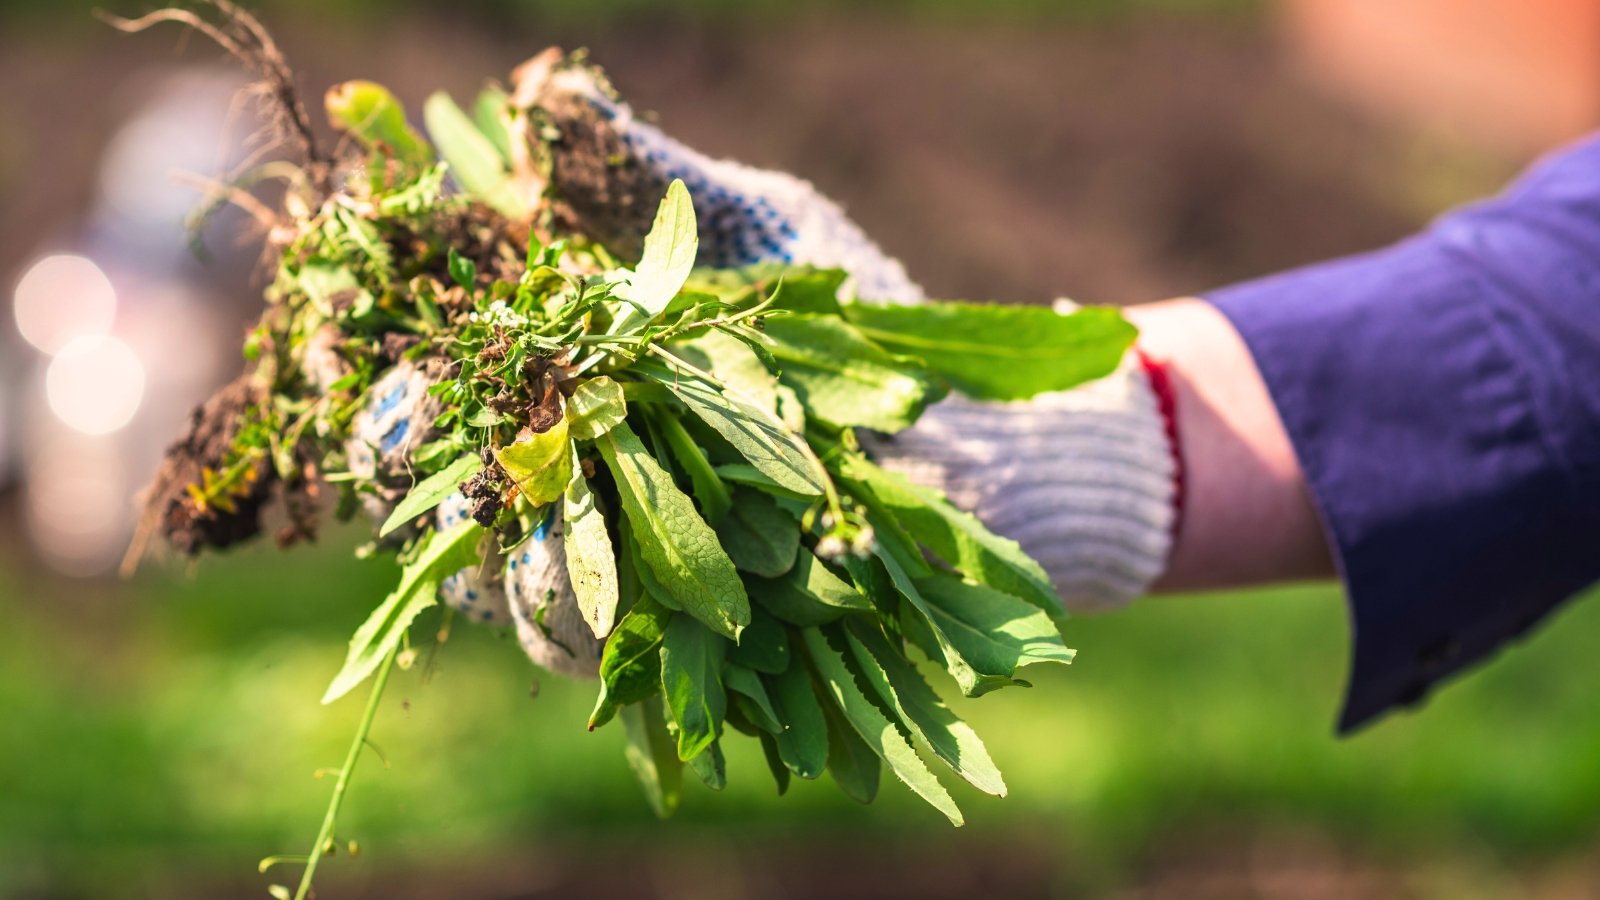
 This trick still requires standard tomato-growing care like suckering and pruning.
Just like any other, your upside-down tomato needs attention throughout the season. Look for the central stem, and prune away any suckers that will take away from fruit set. Use a clean, sharp pair of pruners or snips for this. You may notice your tomato tends to want to grow upward, but as it fruits, the stems will pull downward again.
Always check for pests and diseases, but note that fungal diseases are much less common when you grow your tomatoes upside-down. Fertilize your tomato with a liquid tomato fertilizer every week or two. Dilute the formula to ½ or ¼ strength to keep it gentle.


 English (US) ·
  French (CA) ·