
 19 hours ago
2
19 hours ago
2
PROTECT YOUR DNA WITH QUANTUM TECHNOLOGY
Orgo-Life the new way to the future Advertising by AdpathwayBeans are truly a magical fruit. Well, they’re leguminous vegetables, but you get the point! They’re the subject of an old children’s rhyme that goes like this:
Beans, beans, the magical fruit, the more you eat, the more you toot! The more you toot, the better you feel, so eat your beans with every meal.
I’m a vegetarian, and I rely on them for nourishment. They’re rich in fiber, protein, and fat, making them an essential component of a well-balanced diet. Though they may cause some flatulence (or farting), this reaction tends to dissipate over time as you introduce more beans into your diet.
Whether you prefer fresh garden beans or protein-rich dry ones, growing legumes in your garden is a great way to save money in the summertime. Fill every empty corner of the garden with seeds and let them take over with their twining, climbing stems!
Pinkeye Purple Hull Cowpea

Pinkeye Purple Hull Bush Cowpea Bean

Royal Burgundy Bush Bean

Royal Burgundy Bush Bean Seeds
Types of Garden Beans
There are two types of bean plants, and additionally, three different ways to eat your harvest. Like peas, you can harvest beans fresh or let them dry for storing in the pantry. What works best for you depends on your garden, the plant variety, and your taste preferences.
Green Beans
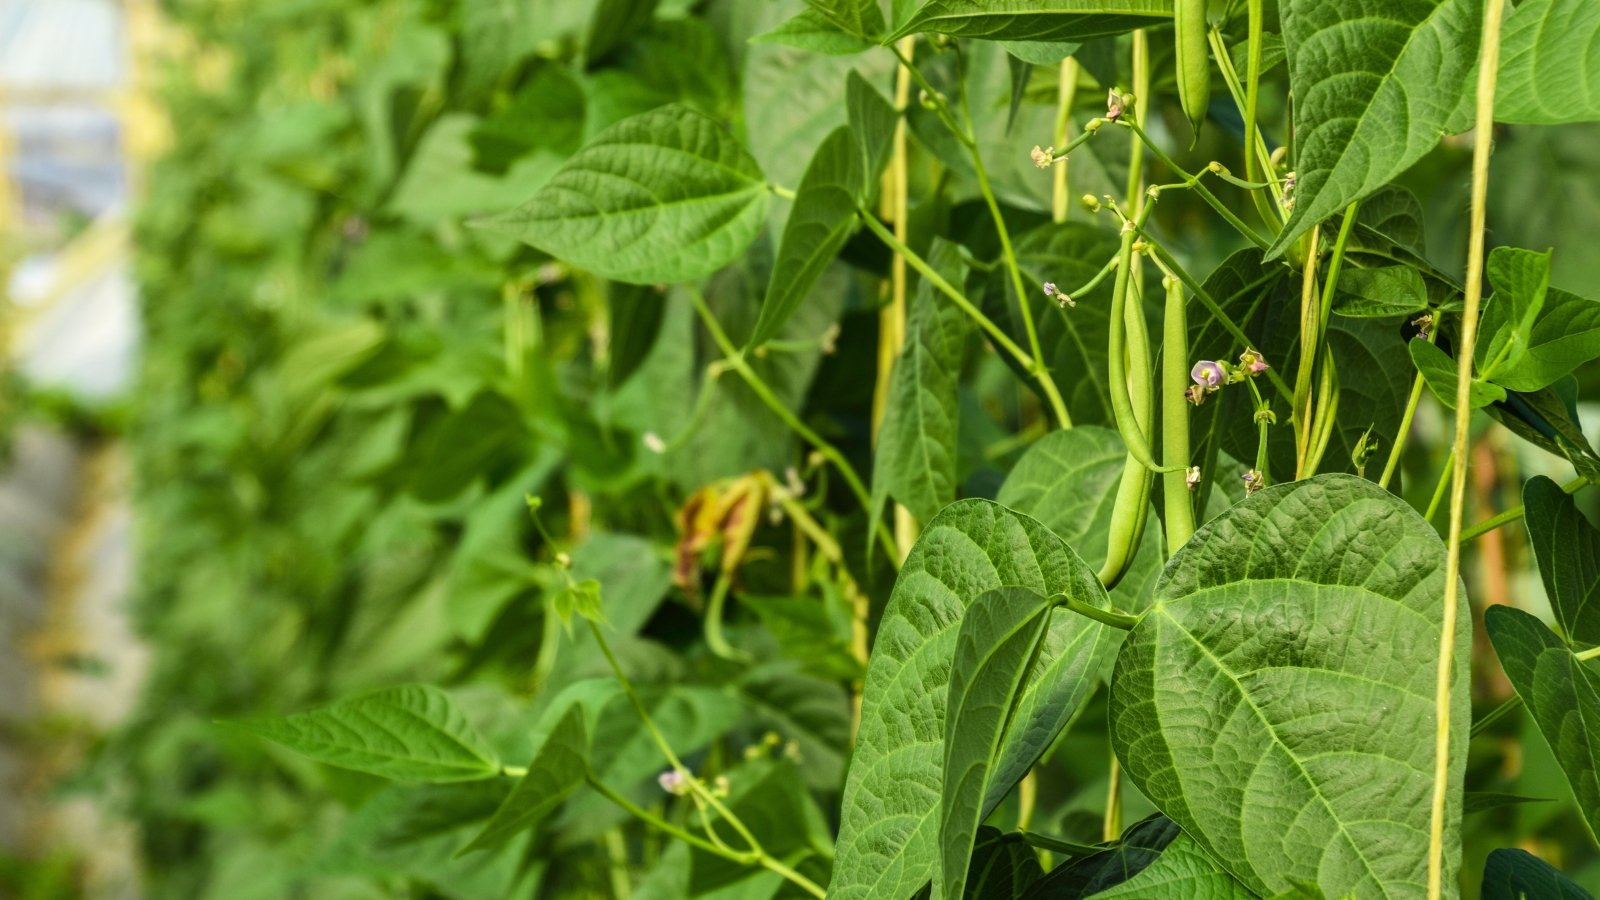 Long vines reward with handfuls of crunchy goodness.
Most gardeners grow legumes for fresh eating. It’s hard not to love the soft, small seeds in their pods! They taste better than store-bought green beans, and they’re a perfect addition to a wide range of meals. They’re also ready sooner than dry ones, meaning you can harvest your crop from late spring through fall.
There is an incredible variety within the green-bean-producing cultivars. Look for pencil-thin French varieties, like ‘French Filet,’ or opt for long pod producing varieties like ‘Kentucky Wonder’ and ‘Orient Wonder.’
Some green beans are purple instead of green! Try ‘Royal Burgundy’ or ‘Pinkeye Purple Hull’ for lavender-purple pods. For a truly unique plant, opt for the ‘Gold Rush’ bush bean. It grows golden-yellow pods that shine under the summer sun.
Dry and Shelling Beans
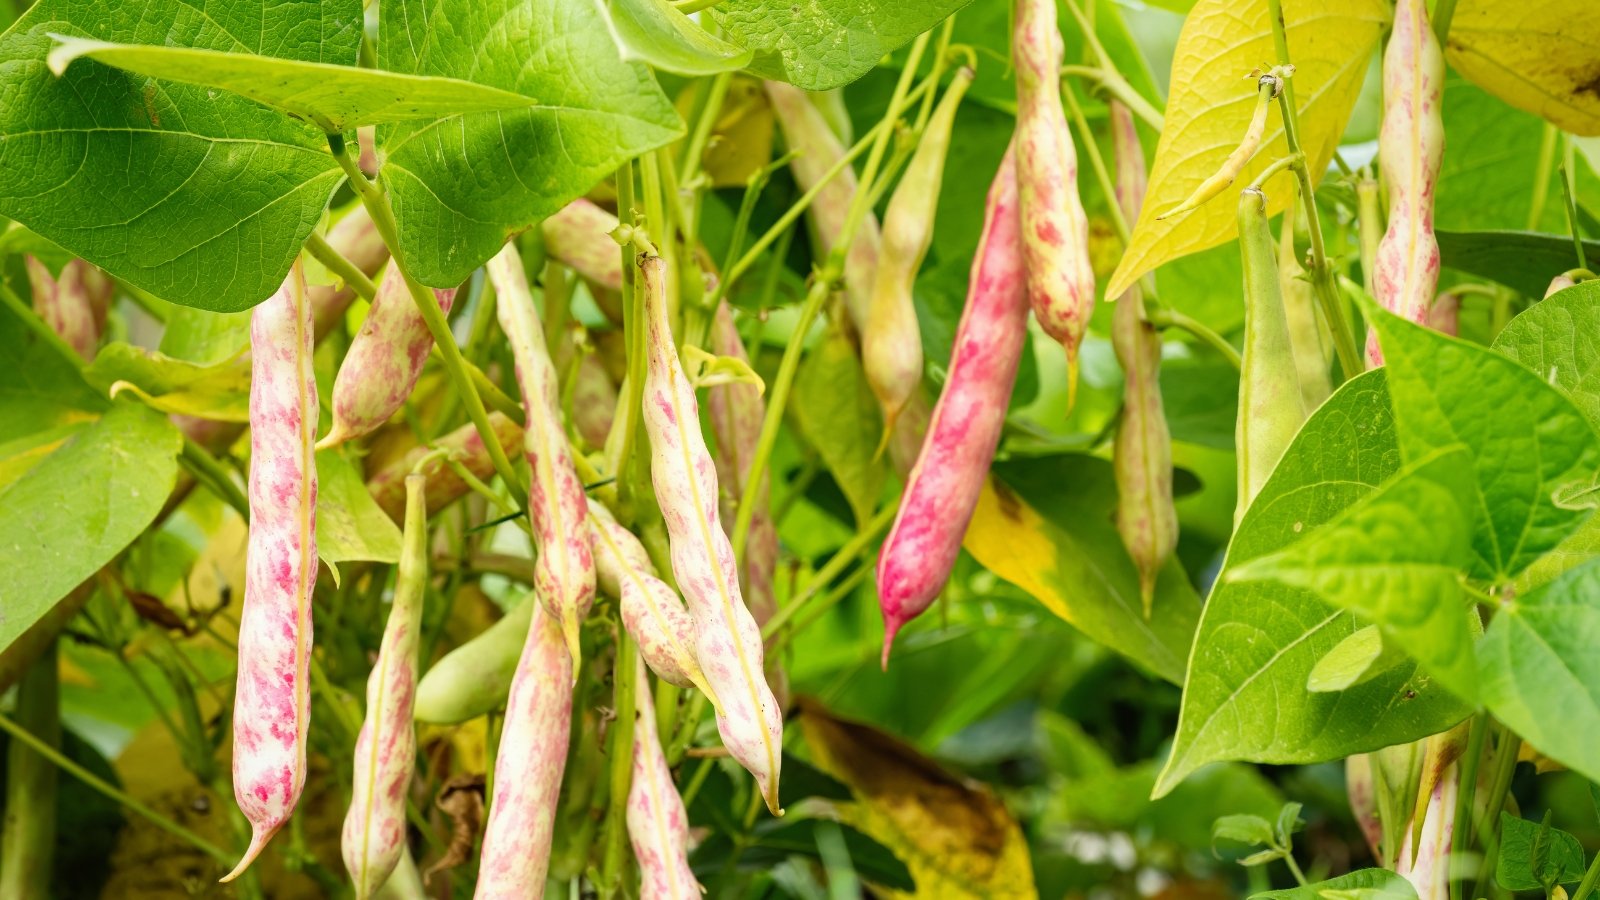 Shelling types bring garden-fresh flavor with less cooking.
Dry beans are cheap at the store, so why grow them at home? Maybe you’d like to cultivate a hard-to-find variety, or you’d like to see if homegrown harvests hold up to store-bought crops in flavor and texture. Dry bean seeds take longer to mature before they’re ready for harvesting, but their flavor is well worth the wait.
Grow classic varieties of black, pinto, and red beans, or try unique species like black-eyed, navy, and fava beans. The possibilities are endless!
There are also shelling types available. These seeds are shelled from their pods when they’re still tender. They require a shorter cooking time than dry legumes, and they have a fresher flavor.
If you like green, shelling, and dry beans, try cultivating a multi-use variety to harvest all three! Cowpeas, or black-eyed peas, have excellent flavor when they’re soft and tender, and after they harden and dry.
Pole vs. Bush
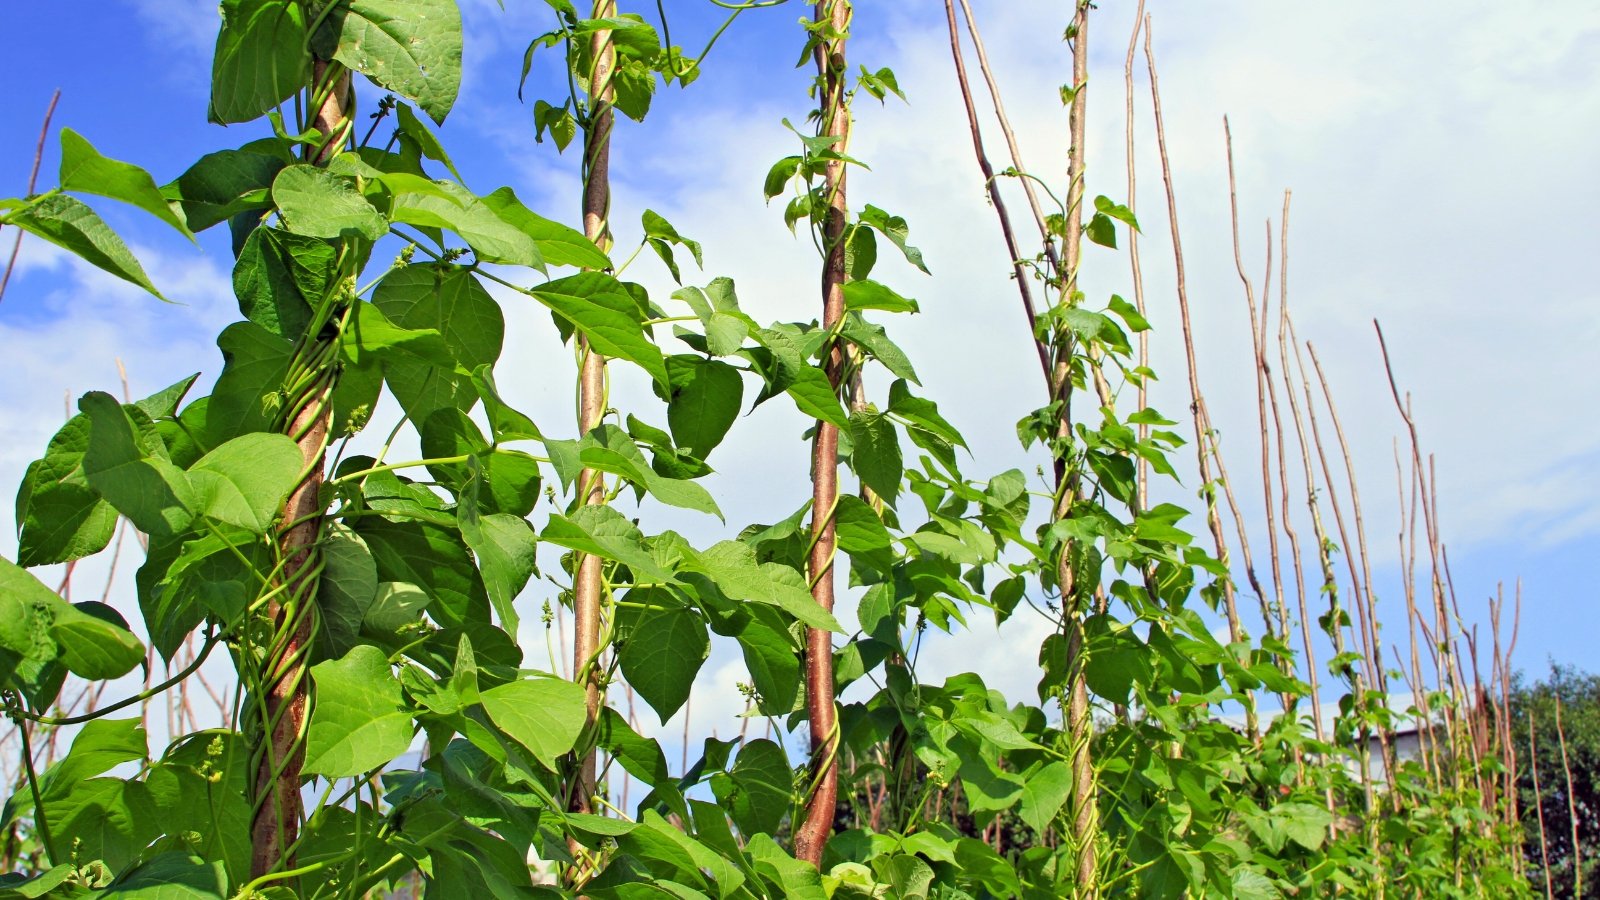 Pole types keep growing tall well into summer’s heat.
Aside from the types of harvests, there are also types of bean plants: pole and bush. Pole beans are ever-growing climbers, while bush types are early-maturing and low-growing.
Bush beans are, as their name suggests, bushy and dense. They don’t need staking to grow well, and they mature in late spring and early summer before pole bean cultivars. Pole varieties grow long, climbing stems that clamber up trellises and stakes, and they mature from midsummer onwards.
Bush cultivars are perfect for small gardens with short growing seasons, while climbing pole types excel in tall, open spaces. Grow both for the best of both worlds, or choose a variety that’ll thrive in your climate.
When to Harvest Garden Beans
When to harvest your garden beans depends on what type of bean you would like to eat. Green bean crops are ready early in the growing season, while dry bean crops mature for many months. When you should harvest also depends on the type of bean you’re growing and when you planted its seeds.
Green Bean
 Tender pods follow colorful flowers in about two months.
Every gardener loves green beans! They’re a tender, crunchy snack in summer, and they’re essential in many home-cooked meals. They’re ready before shelling and dry types, making them perfect for the impatient gardener.
Bush types are often ready 50 days after germination, while pole types need 60 days or more to grow tender bean pods. This means you’ll start harvesting them around a month and a half to two months after the seedlings pop up above the ground.
You’ll first see flowers before the pods appear. Most beans have pink flowers, though some have scarlet, white, or purple blooms.
Shelling Bean
 Pods puff up just right when seeds are ready inside.
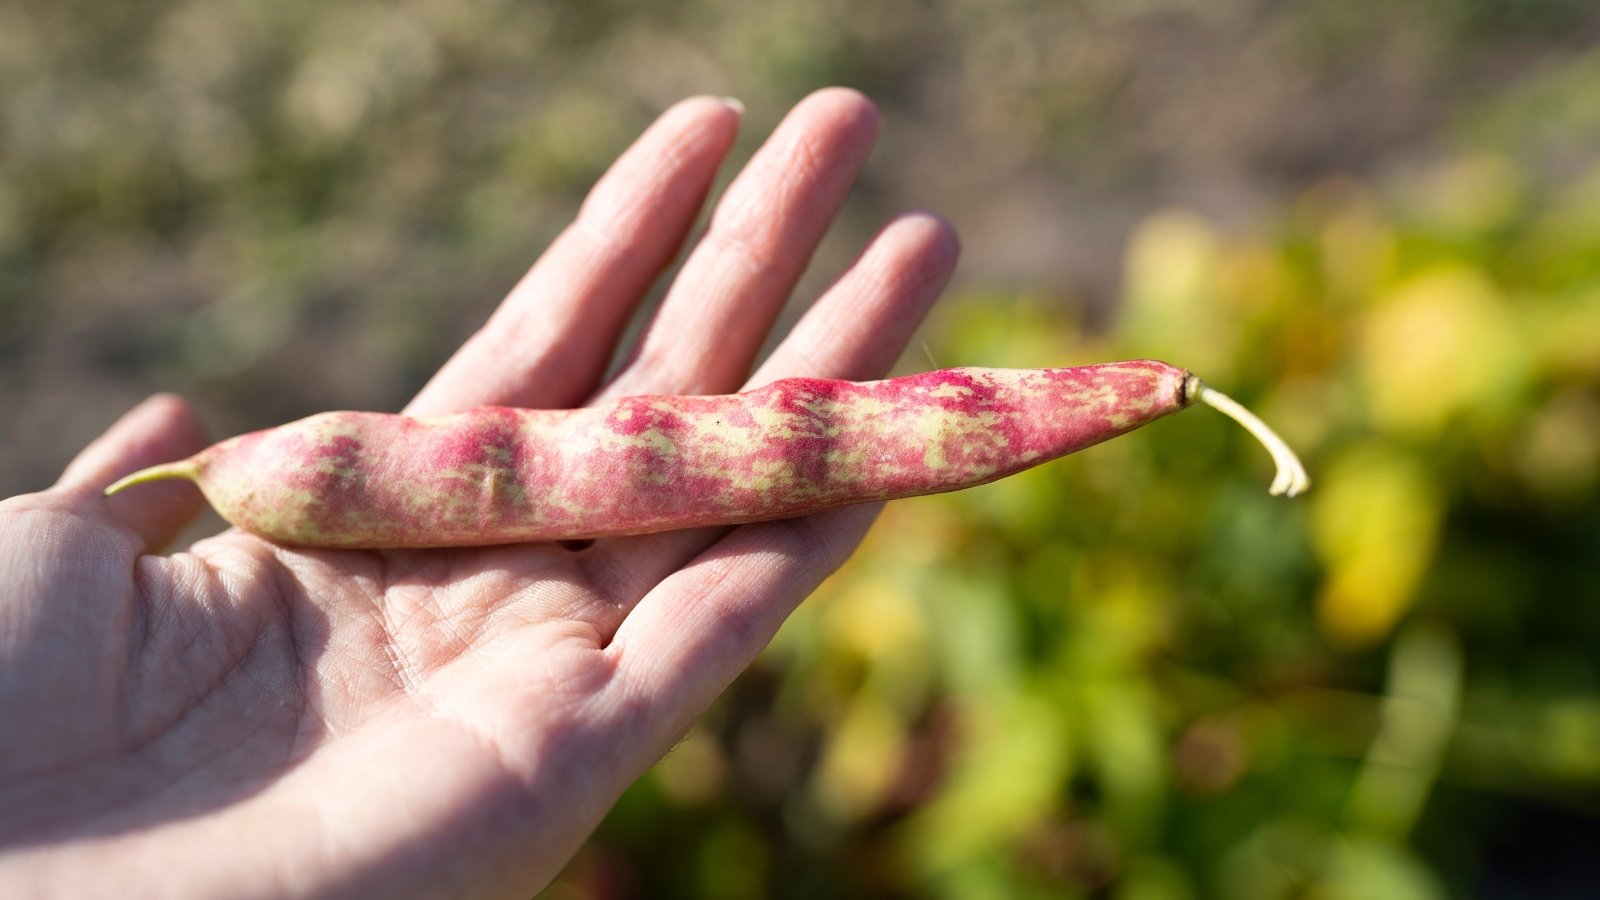
Shelling varieties are ripe shortly after the snappable pods form. They’re swollen and harder in texture than the snapping pods, and they require some work to harvest.
You’ll know to harvest the young seeds when they start bulging in their pods. Don’t let the pods dry; you want to pick them when they’re bulging but fresh.
Shelling types are perfect for soups, chilis, and blanched preparations. Shelled fava beans are a delicacy! Shuck them from their pods, blanch them, peel them, then drizzle olive oil, salt, and pepper on top.
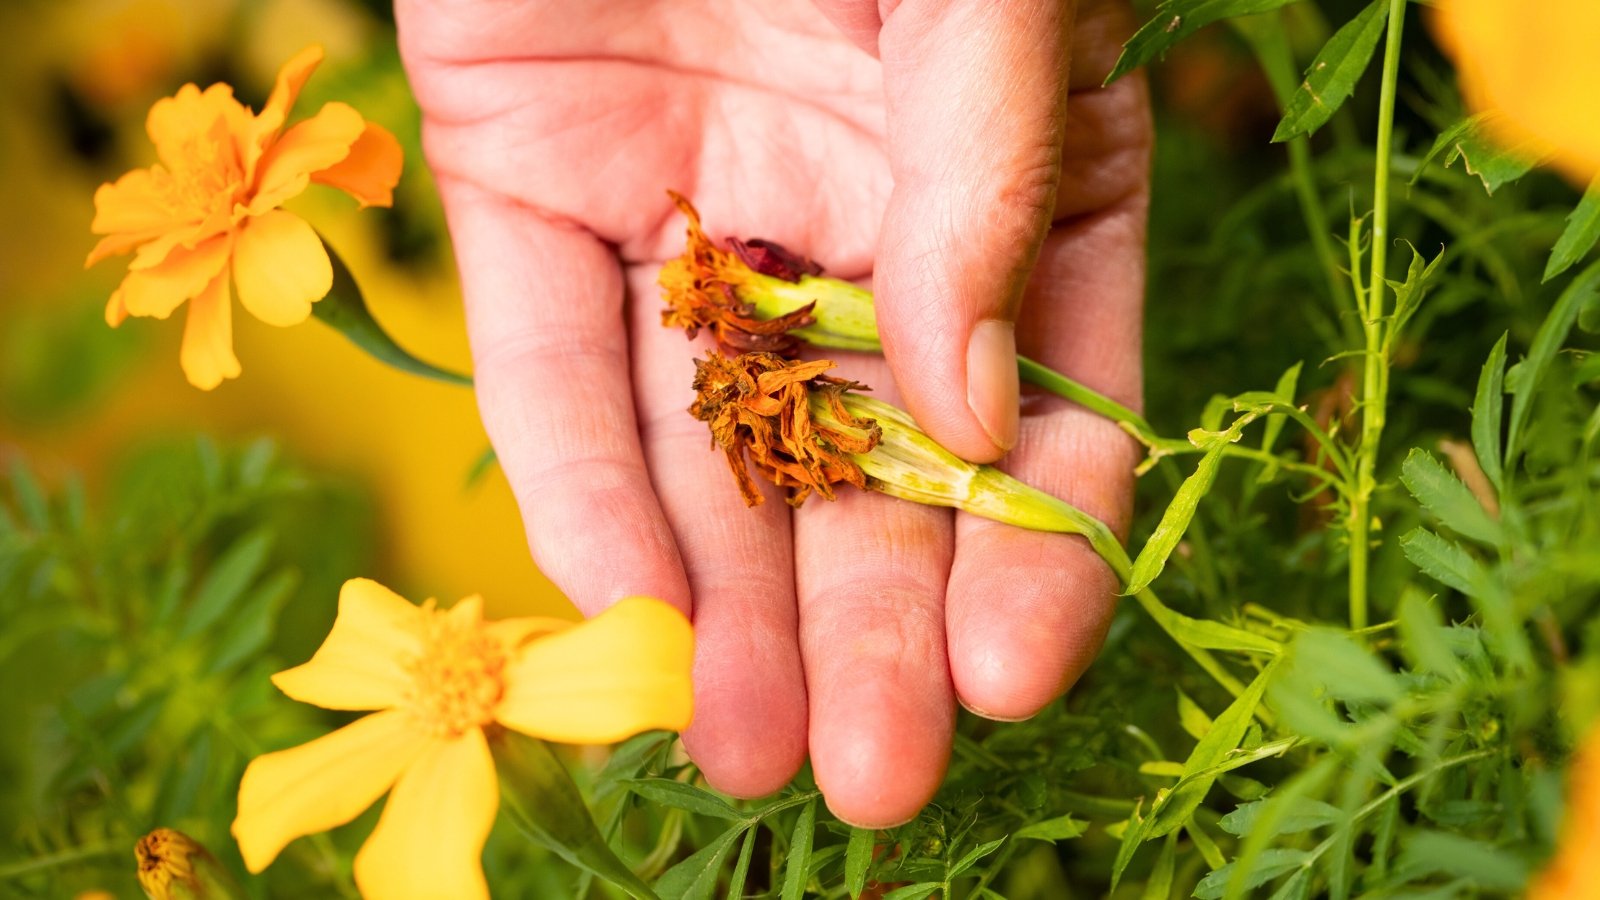
Dry Bean
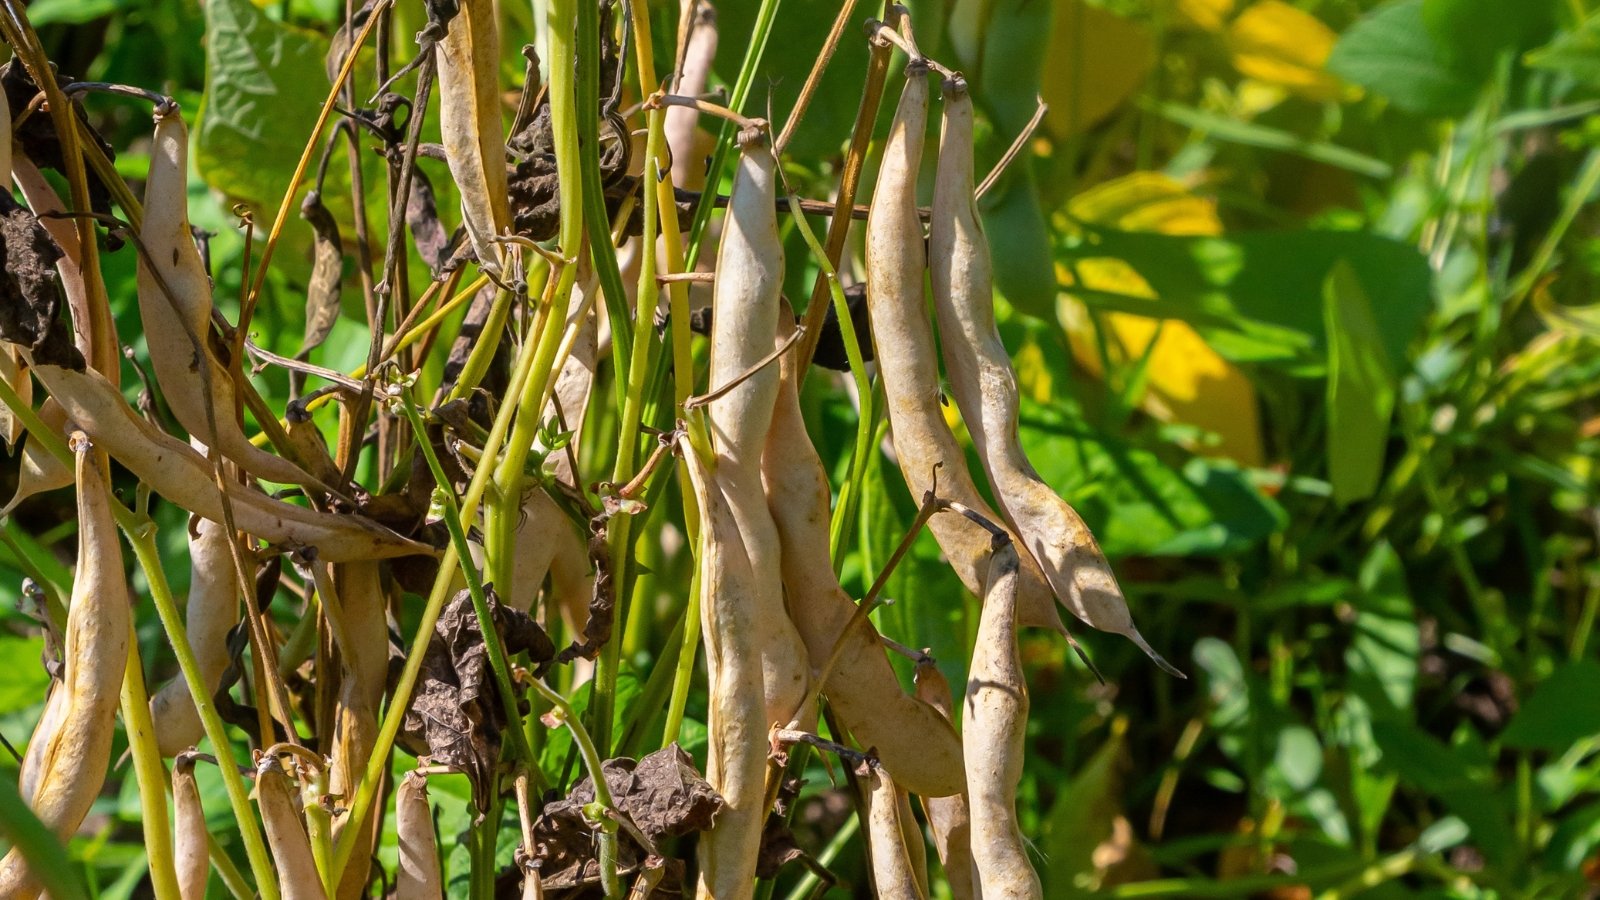 Give seeds time to mature and dry on plants.
Dry seeds ripen over the course of the growing season, from the end of summer into fall. Most require three months or more to harden. You’ll need to dedicate space in the garden for the plants to grow and dry, meaning you’ll miss out on planting fall and winter crops.
The long ripening time is worth it! Dry bean seeds are chock-full of nutrients and flavor. They’re a superb side dish, main dish, or component in a cold salad.
Harvest dry bean seeds when their pods are dry and brittle. Some pods may snap open with pressure, while others will need some gentle pressing to open up.
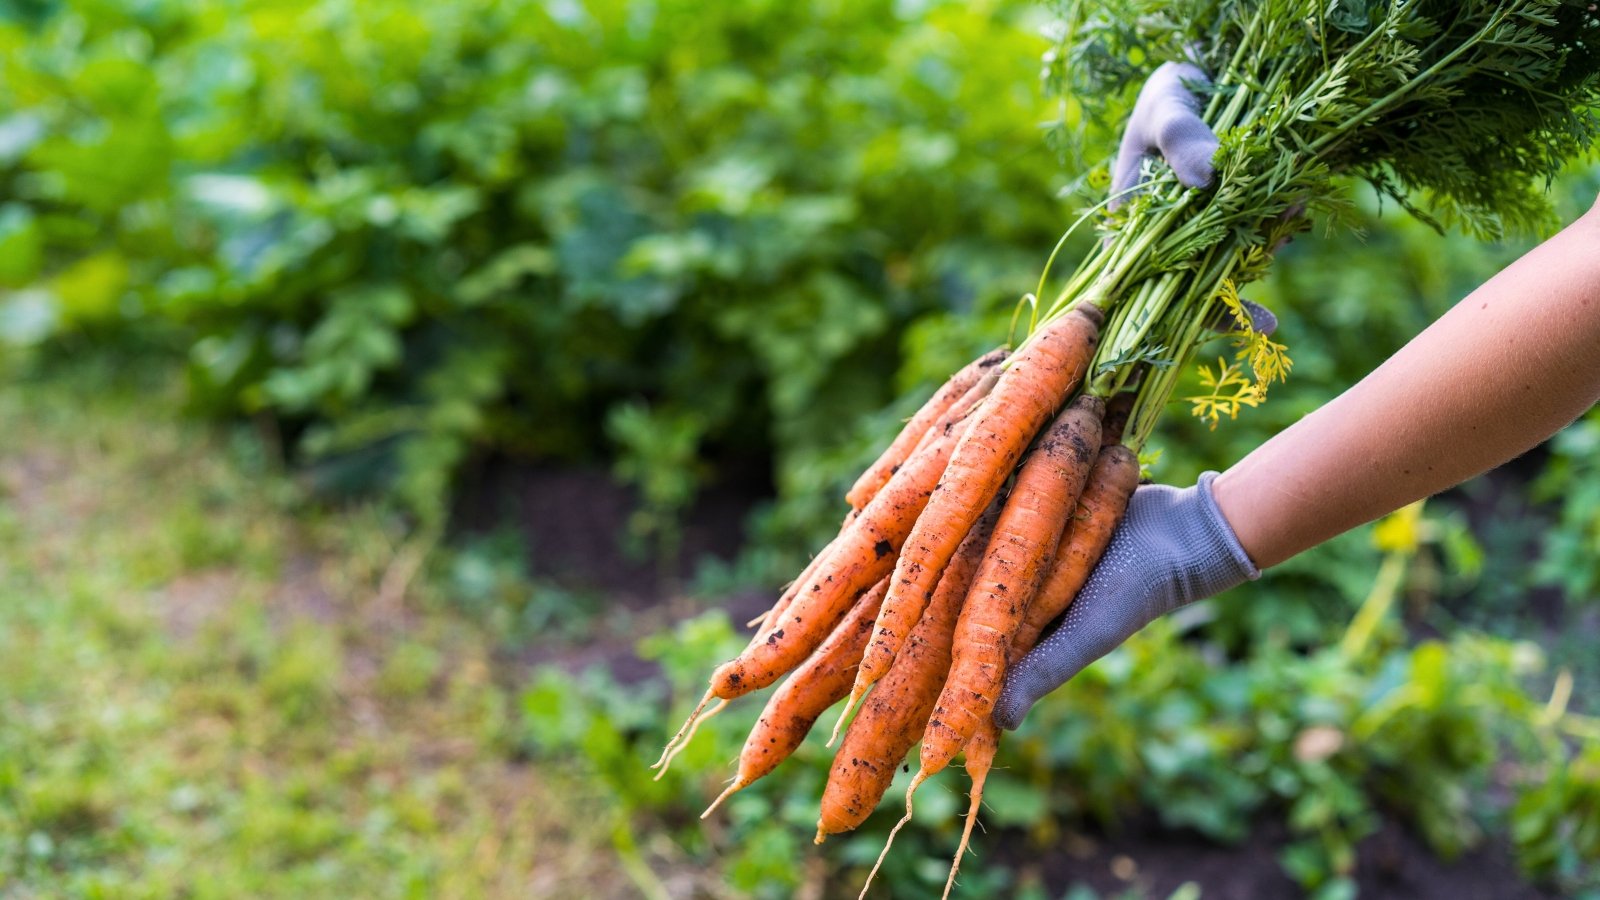
How to Harvest Garden Beans
Now comes the fun part! Harvesting is a fun task that helps your plants continue growing and producing. Continuous picking tricks the plants into growing more flowers, pods, and seeds in order to reproduce. Use this to your advantage for steady harvesting from summer through fall.
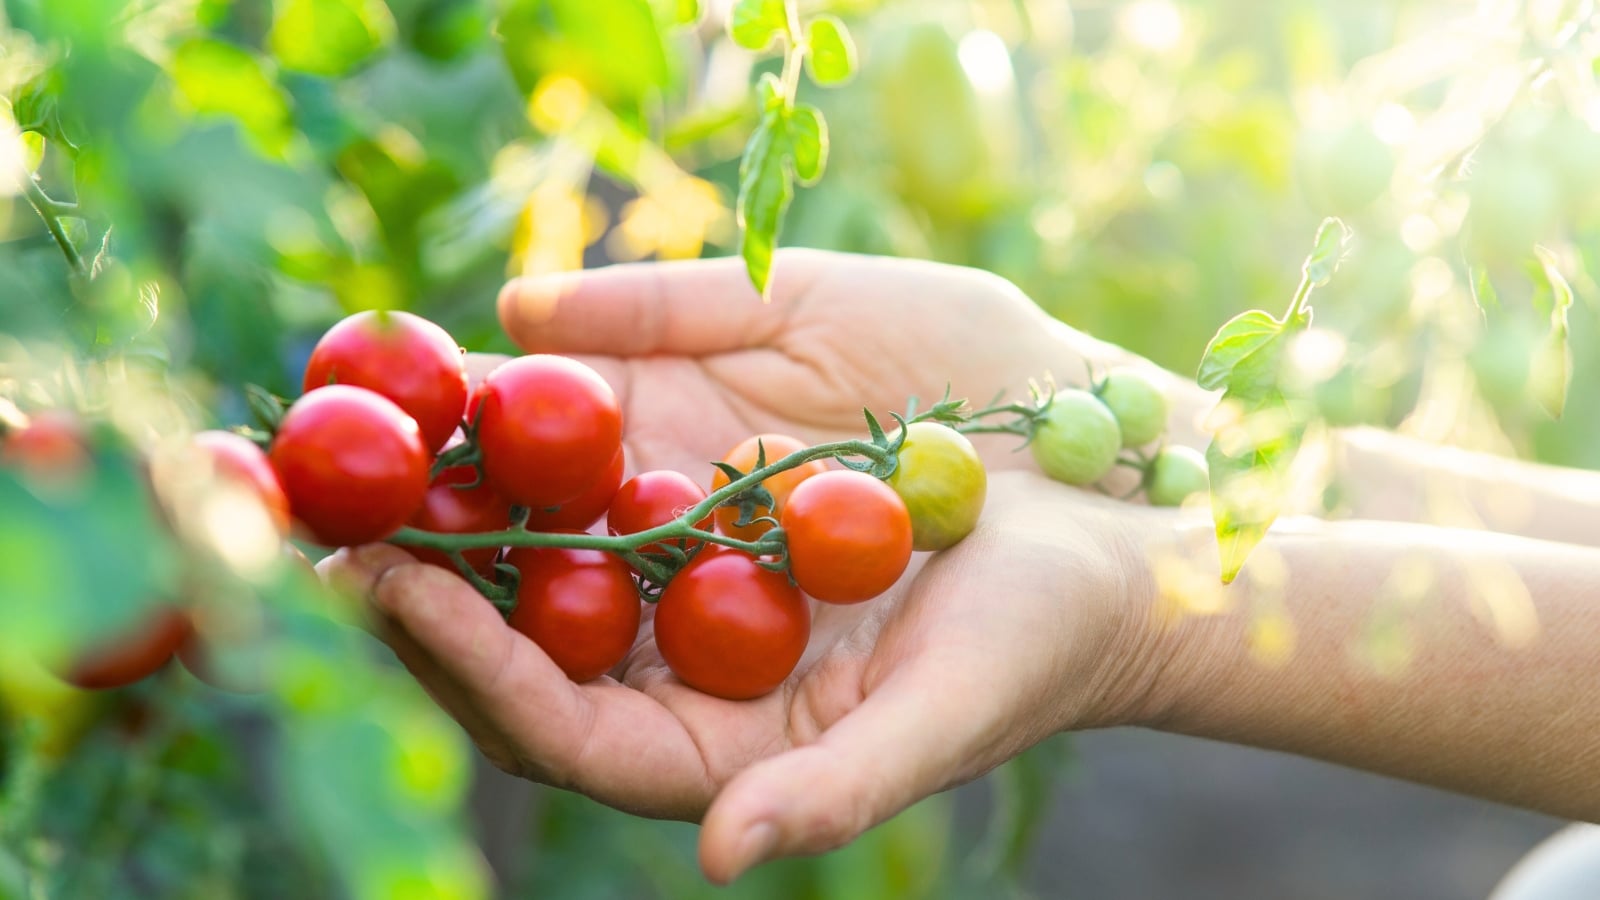
Green Bean
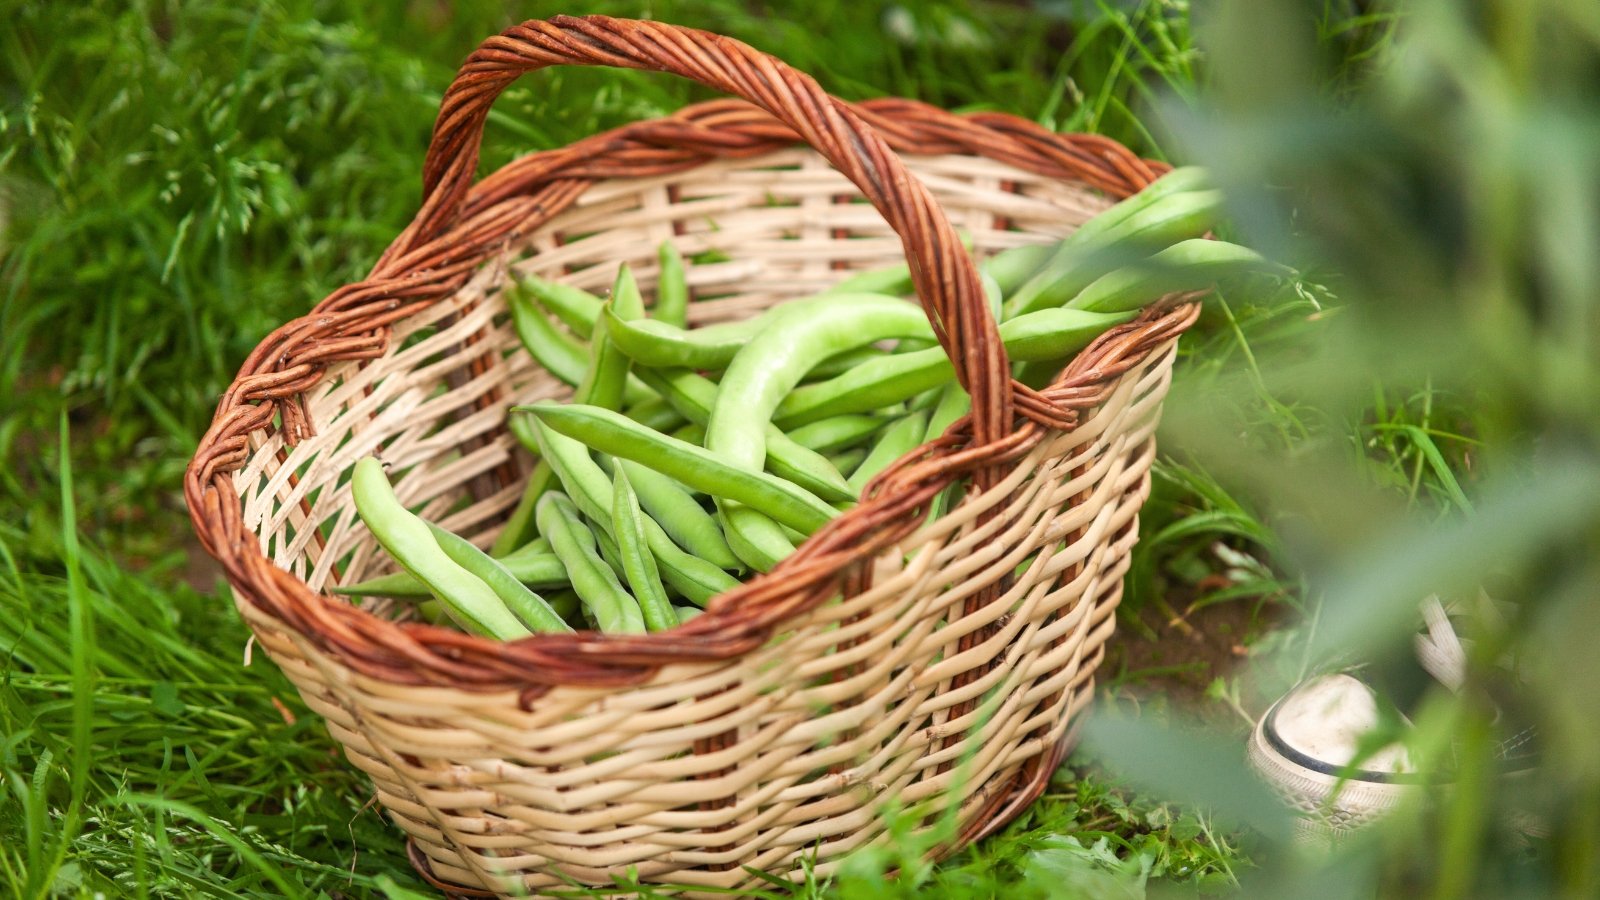
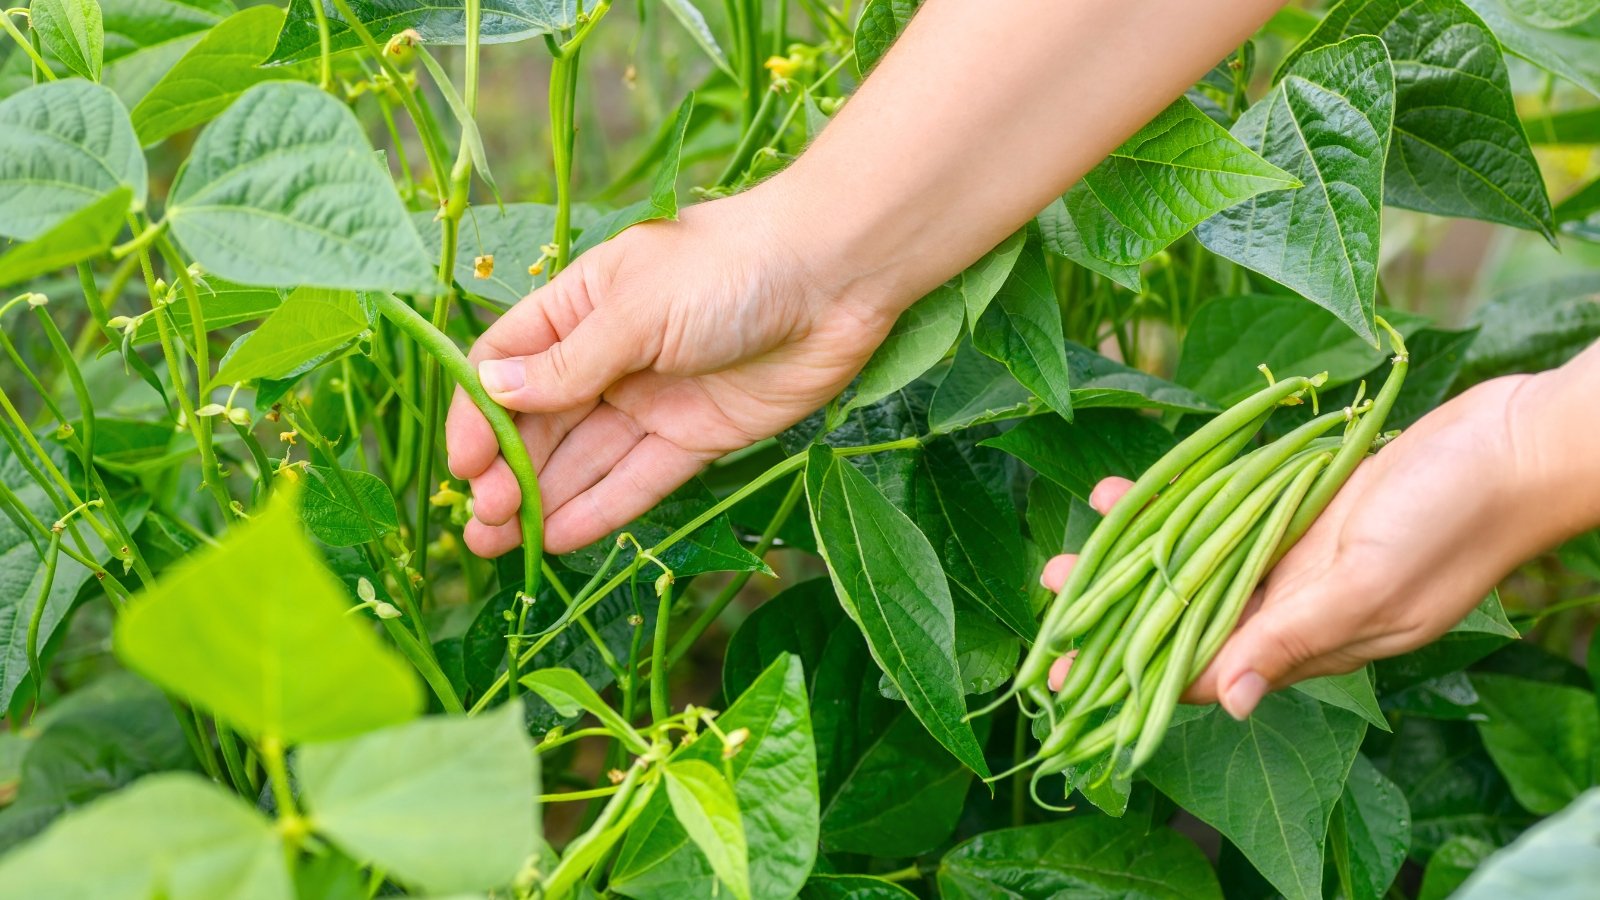 Hold the stem while picking pods to avoid damage.
Picking the pods with one hand can snap the bean’s tender stems, leading to poor growth later in the season. Prevent broken stems by using two hands. Use one hand to hold the bean plant’s stem, and the other to pick the snapping pods.
Having a basket or bowl nearby is handy for collecting your harvest. Simply toss the pods in the basket and continue harvesting until there are none left on the plants.
You may also use herbal harvesting snips or pruners to remove the pods from the plants. Snip them off with their stems attached, and place them in the basket for processing and storage.
Shelling Bean
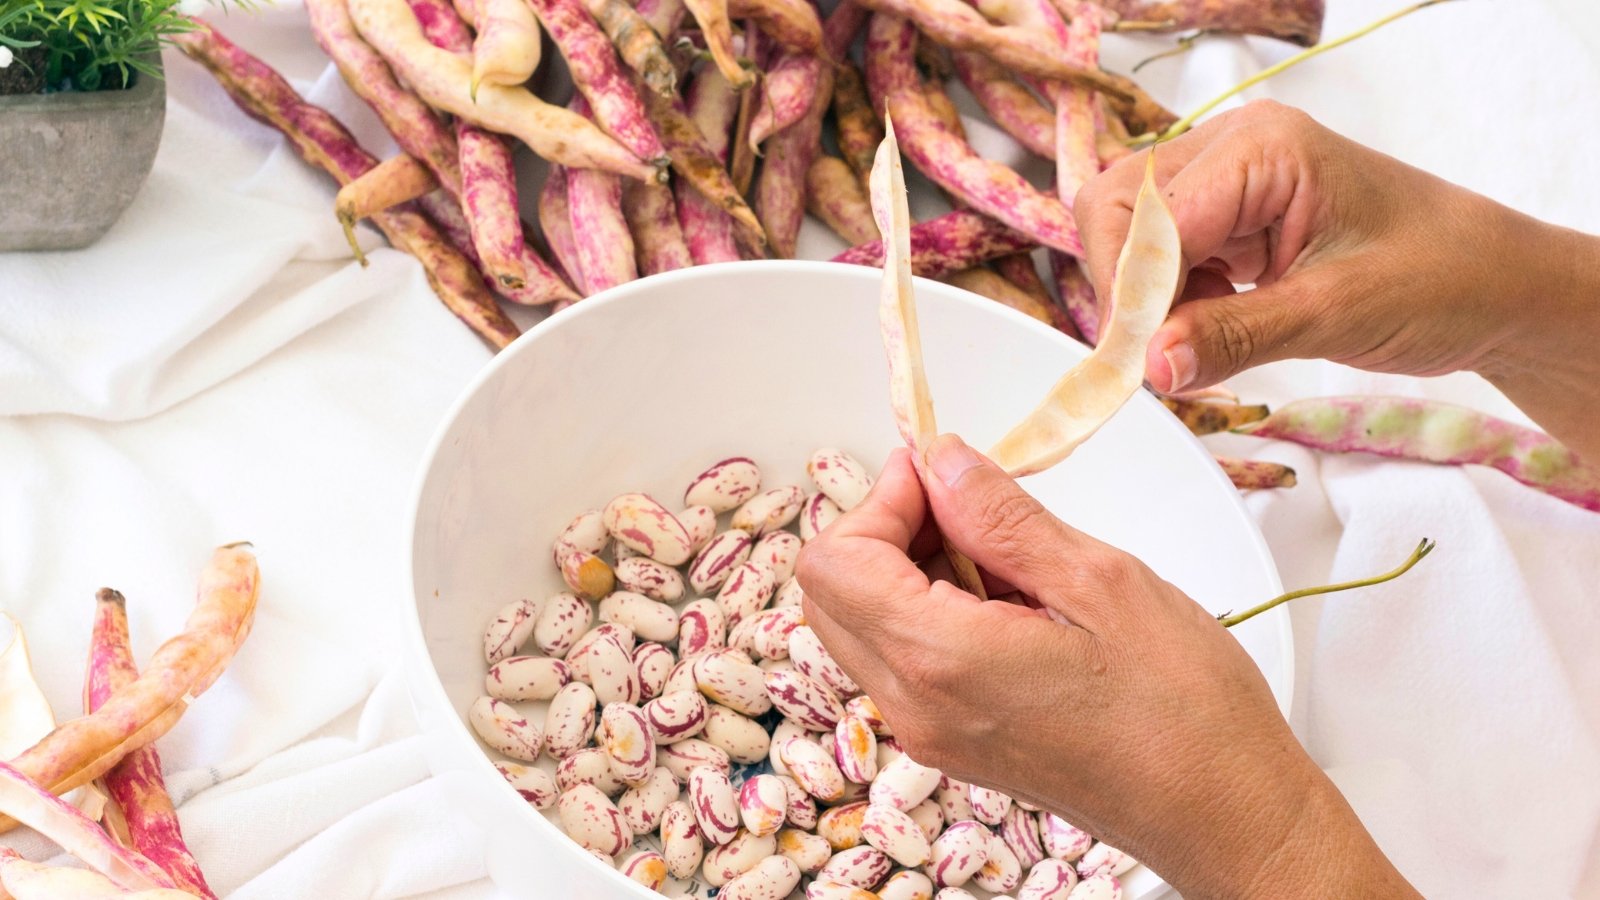 Splitting pods by hand brings fresh seeds to light.
Shelling types require more work to process. Start by picking them in their pods, then place them all together for processing. You’ll need to shell each bean from its pod.
Shell them with your fingernails or fingertips; use them to split the pods. Pop the beans out and place them in a container. Go through your harvest and split each pod, one by one, to shell the tender seeds.
Dry Bean
 Gathering brittle pods first makes seed removal quick and simple.
Dry bean seeds come out of their pods more easily than shelling types. The harvesting process is similar. Begin by gathering the ripe, dry pods at the end of the growing season.
Once you have all the brittle pods together, you can go through them to remove their hard seeds. The pod skins should easily split, and the hard seeds will dump out.
Store Your Bean Harvest
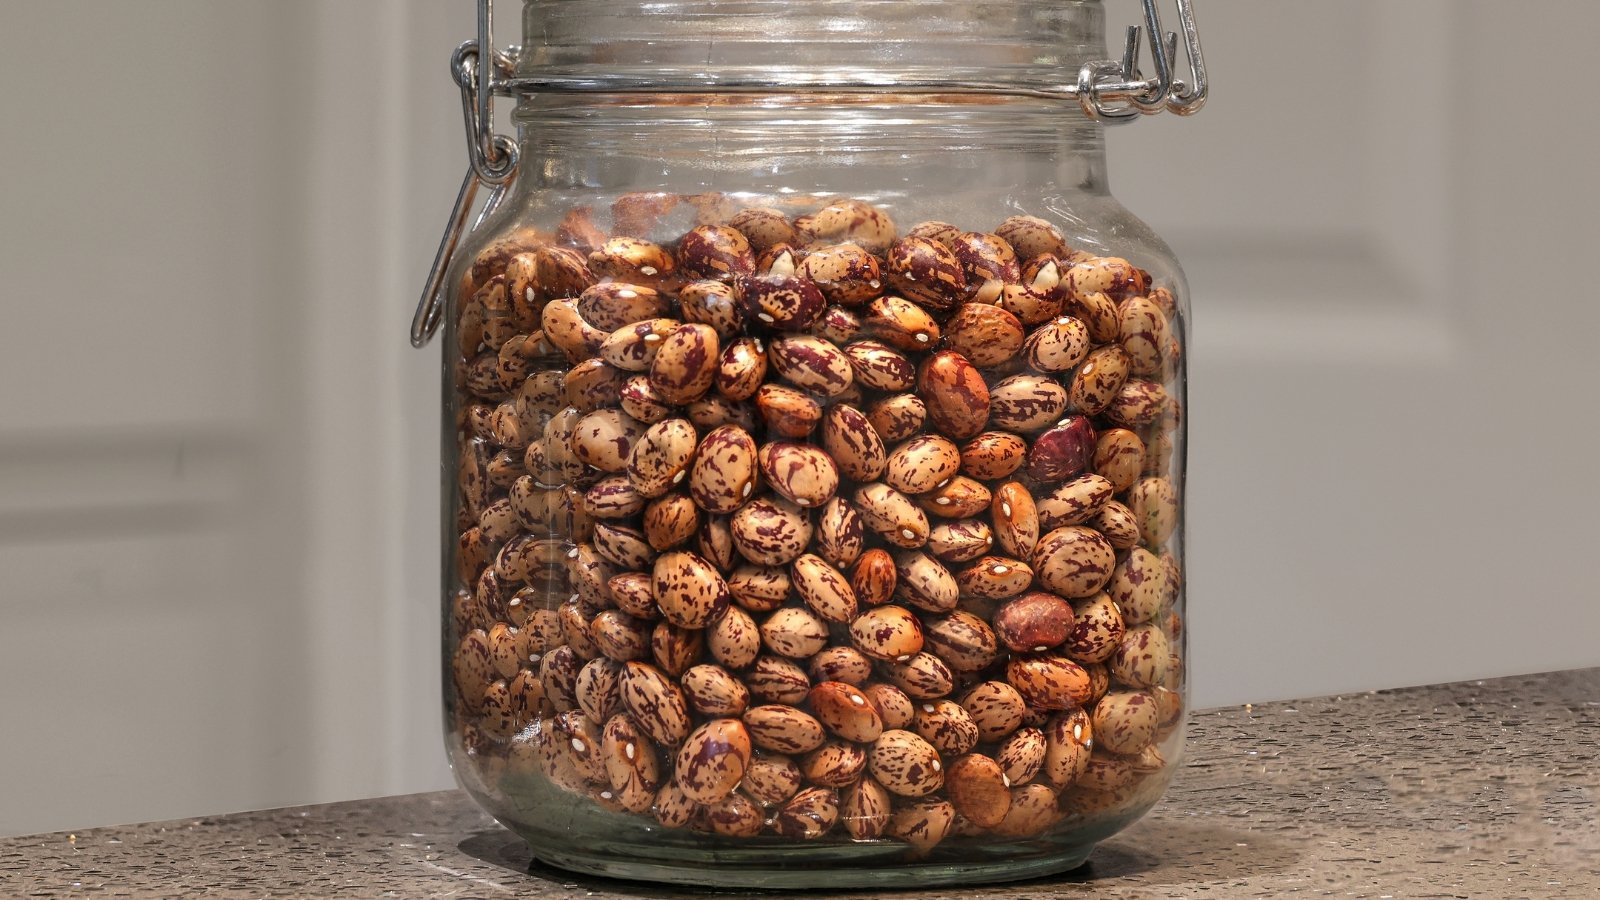 Keeping dry seeds in the dark pantry preserves their quality.
Store fresh snapping pods in the refrigerator for a week or two for immediate use. For long-term storage, keep them in the freezer, ferment them, or preserve them with canning.
Shelling bean types require similar storage methods. Keep them in the refrigerator for a week or two, and freeze, preserve, or ferment them for long-term storage.
Dry garden bean harvests are the exception! They store well in the pantry for a year or longer. Keep them in a container, then store the container in a cool, dry, and dark location. Use your pantry, a drawer, or a cabinet.


 English (US) ·
  French (CA) ·