

Autumn, like so many things about this year, has taken me a tiny bit by surprise. Summer is starting to feel like a beautiful blur, filled with moments where I have caught myself mid-chore and told myself off for not spending enough time in the backyard. Now fall’s shaking out her vibrant colors, and I still haven’t sorted out my transitional containers, planted my spring bulbs, or harvested enough of my herbs.
Still, I do believe the joy of gardening is sometimes about the small victories. And for me, victories don’t come much more joyful than growing some of my favorite plants from tiny cuttings as the old season shuffles sideways. And since I’m feeling a little bit like I haven’t had the full serving with some of my current outdoor herbs, I’m (ahem) taking a leaf out of my own book and expanding my indoor glass collection with some of the best snip-and-save herbs to start in water. This might seem like a small service to your future kitchen garden, but I assure you: the payoff will be huge.
Why let all that lush, verdant color vanish at the first gasp of hard frost? You can bring those fresh, aromatic flavors indoors and keep them coming, and often for the price of a few snips, some clean glass jars, and plain tap water. This type of rooting can get a bad reputation for being fickle. But in fall, water propagation is your secret weapon: a way of bulking up your homegrown edibles, teasing more growing potential out of the year on the cheap, and creating a lovely insurance policy for your favorites. So find a little time in the cozy season to bring on the new harvests from the comfort of your windowsill, and get ready for tasty new growing victories…
Why Fall is Ideal for Herb Cuttings
Early fall is a great time for starting stem cuttings in water. Plants are still brimming with active growth hormones and seasonal vigor, and their soft green stems haven't hardened off for winter. Packed with natural energy, they are often at their peak flavor, and eager to root before going dormant. Choose the right stems and master a few simple hygiene and prep essentials, and you can create living color (and garden-fresh taste) that takes you right through to the new year.
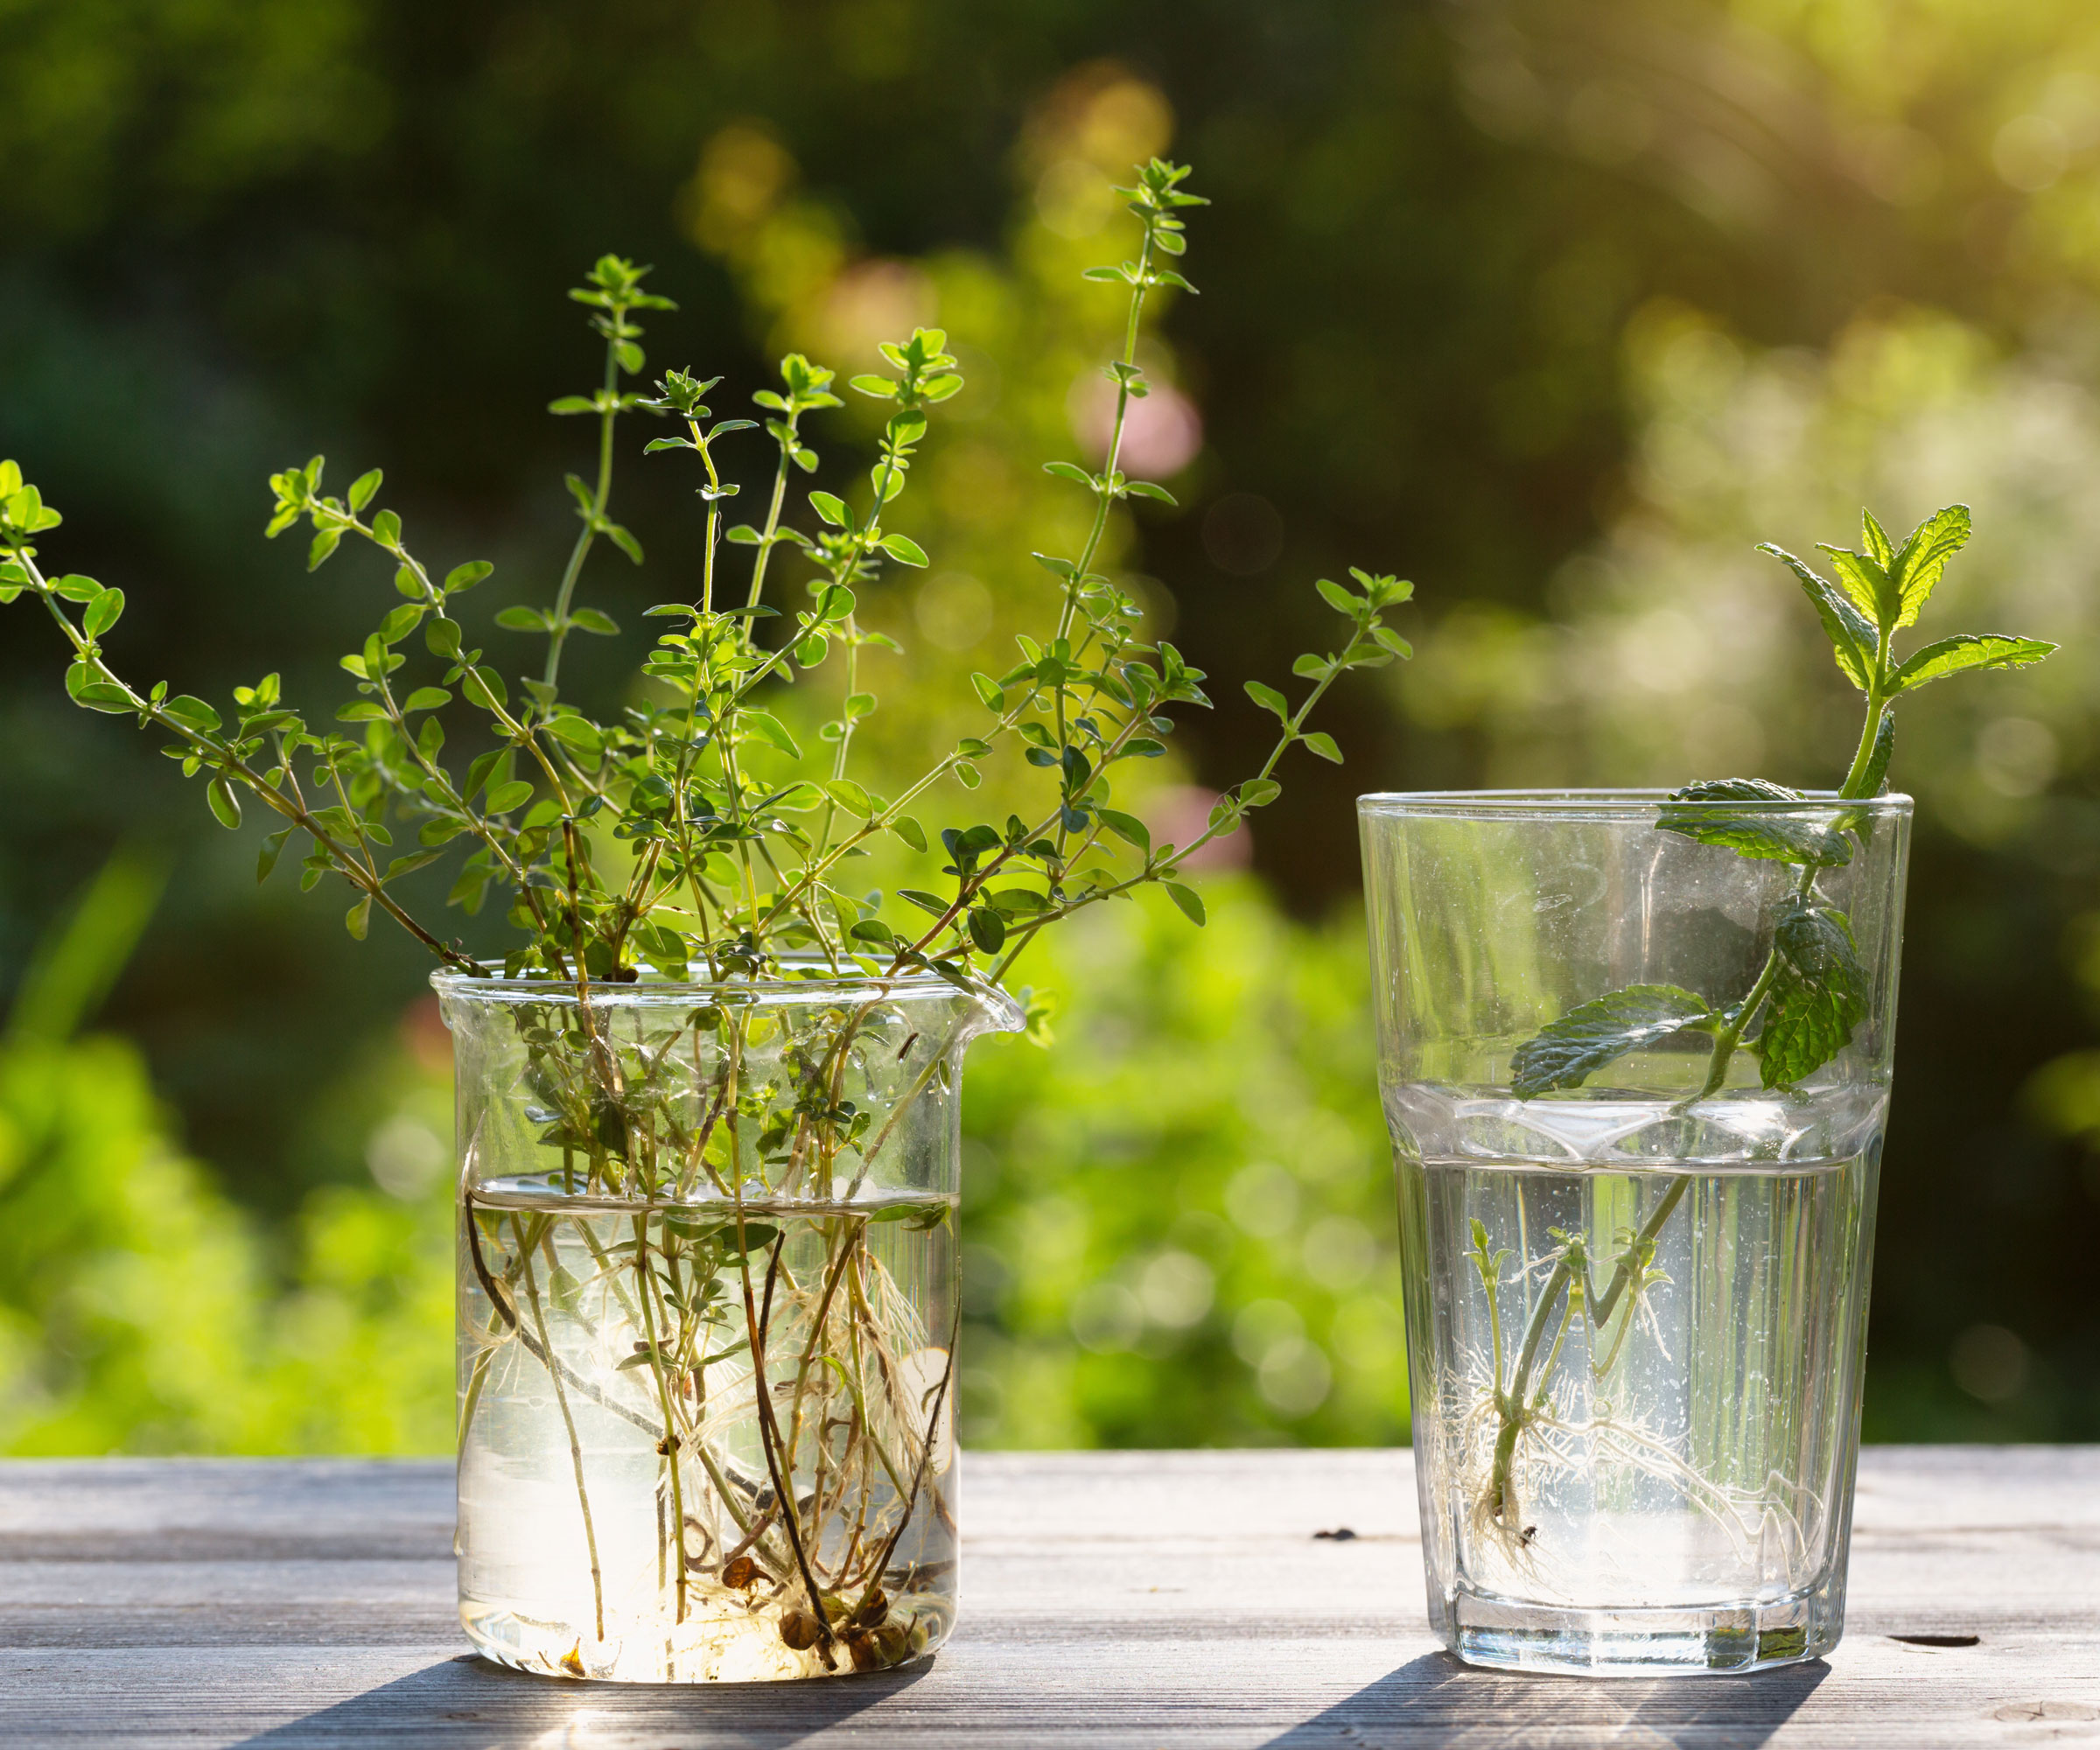
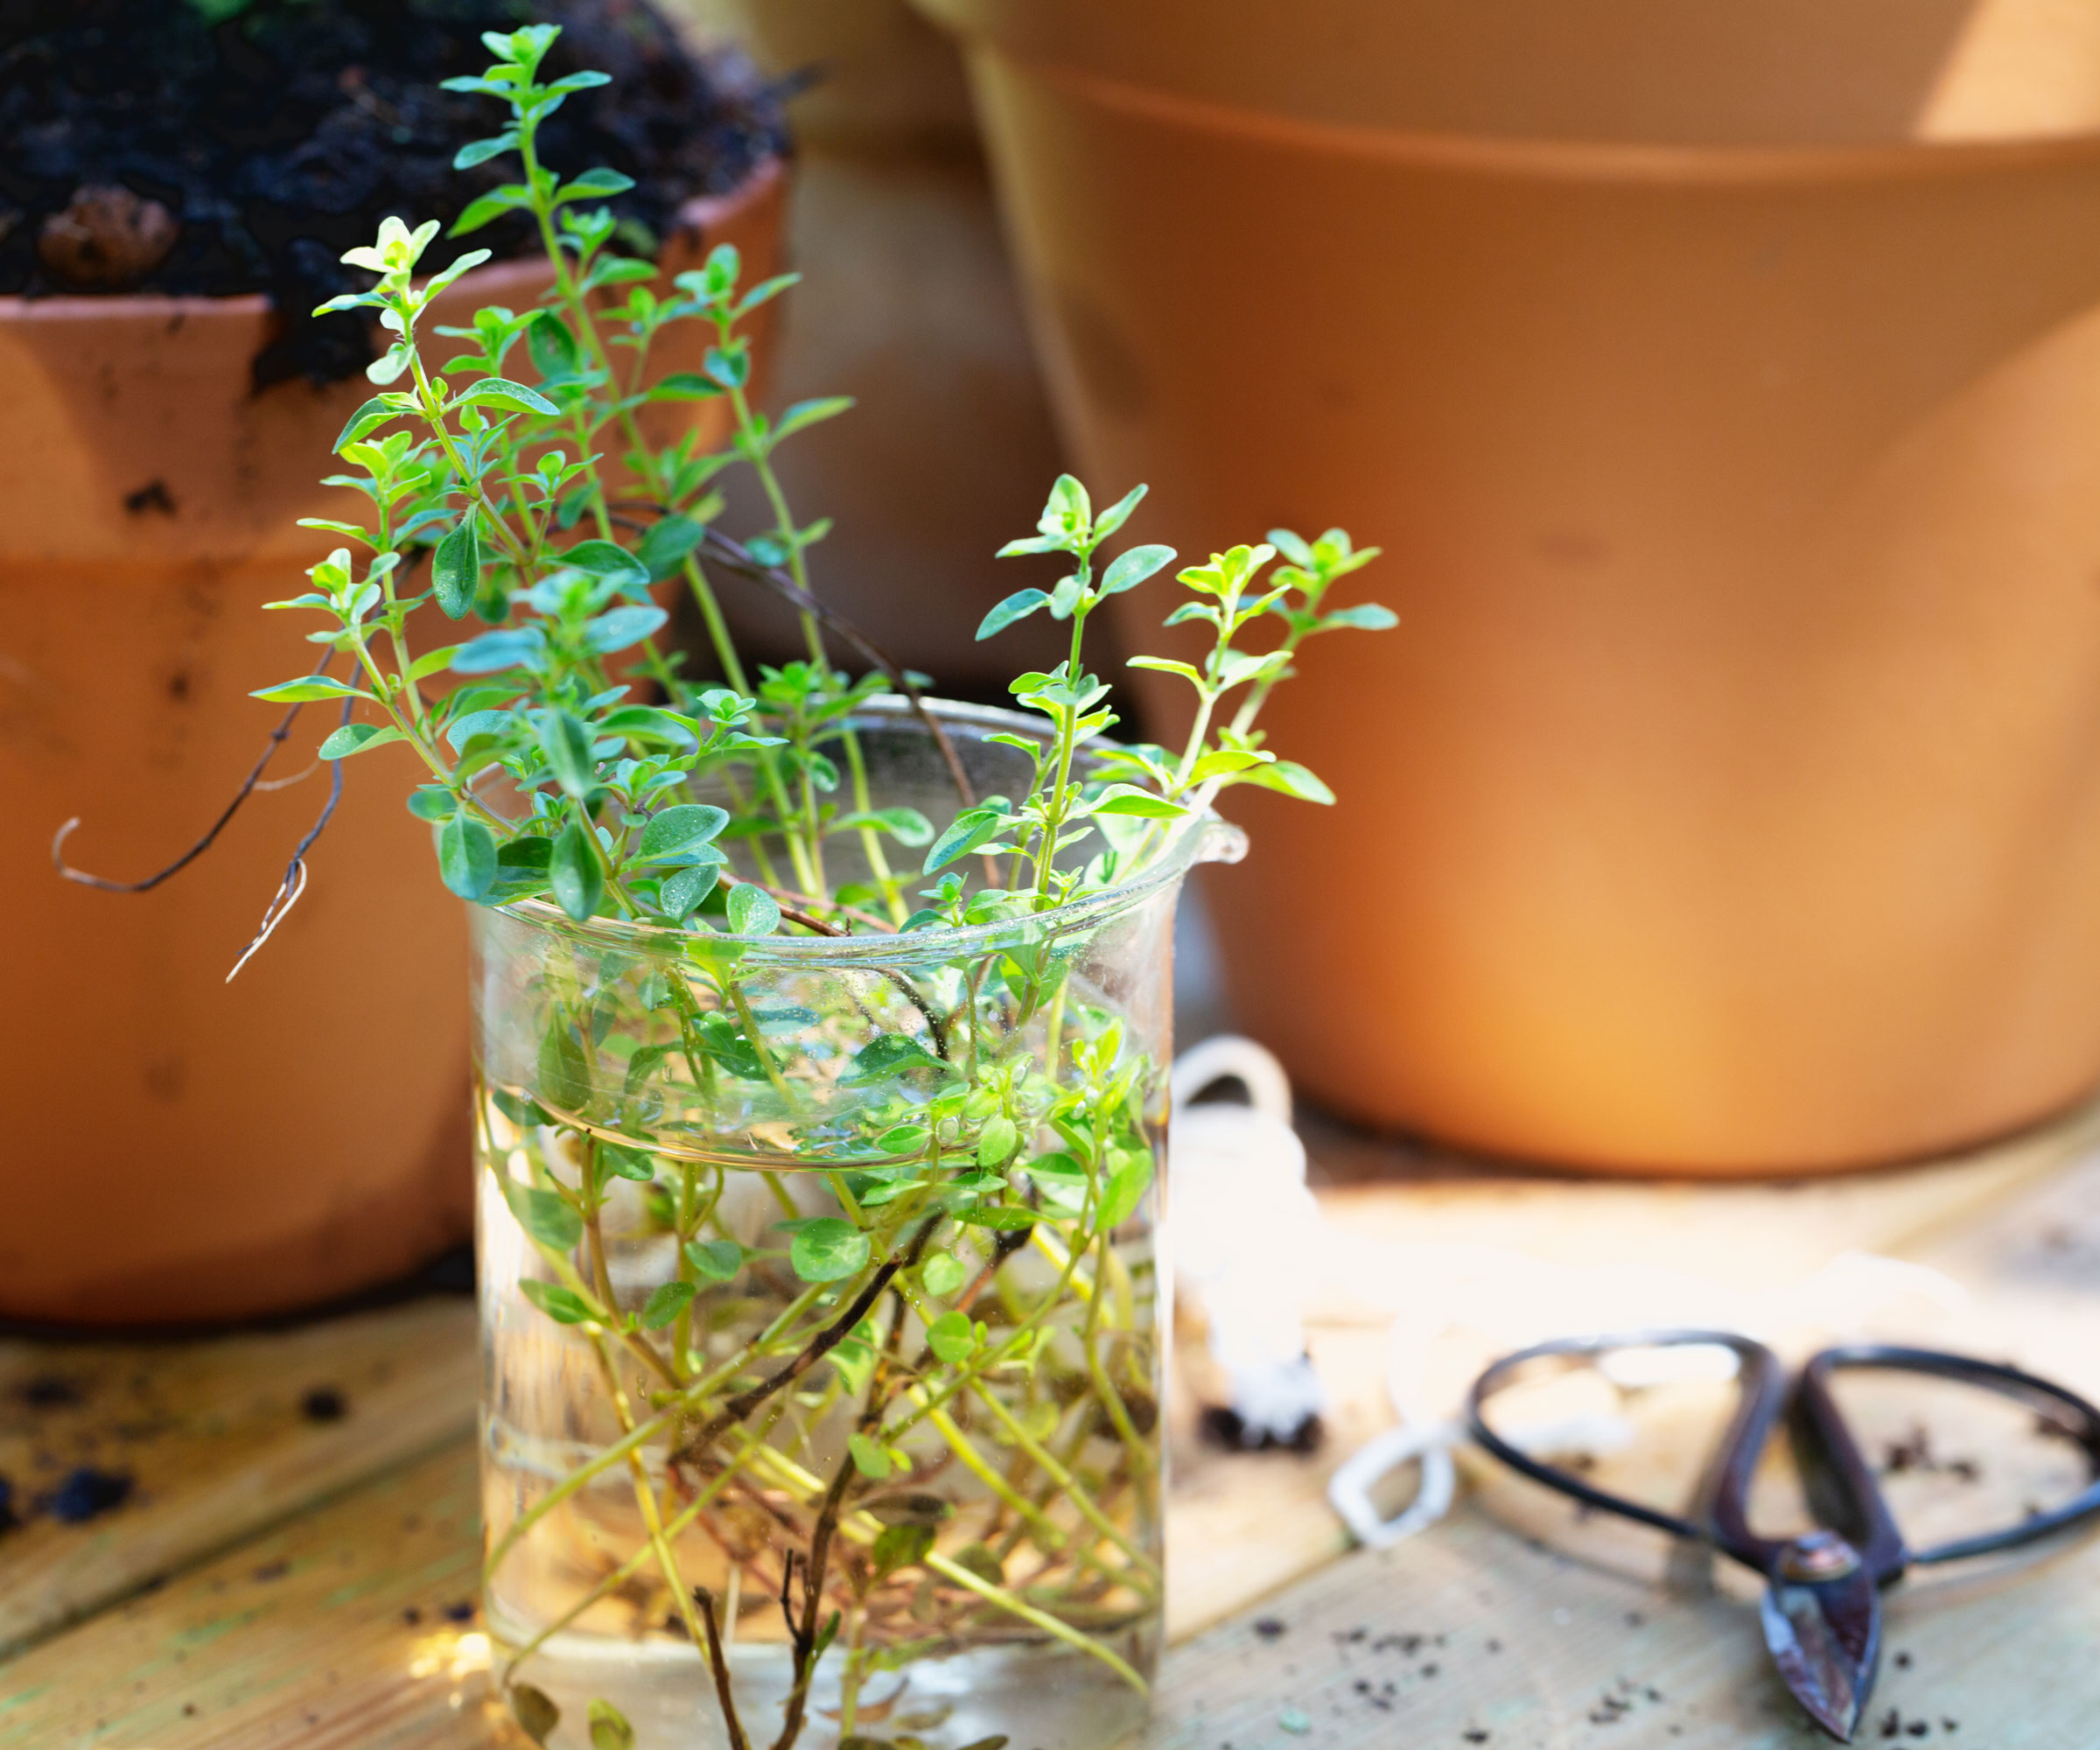
Water propagation allows you to monitor root growth in your baby herbs in real time through clear glass, providing a clean, low-maintenance (and generally very affordable) way to rescue your favorite culinary herbs before cold weather sets in. Stem selection is key for the best second life indoors, though. Look for the softwood tips: those tender, bright green side shoots near the top that flex easily between your fingers. These fresh green stems are brimming with rooting energy and will sprout in plain water super fast compared to rigid base stems that have already hardened off.
(Image credit: SilviaJansen / Getty Images)
If you’ve tried water propagation before only to end up with a murky jar of stumps, please don't be discouraged. Those flops usually happen because of tiny, overlooked details, like submerged foliage or dull cutting blades. Before snipping any stems, make sure you're using the best gear. I’ve said it before and I’ll say it again: razor sharp scissors or snips are your best friend for cuttings. I strongly recommend investing in a teeny pair of super-sharp blades like Fiskars Micro-Tip Pruning Snips, available from Amazon, for crisp cuts that allow young stems to sip water freely. And clean blades before and after use with a little isopropyl alcohol or diluted neem.
Snip right below a joint or leaf node, where the root-building cells are waiting to wake up. Before submerging stems, strip away all foliage from the bottom two inches (5cm) to ensure zero leaves rest below the waterline. To help nudge baby roots into action, you can also safely add a single drop of kelp to a larger glass of water. GS Plant Foods Organic Liquid Kelp Fertilizer, available from Walmart, stimulates faster root node development. Just keep an eye on water cleanliness, and replace the water every few days. When done correctly, rooting herb cuttings in water is magical to watch. Here’s my pick of the best herbal cuttings to try…
1. Mint
(Image credit: SilviaJansen / Getty Images)
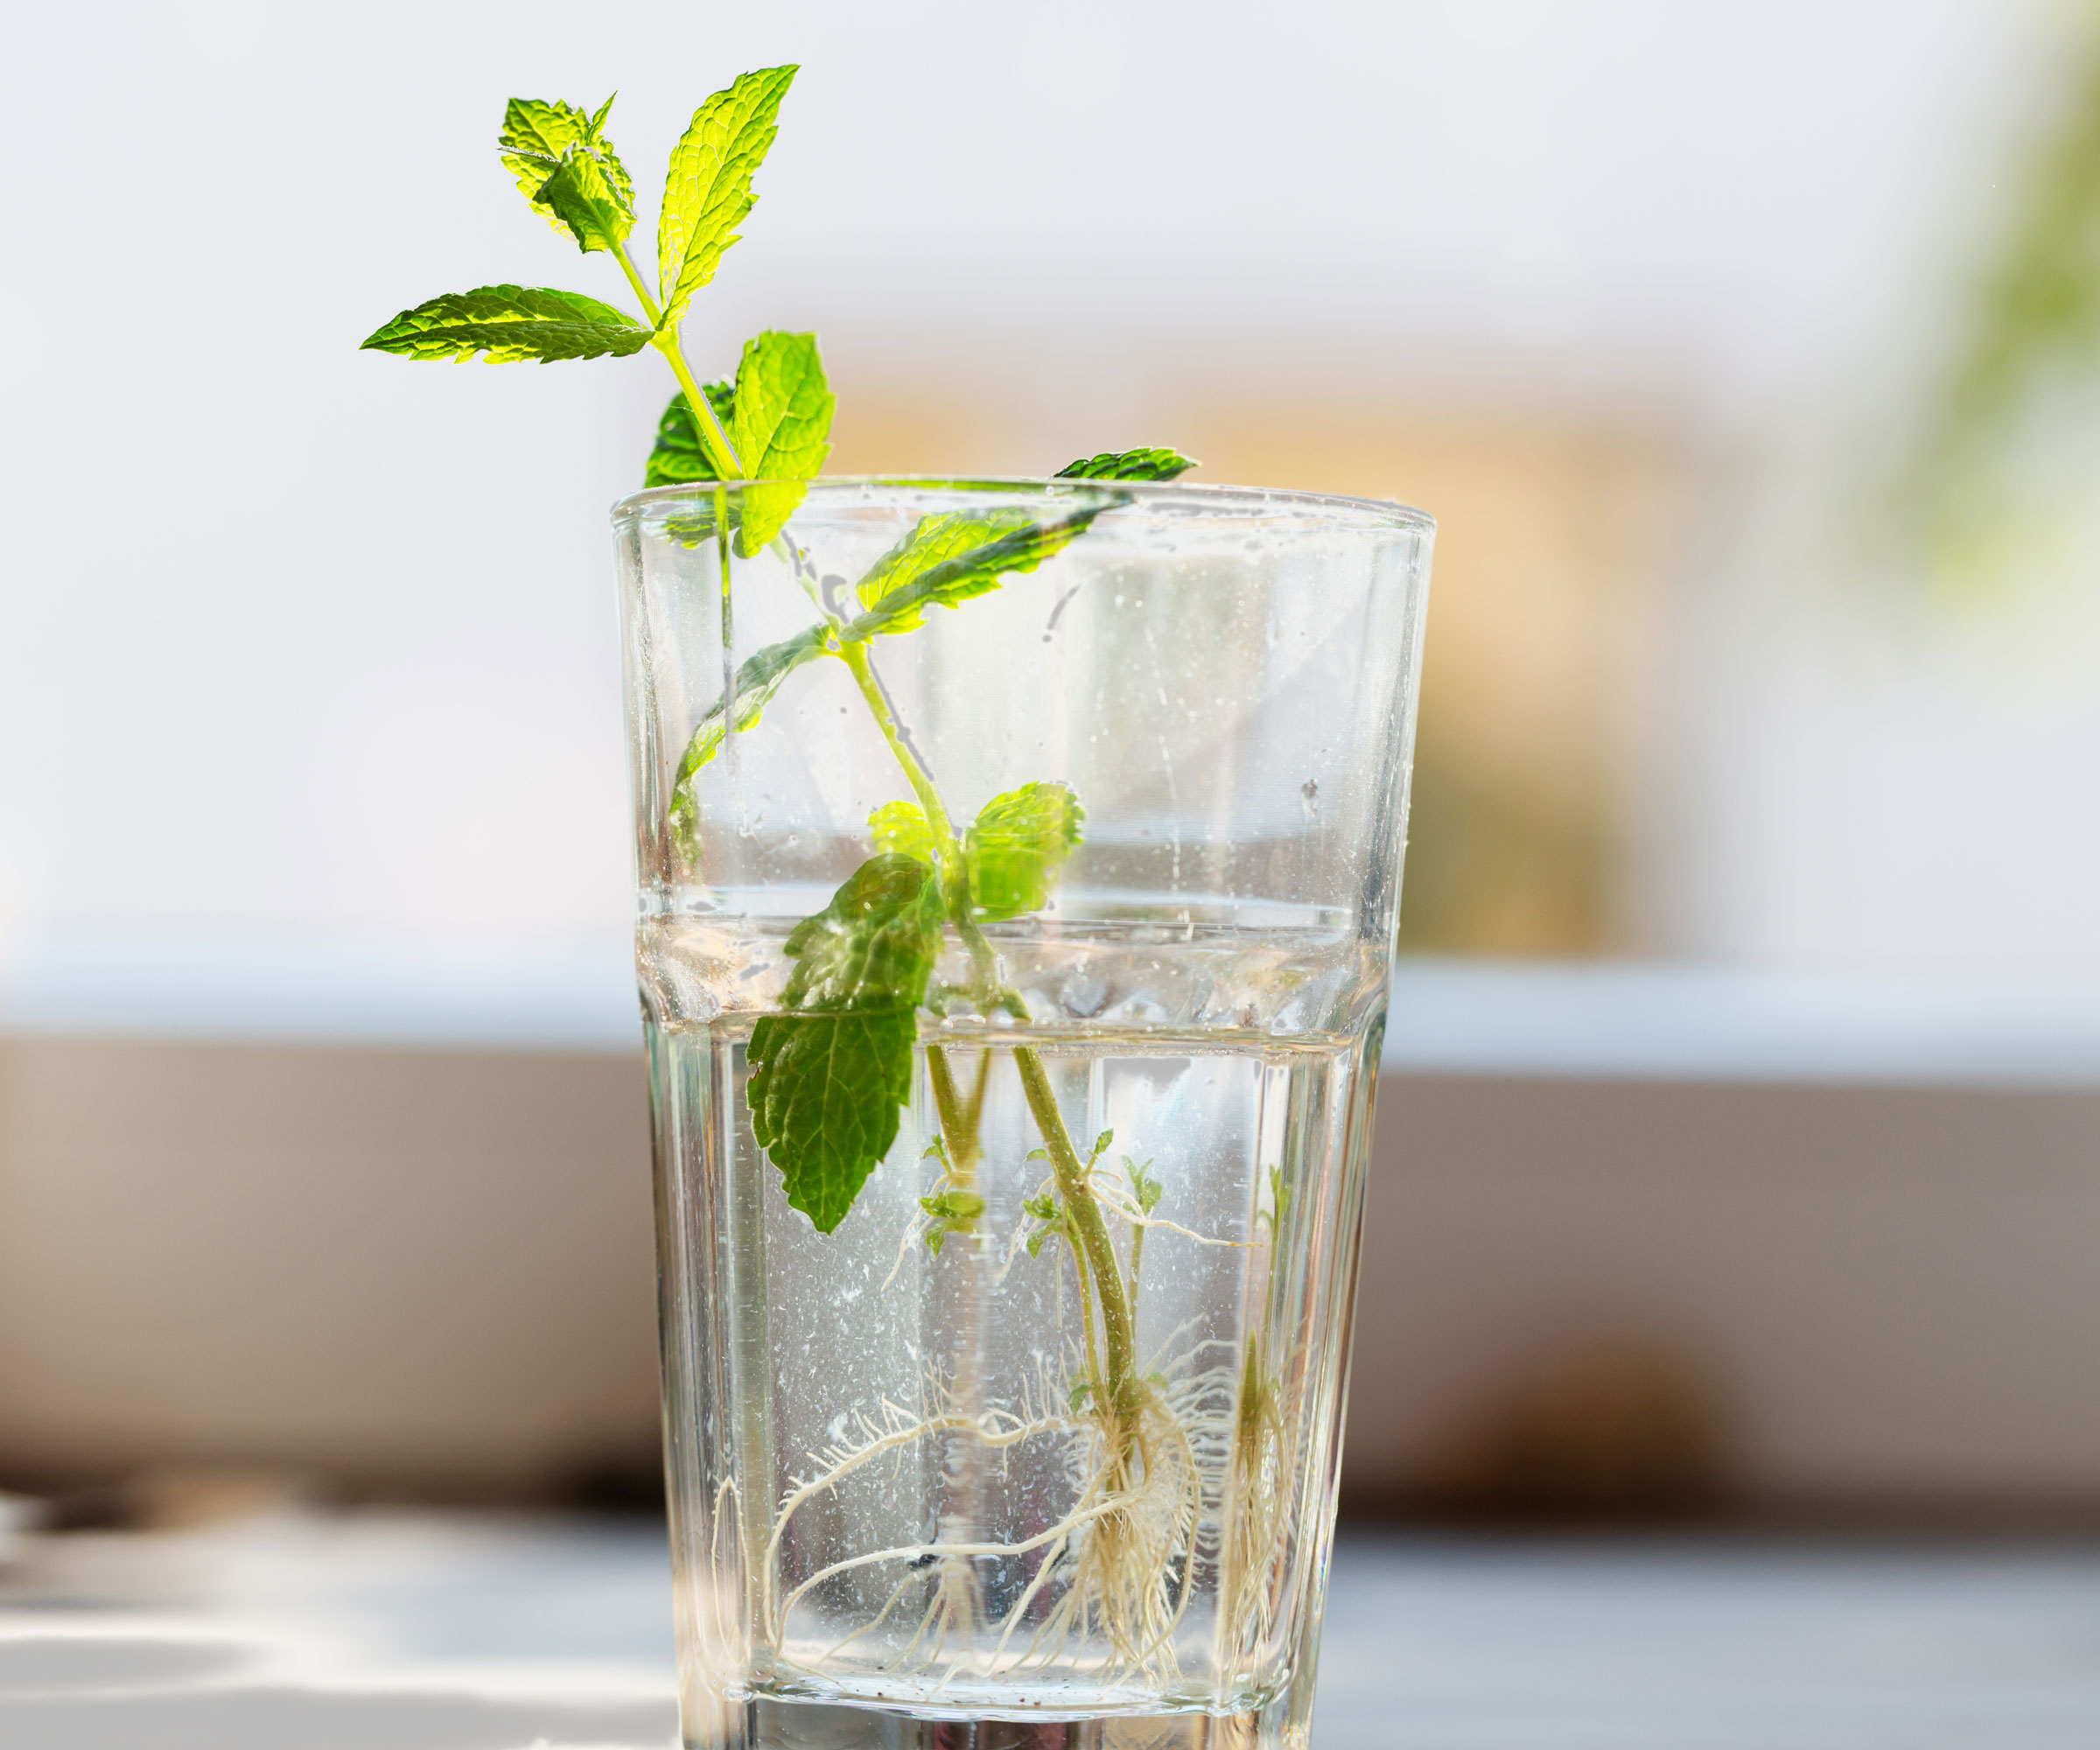
If you’re a newbie looking for an easy little victory under water, grab some mint and watch it go. It’s the ultimate ego boost for water propagation in fall. It’s virtually indestructible and it roots in days. This is a true story: I once took a sprig of mint home from a night out after a lovely cocktail I wanted to remember. It was late at night, and I didn’t have a spare fancy vase I could use, so I emptied out a water mister and used that to house my little green minty sprig. A little over a week later, there was a long white root curling its way round the base of the water mister.
Whether you are working with classic spearmint, rich peppermint, or specialty mint varieties like chocolate or apple, these vigorous perennials possess an extraordinary capacity to generate adventitious water roots. Just keep an eye out for autumn flower spikes: if a stem is blooming or setting seed, nip those flower buds right off or choose a foliage-only side shoot instead. You want all of the stem's natural energy focused on pushing out roots rather than blooming.
Snip 4-6-inch (10-15cm) stems and strip off all foliage from the bottom half. Mint stems can be top-heavy, making tall, narrow-necked glass vessels or classic mason jars the ideal choice to keep stems upright. I’m a fan of Britegleam Tall Mason Jars, available from Walmart, to prevent flopping with bushier mint cuttings. Place on a warm windowsill receiving bright, indirect sunlight, but avoid harsh direct rays that foster algae. Expect roots within 3-7 days. Once they are a couple of inches (5cm) long and develop light side branching, you can move your cuttings onto a light, moist, well-draining potting mix. Just hold off on heavy nitrogen fertilizers for the first month to protect tender roots.
2. Oregano
(Image credit: Corinna John / Getty Images)
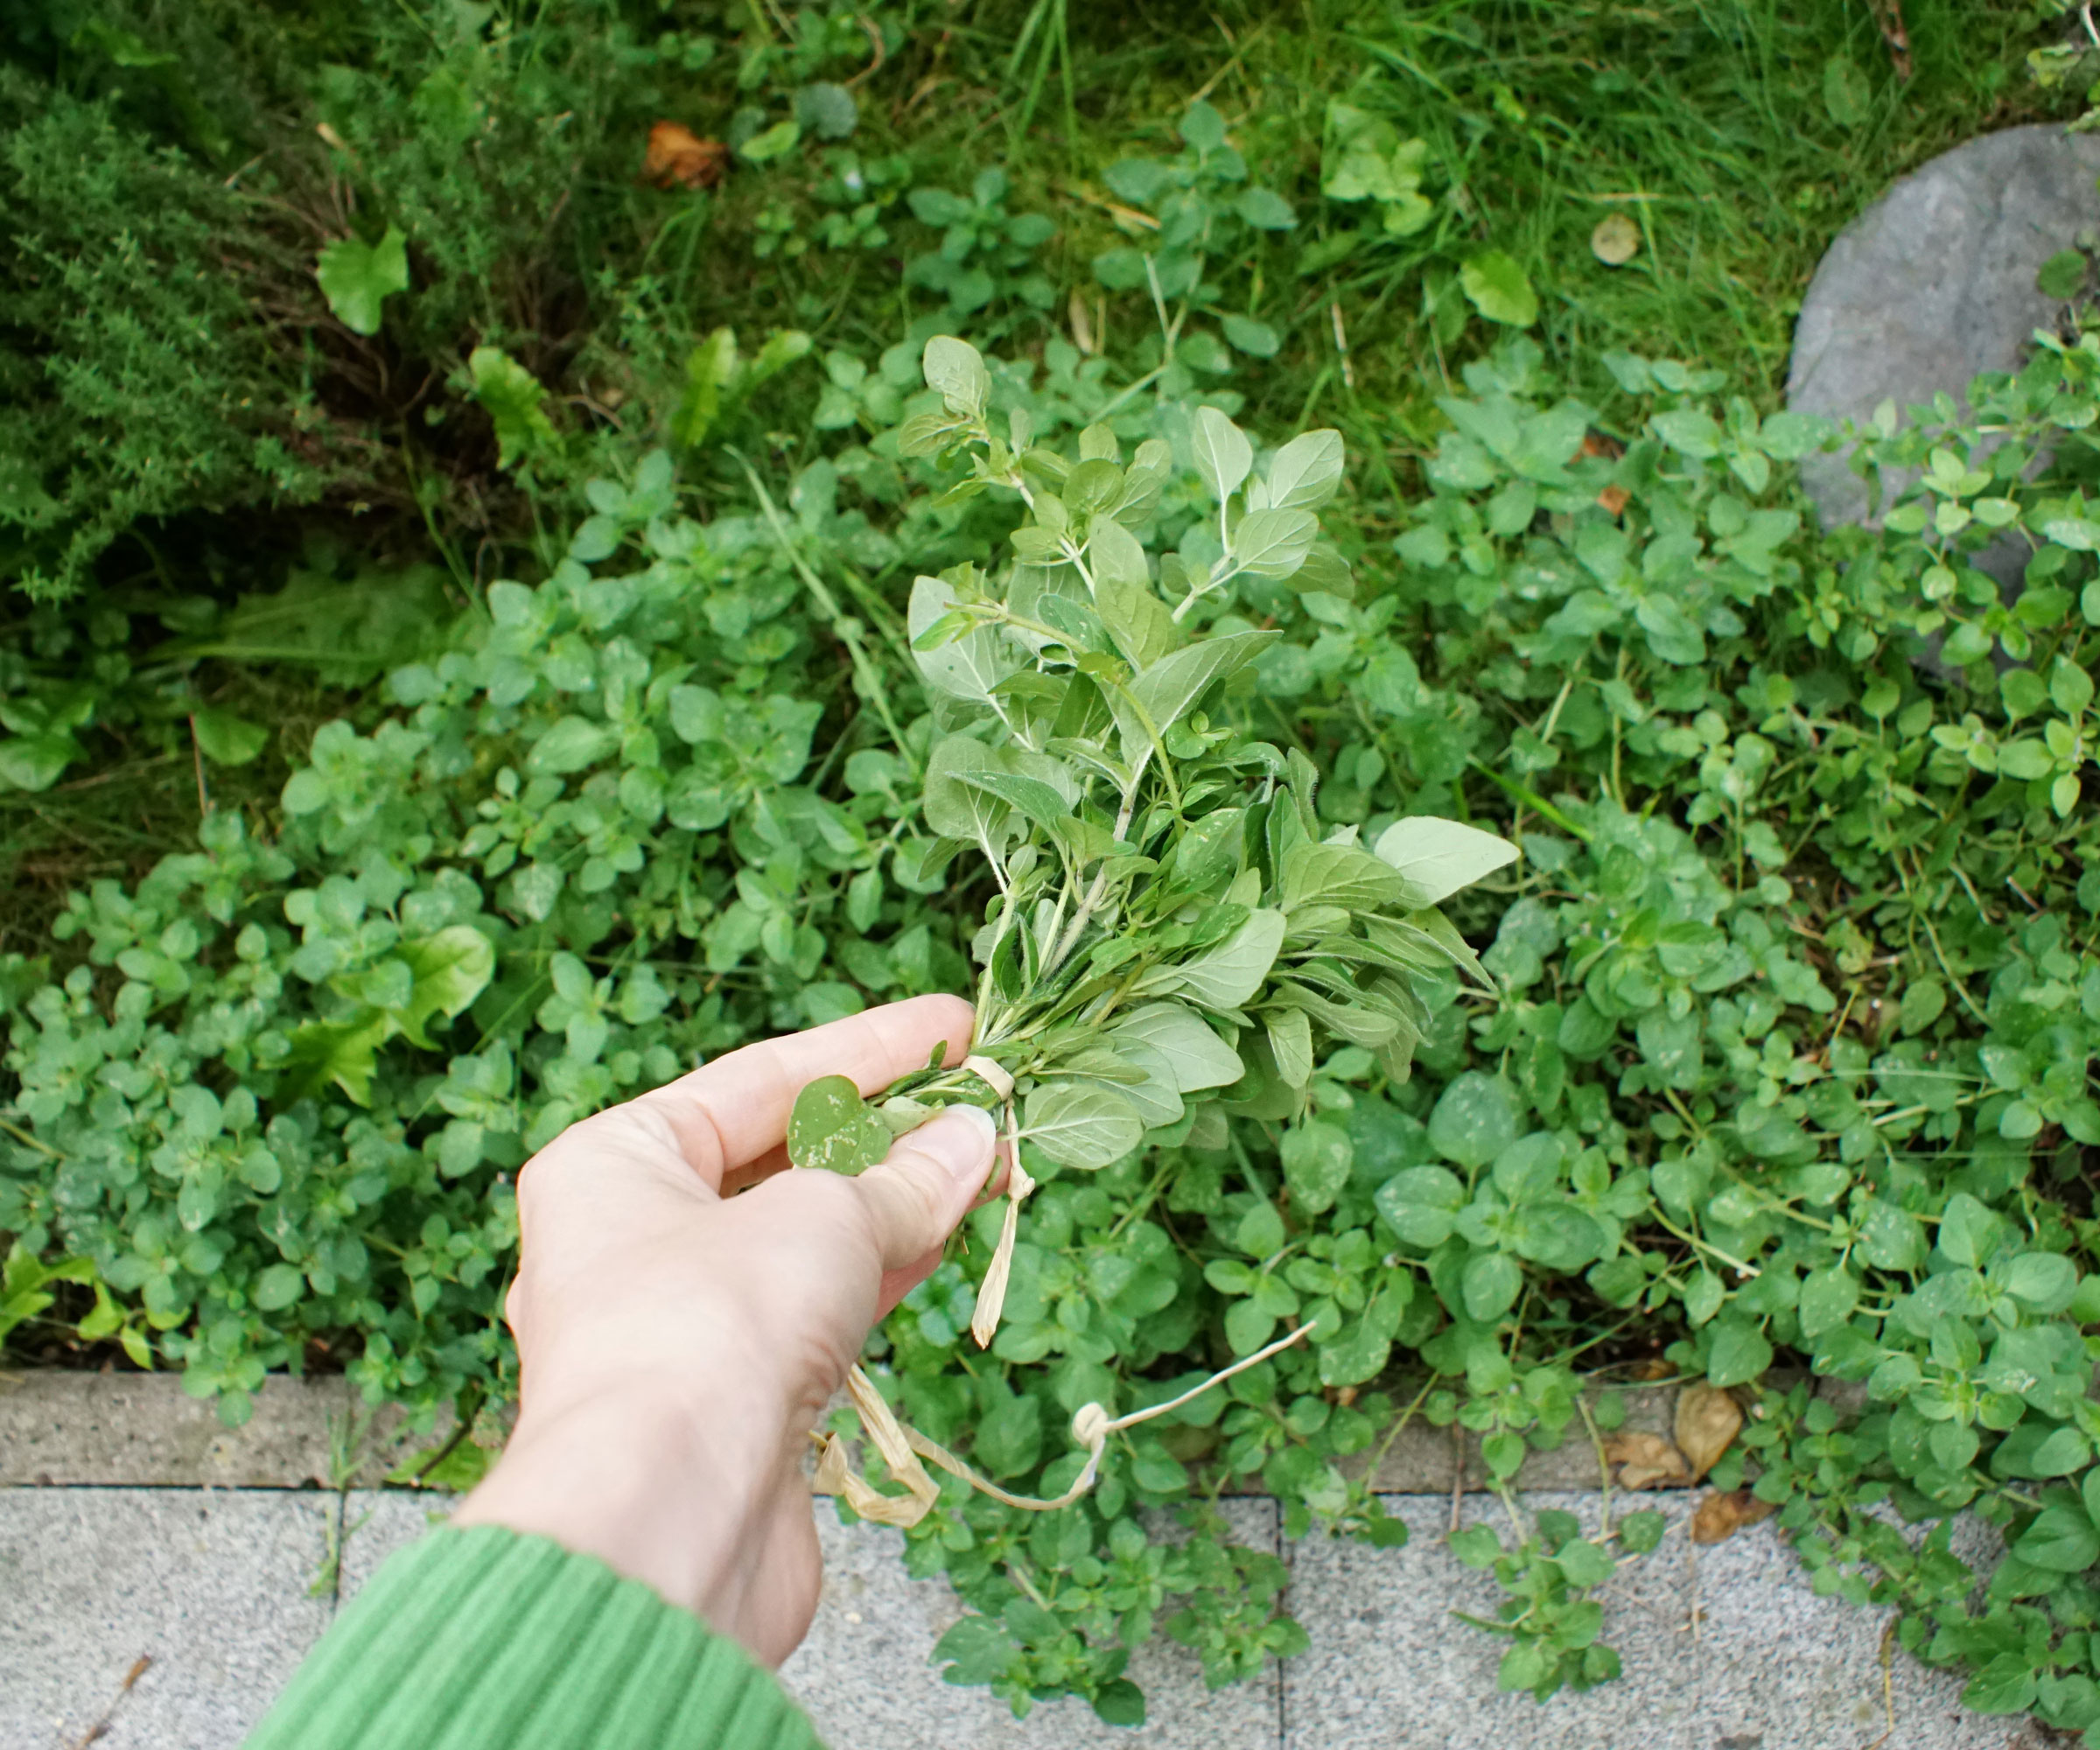
If you love the warm, cozy aroma of fresh pizza and pasta sauces simmering on a chilly fall evening, starting oregano cuttings in water before frost hits is a game changer. Classic Greek and aromatic Italian oregano varieties take to water propagation like a dream, as long as you pick the right stems. Look for soft, bendable green tip shoots and avoid stiff, brown stems. And if your oregano is sporting cute little late-season pink or purple blooms, give those flower heads a quick snip (I know: ouchie, but it’s important). Unpruned flower stems can often rot in standing water. You want the plant pouring 100% of its passion into shiny new roots.
Since oregano stems are fine, delicate, and prone to taking an accidental swim, glass container shape is everything. Wide-mouthed jars can cause problems. A stylish propagation station with slender glass test tubes or small bulb vases holds these fine stems upright, keeping leaves dry and root nodes submerged. If you need a good option for these cuttings, I like the narrow glass tubes you get with wooden propagation stations. Something like the Yibot Glass Propagation Station with Wooden Frame, available from Amazon, can house multiple cuttings in good shape.
Snip several 3-4-inch (8-10cm) cuttings, strip the lower foliage, and arrange in their cozy glass tubes with room-temperature water. It’s also a good idea to keep a full-spectrum LED grow light nearby, to give the cozy warmth and light boost they crave (12 hours of light a day helps prevent legginess). Oregano roots typically take 7-10 days to appear. Once the roots form a little web, you can move the cuttings into small pots filled with a light, well-draining soil. Planting multiple cuttings in one pot gives you a thick, bushy herb plant that looks gorgeous on a sunny kitchen counter.
3. Tarragon
(Image credit: Annick Vanderschelden Photography / Getty Images)
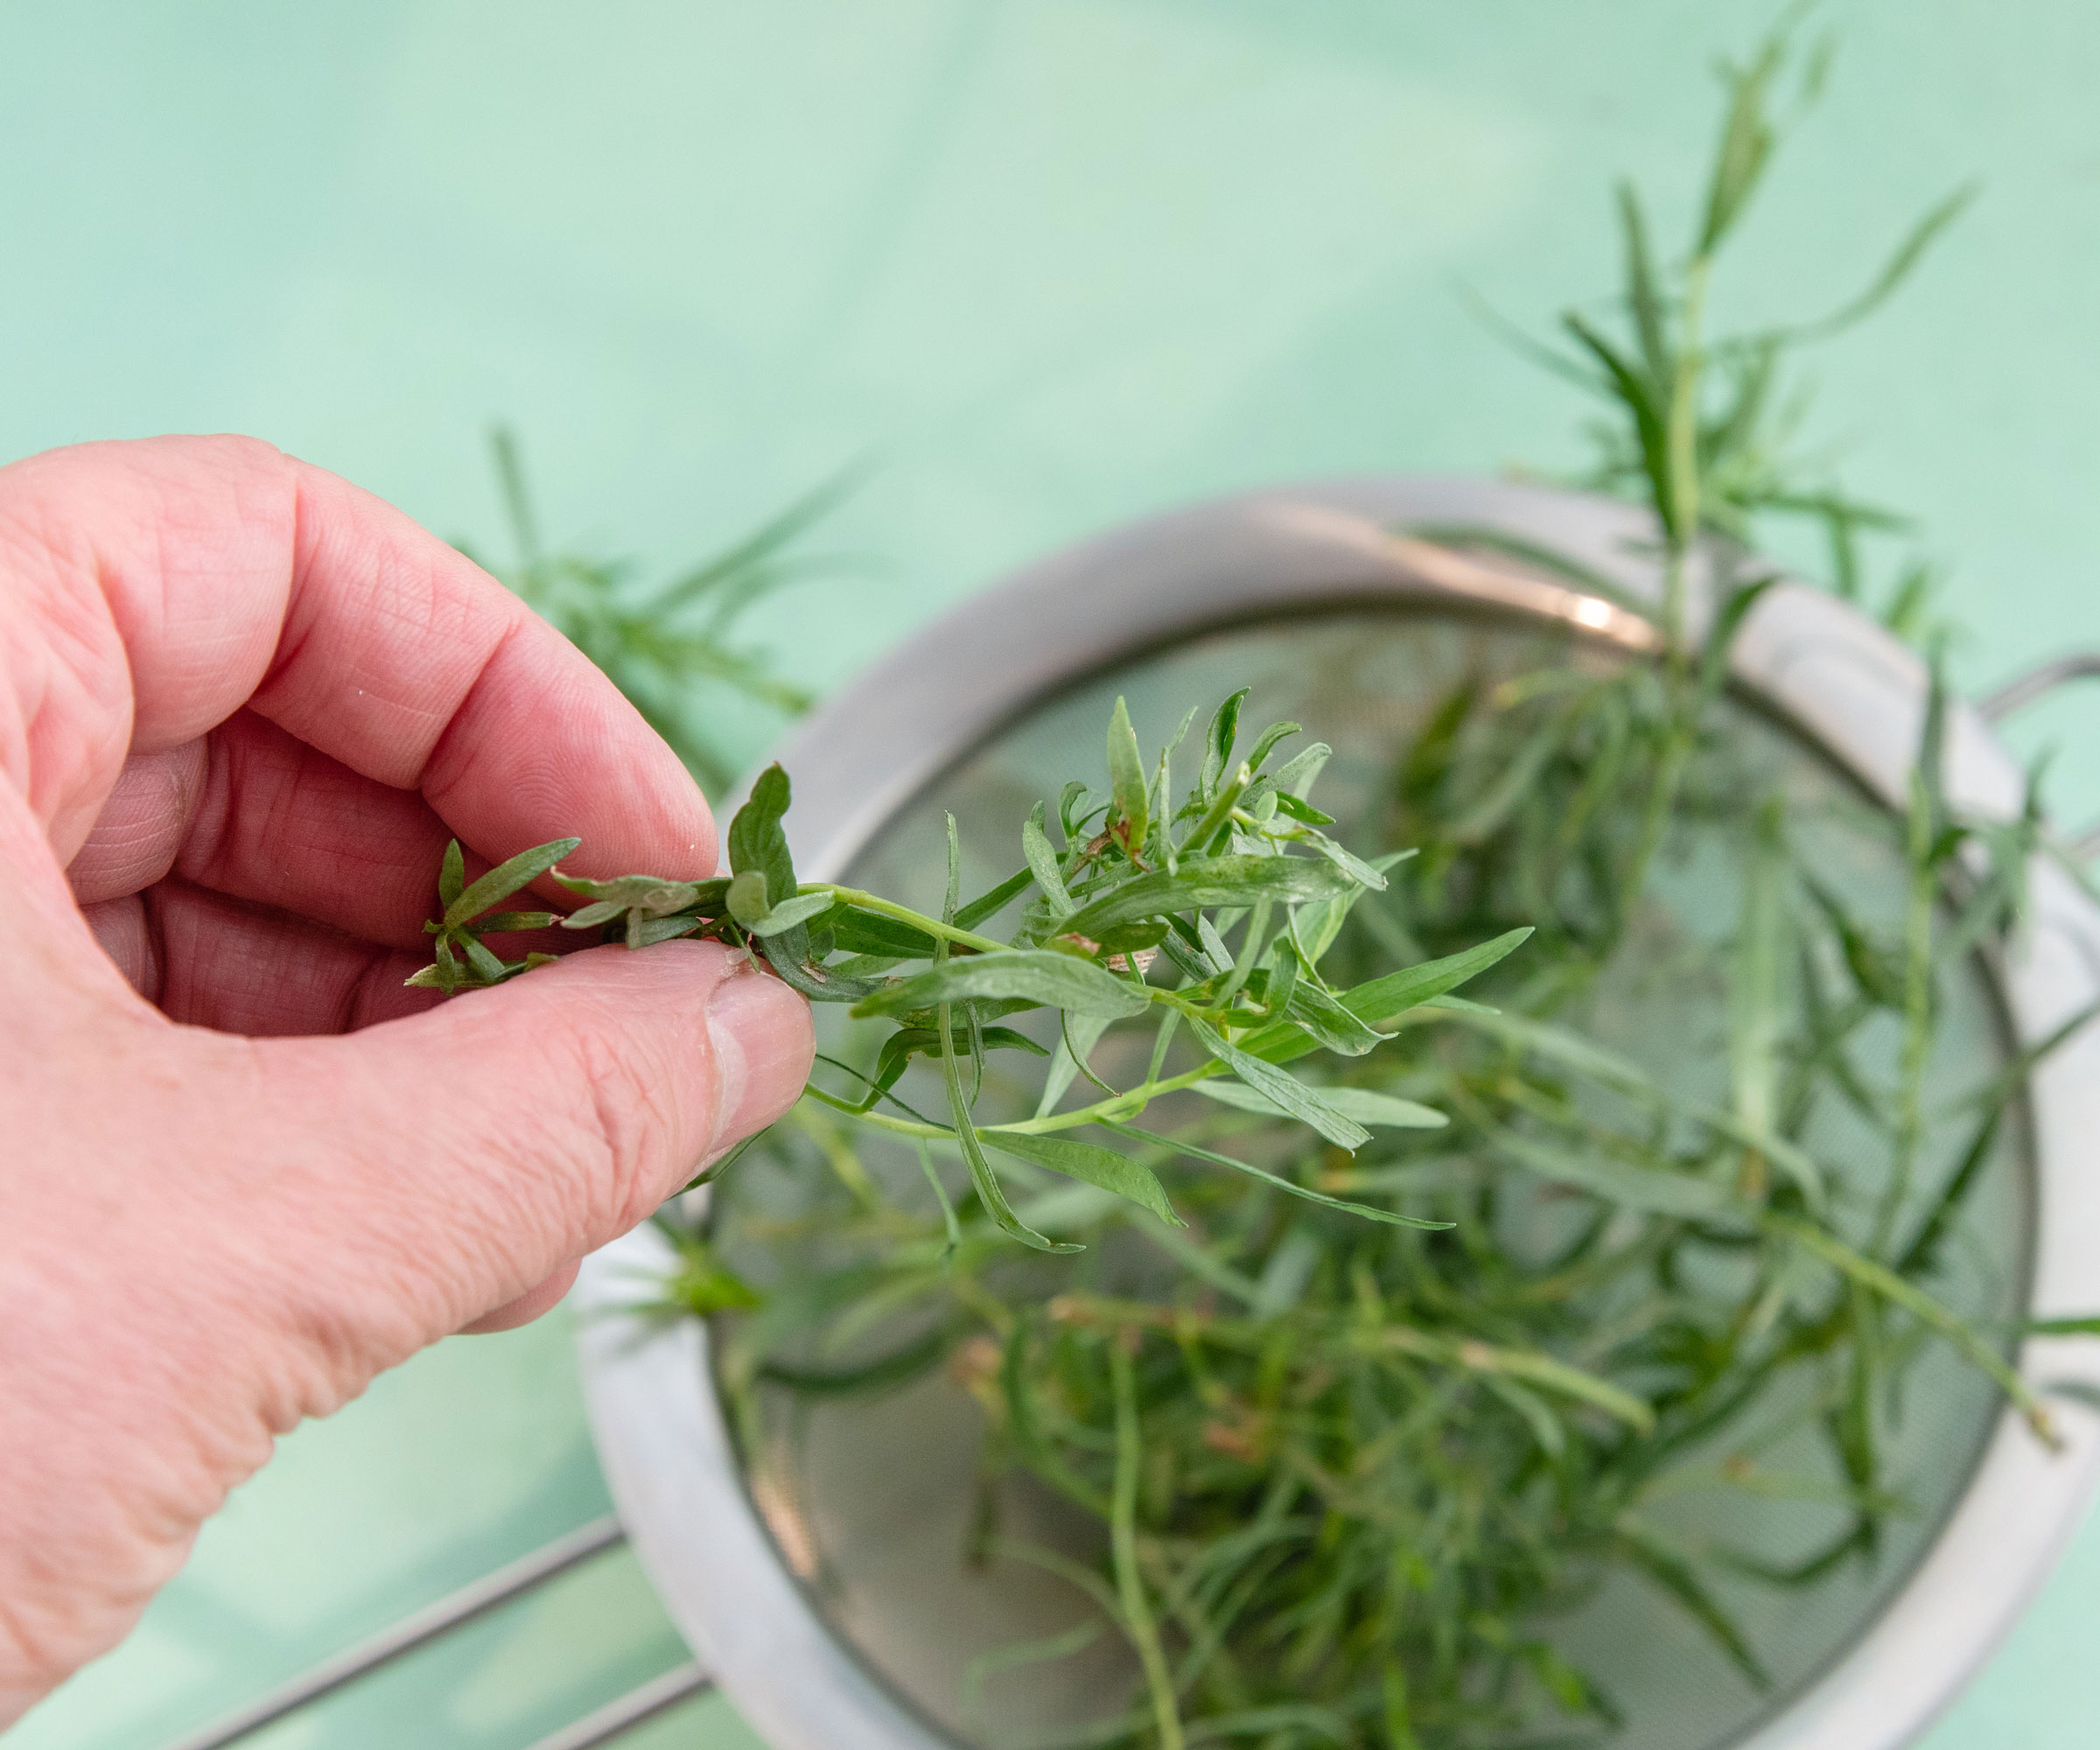
The secret to joyful tarragon propagation lies in distinguishing between varieties. True French Tarragon (Artemisia dracunculus var. sativa) is prized for its intense, licorice-like aroma and glossy foliage. Because this sweet anise beauty produces sterile flowers, you can't buy seeds for it. So snip-and-save water propagation is a lovely way to keep this culinary treasure alive and multiplying on a sunny winter windowsill for free (however, I’d stick with French varieties for water propagation).
Harvest non-flowering softwood tip cuttings from genuine French tarragon plants in early fall, before the cold night air turns the stems brittle. Hunt for tender side shoots that haven't developed woody bases or flower buds. Snip 4-inch (10cm) cuttings and strip off the bottom leaves. Caught at the right time, tarragon stems are soft and pliable, but that also makes them prone to slipping under water in wide containers. Tuck them into clear glass bottles with narrow tops, so stems stay upright and happy. Keep on a bright, warm windowsill, and replace the water every few days.
Tarragon root nodes respond well to clean water. They take a little while longer than mint and oregano, but they should sprout roots in 10-14 days. Once roots reach a couple of inches (5cm) long, pot cuttings into a light and fluffy soil mix to prevent stagnation. If you need a little extra drainage, add a sprinkle of perlite. Plantonix Perlite Bliss Premium, available from Walmart, keeps tiny roots safe and well drained as they grow. Keep the soil lightly moist during their first weeks, and skip any heavy plant foods for the first month, so those tender new roots can settle in stress-free. Before you know it, you’ll have fresh anise blasts of seasonal savory goodness.
Bonus Herb: Thyme
(Image credit: Karl Tapales / Getty Images)
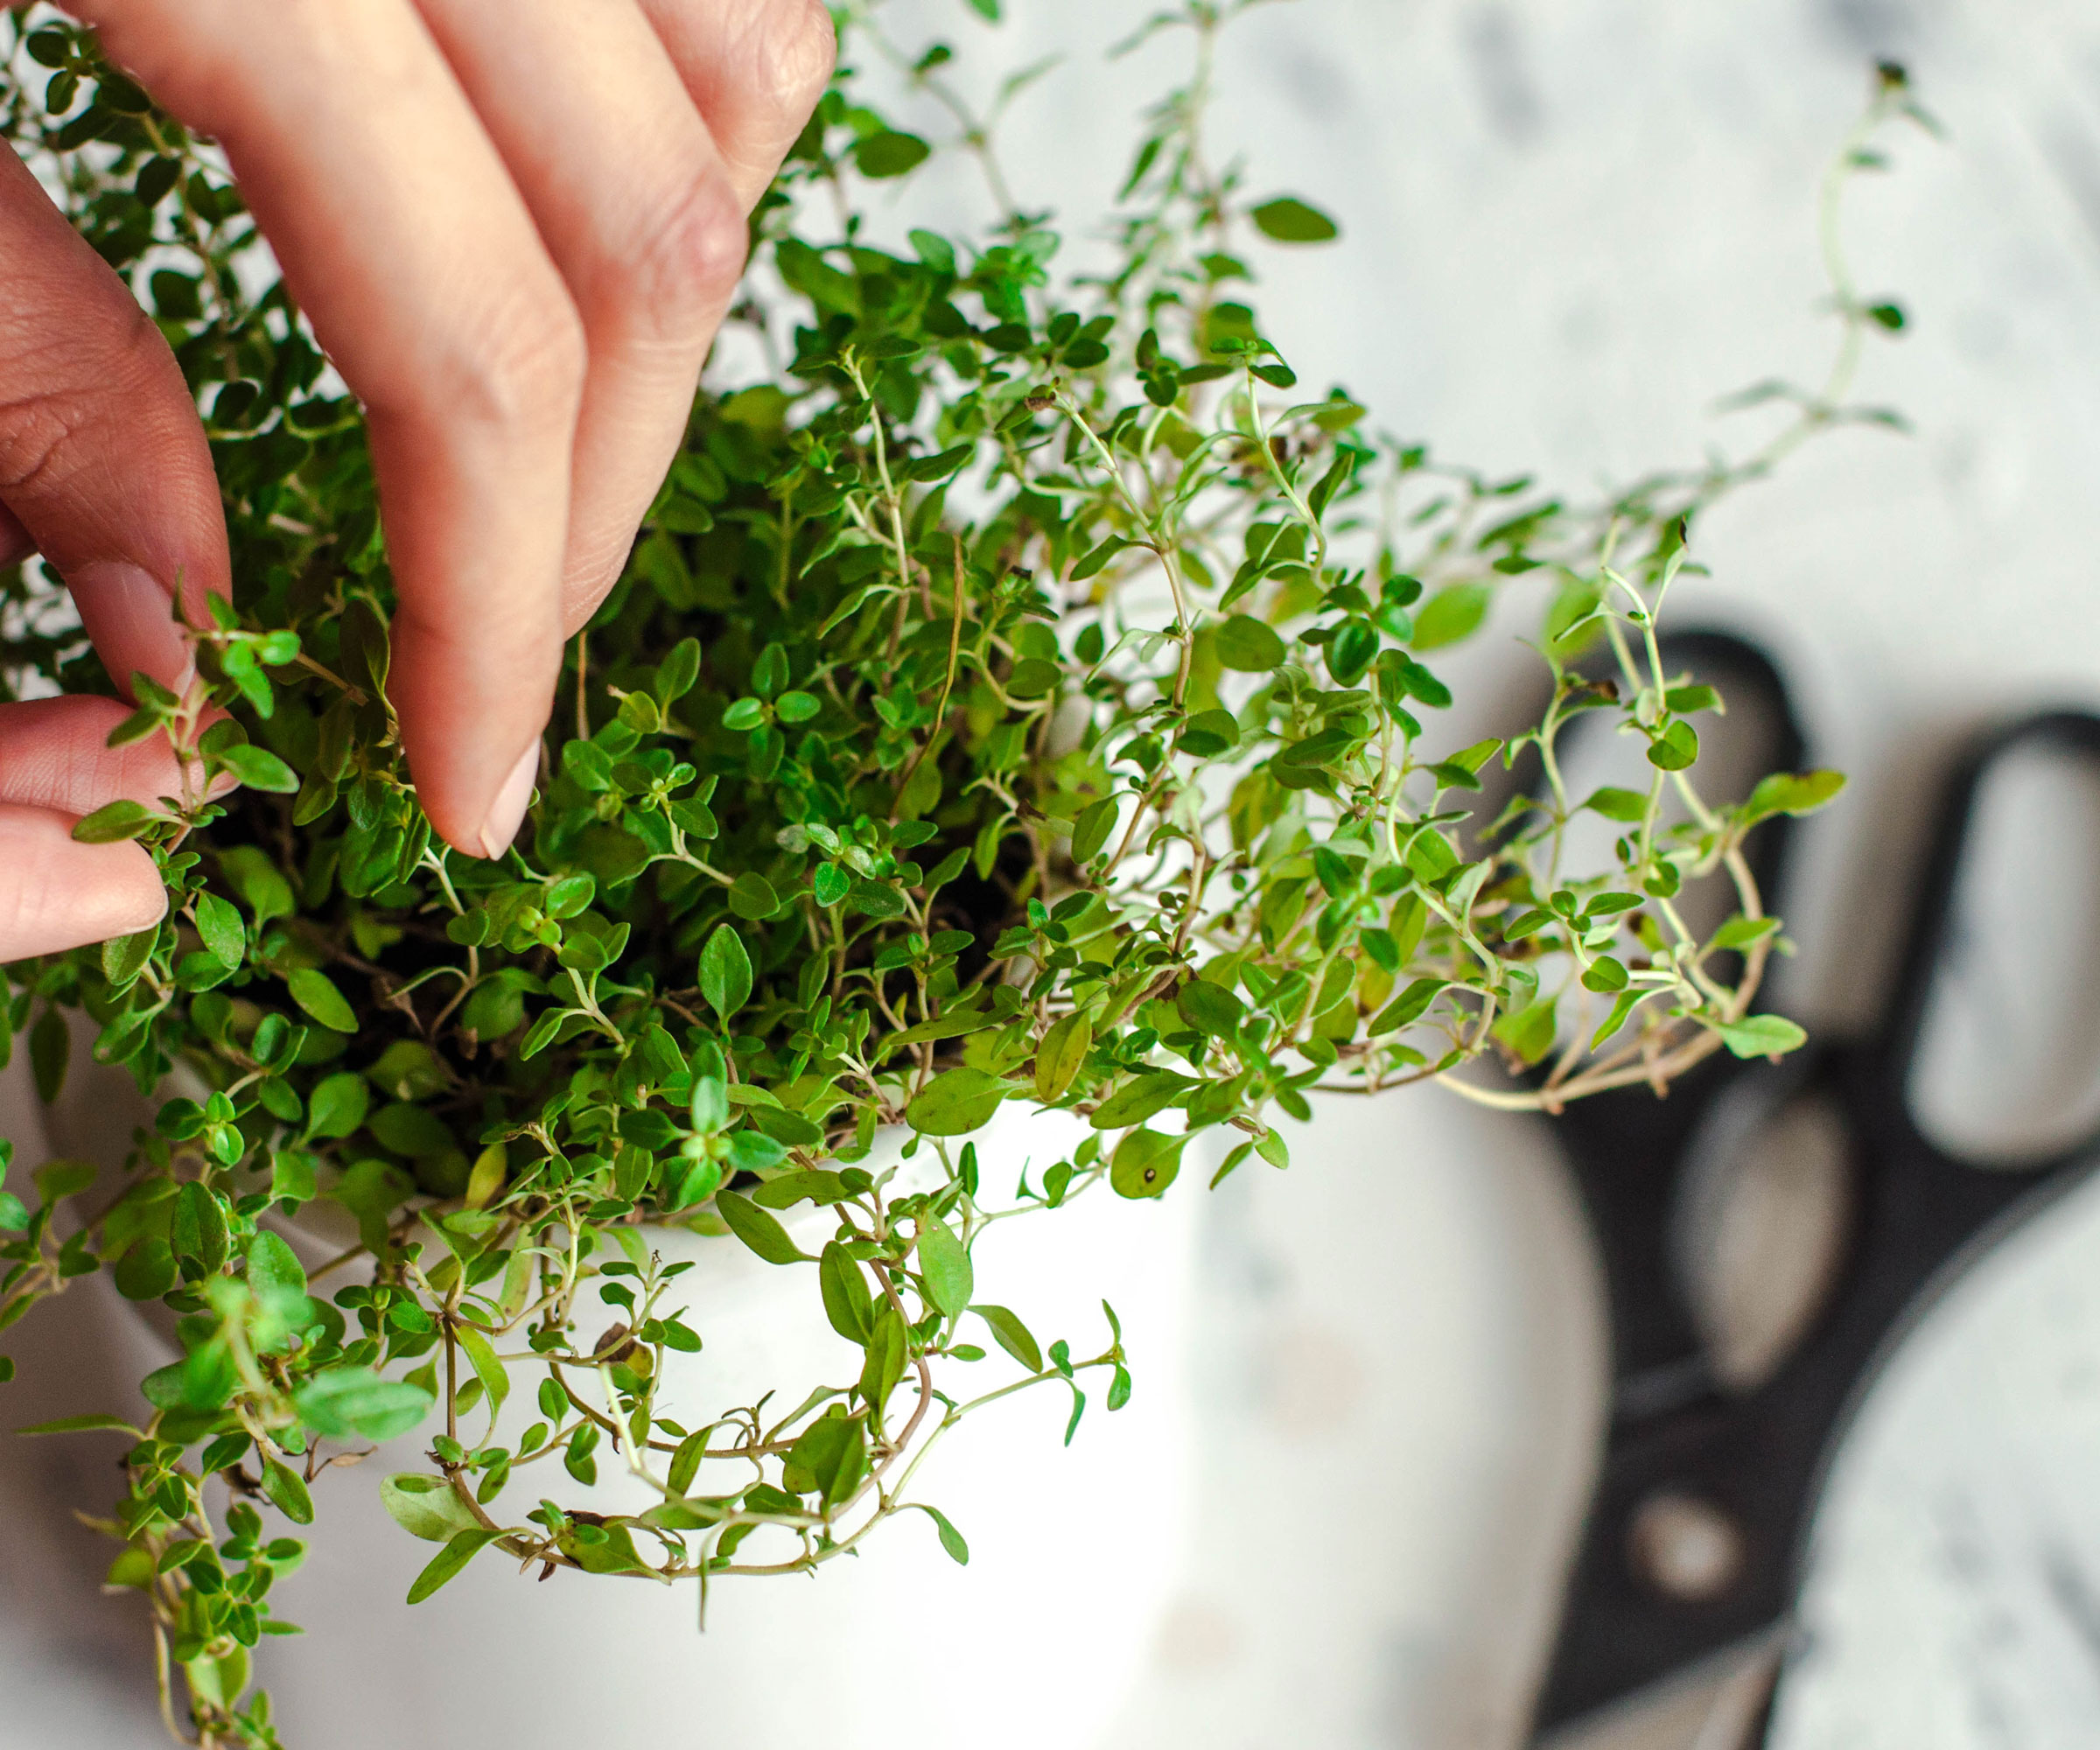
When it comes to propagating thyme in water, many long-time gardeners will tell you it’s a tricky semi-woody herb with stems that rot in water. But thyme can be a sweetheart for water-based propagation, as long as you use a clever little foil trick. Classic garden thyme (Thymus vulgaris) and aromatic lemon thyme (Thymus x citriodorus) are ideal. The trick is to use the soft, green top shoots: the 2-3-inch (5-8cm) tips that flex easily. Skip the stiff, woody stems at the base, and snip off any tiny flower buds, so the cuttings can devote all their energy into healthy roots.
So how do you keep these fine, delicate stems from taking a dive and drowning? Easy, just pull out a sheet of heavy-duty aluminum foil. If you don’t have any, grab a bargain roll of Reynolds Wrap Heavy Duty Aluminum Foil, available from Walmart. Crimp the foil snugly over the top of your small glass bottle or jar like a lid. Poke tiny holes with a needle or a pin, then gently slide your stripped thyme stems through. The foil suspends the leaves, keeping just the bottom half inch (1.25cm) submerged.
To give these stems an extra boost, try a little dip in some rooting gel to nudge these cuttings along. HydroDynamics Clonex Rooting Gel, available from Amazon, protects stem bases while encouraging speedier roots. Then place your jar on a warm, bright windowsill out of the harsh sun. While thyme takes slightly longer, you’ll hopefully see roots in 14-21 days. Once roots reach an inch in length, pot the cuttings up into a gritty soil mix, blended with perlite or sand. Keep the soil lightly damp for the first week to ease the water-to-soil transition, and skip heavy nitrogen feeds for 3-4 weeks. But oh, it’s worth the wait for more supplies of this personal favorite.
(Image credit: SilviaJansen / Getty Images)
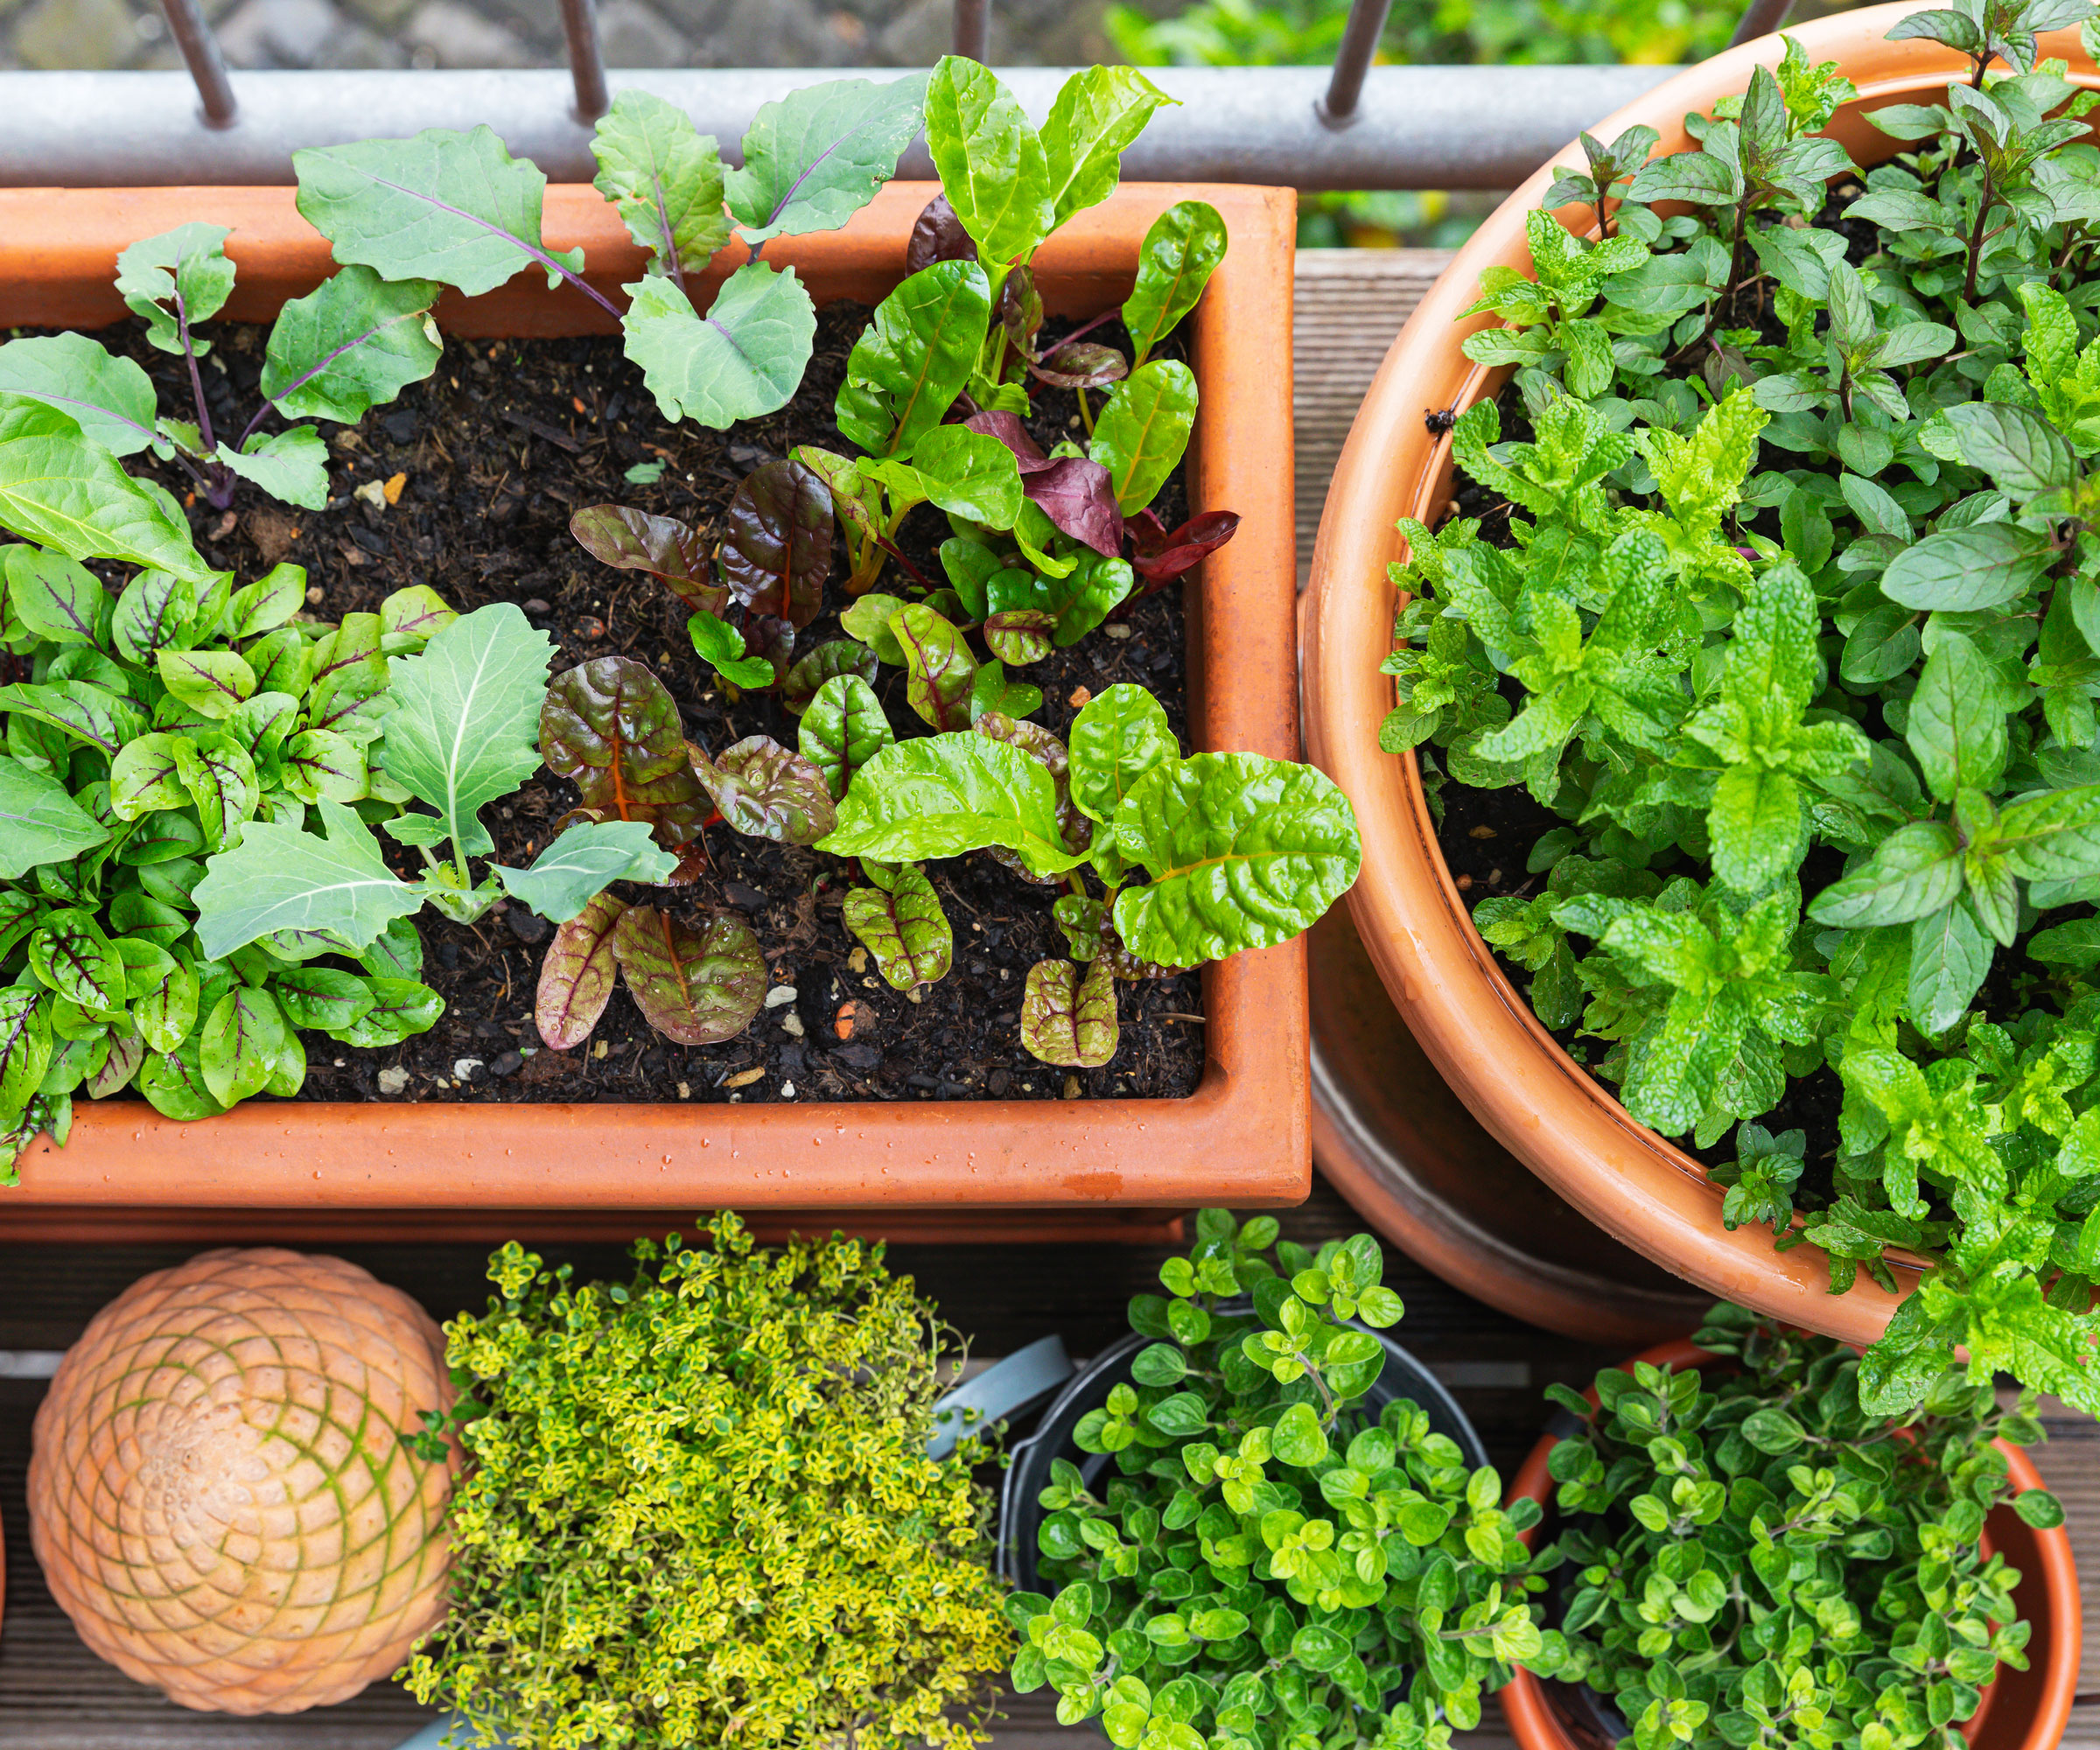
Taking a few moments now to snip and preserve your favorite herbs is more than just a smart trick: it is a way to keep fresh flavor alive on your kitchen windowsill all winter long. By selecting healthy softwood plant cuttings, giving them bright indirect light, and providing fresh, regularly replenished water, you can effortlessly multiply your mint, oregano, tarragon, and thyme before the first hard frost arrives. Hold your nerve, keep an eye out for those little root nodes, and I hope you can soon enjoy some of the easiest, coziest rewards of the season. Happy propagation!
(Image credit: Westend61 / Getty Images)
Need more ideas for getting the most from your plants, indoors and out, and looking for the best seasonal expert advice delivered straight to your inbox? Sign up for the free Gardening Know How Newsletter!


















 English (US) ·
  French (CA) ·