
 20 hours ago
13
20 hours ago
13
PROTECT YOUR DNA WITH QUANTUM TECHNOLOGY
Orgo-Life the new way to the future Advertising by AdpathwayPreserving is a lot of work, but it’s worth every ounce of effort. It’s a treat to enjoy tomatoes, grapes, and green beans when they’re no longer in season. You won’t have to buy misshapen produce at the grocery store; you’ll have homegrown veggies and fruits in your kitchen!
Some preservation methods alter the structure of the produce, while others keep it in its original state. Think of jams and jellies, for example. You must cook the fruit and mix it with sugar and pectin. The resulting jam will still taste like the fruit, but it’ll be a lot sweeter.
Other ways to preserve, like pickling and fermenting, enhance flavors and textures. Cucumbers stay perky and crunchy when pickled, and cabbage takes on a sweet-sour taste when you turn it into sauerkraut. No matter which methods you decide on, you’ll be pleased when you can enjoy your harvests long after you pick them.
Without further ado, here are nine ways to preserve your garden harvest. Get that produce from your garden to the dining room table!
Eat Fresh
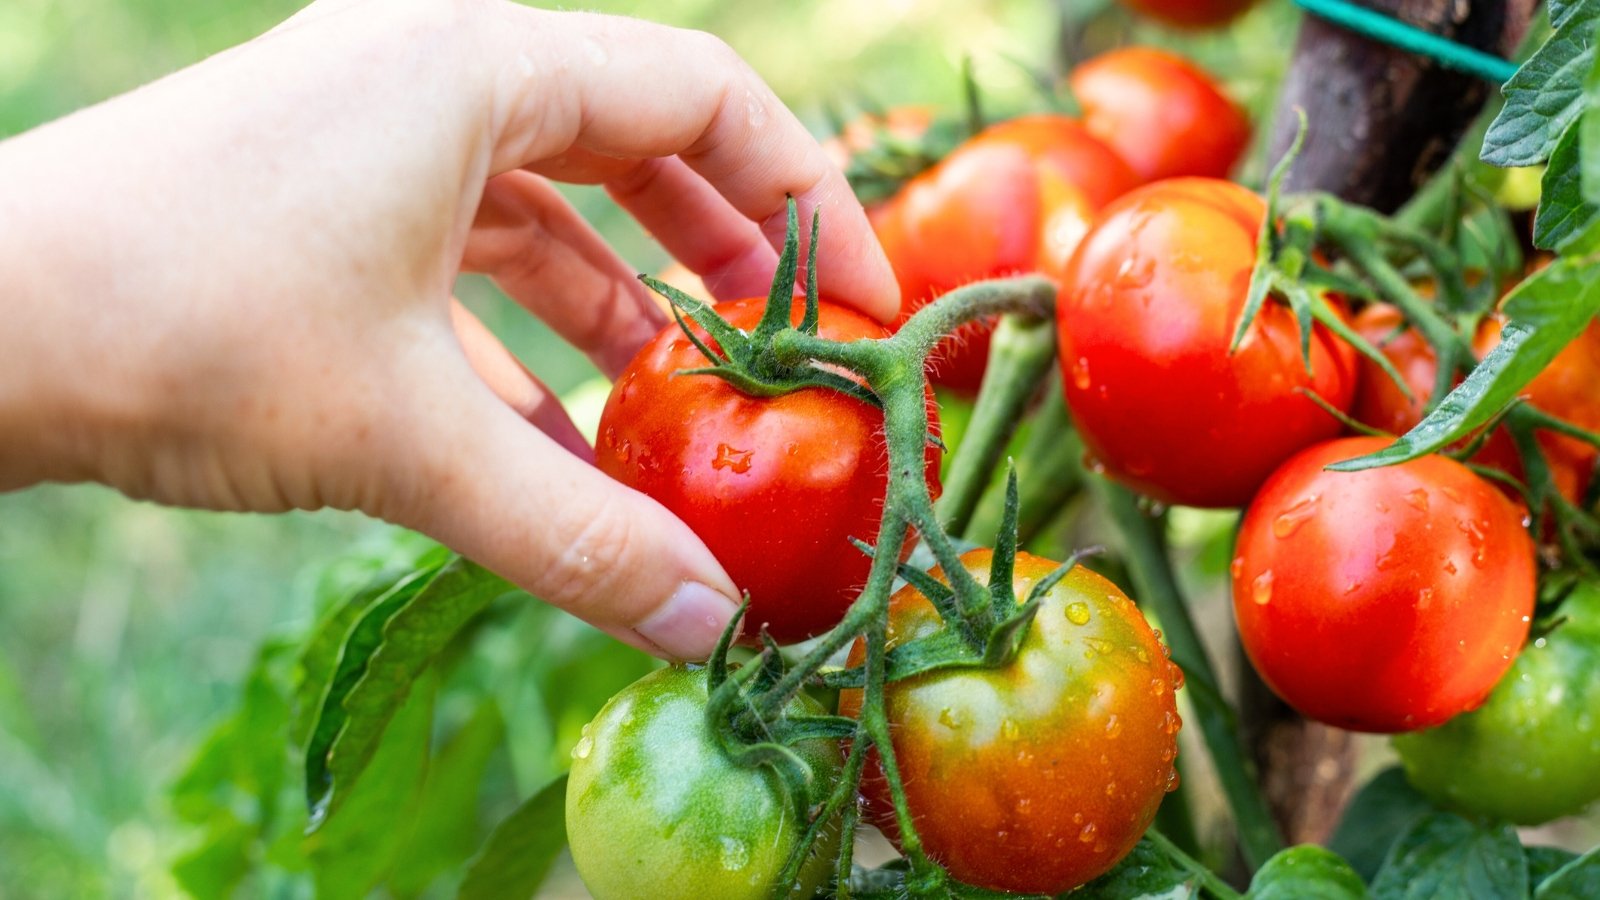 Garden tomatoes burst with flavor in salads.
Although not exactly a way to preserve your garden harvest, this is the best way to enjoy fresh-picked vegetables and fruits. There’s nothing quite like a succulent, juicy tomato from the vine. Enjoy it in the garden, and you’ll skip the garden-to-table step.
Though fresh eating is the best way to enjoy homegrown harvests, it’s not always feasible. Maybe you live alone and don’t have the appetite to eat thirty apples in a week! Or, you’re the only one in your family that likes peppers, and you have baskets full of them.
No matter the issue, use these next preservation methods to extend the shelf life of your crops. We live in the 21st century, and we can take advantage of the technologies at our disposal. There is no wrong way to preserve your garden harvest—use whichever method works best for you and your family.
Refrigeration
 Refrigeration slows ripening and preserves herbs and leafy greens.
Refrigeration is an excellent way to preserve your garden harvest. It works well for most fruits, herbs, and vegetables, but not all of them.
A good rule of thumb is this: if the produce is in the refrigerated section of your grocery store, put it in the fridge. If it’s not, leave it in your pantry or on top of your kitchen table. The refrigerator will keep your harvests safe for a week or two, depending on their quality.
There are some exceptions to this rule. Tomatoes and avocados sit out at the store, but you may keep them in your fridge until you’re ready to use them. This will slow the ripening process, meaning it’s best for ripe fruits, not partially ripe or unripe ones. Let those ripen on the counter, then store them in the fridge.
When storing produce, take care to separate the fruits from the veggies. Many, like apples, emit ethylene gas. Ethylene causes fruit to ripen. If you put your apples next to your green beans, you may find the beans mushy and spoiled by the end of the week.
Freezing
 Frozen green beans are tasty in soups.
To preserve your garden harvest for a longer period of time, try freezing. This method is as simple as throwing them in the fridge, except you’re throwing them in the freezer. Frozen crops store for three months or longer, while some last up to a year!
Keep your yields safe by putting them in a container or bag before throwing them into the freezer. Frost burn is a concern; the freezer may ruin veggies and fruits if they lack protection. You’ll see frozen shards all over them, and they’ll taste bland after you unfreeze them.
Note, too, that some crops will lose their structure after freezing. They won’t be as perky and tasty as they were fresh. This is alright for the veggies you’ll throw in soups and cooked dishes, like squash, green beans, and peas. It’s less desirable for apples and berries, unless you’re putting them in a smoothie.
Canning
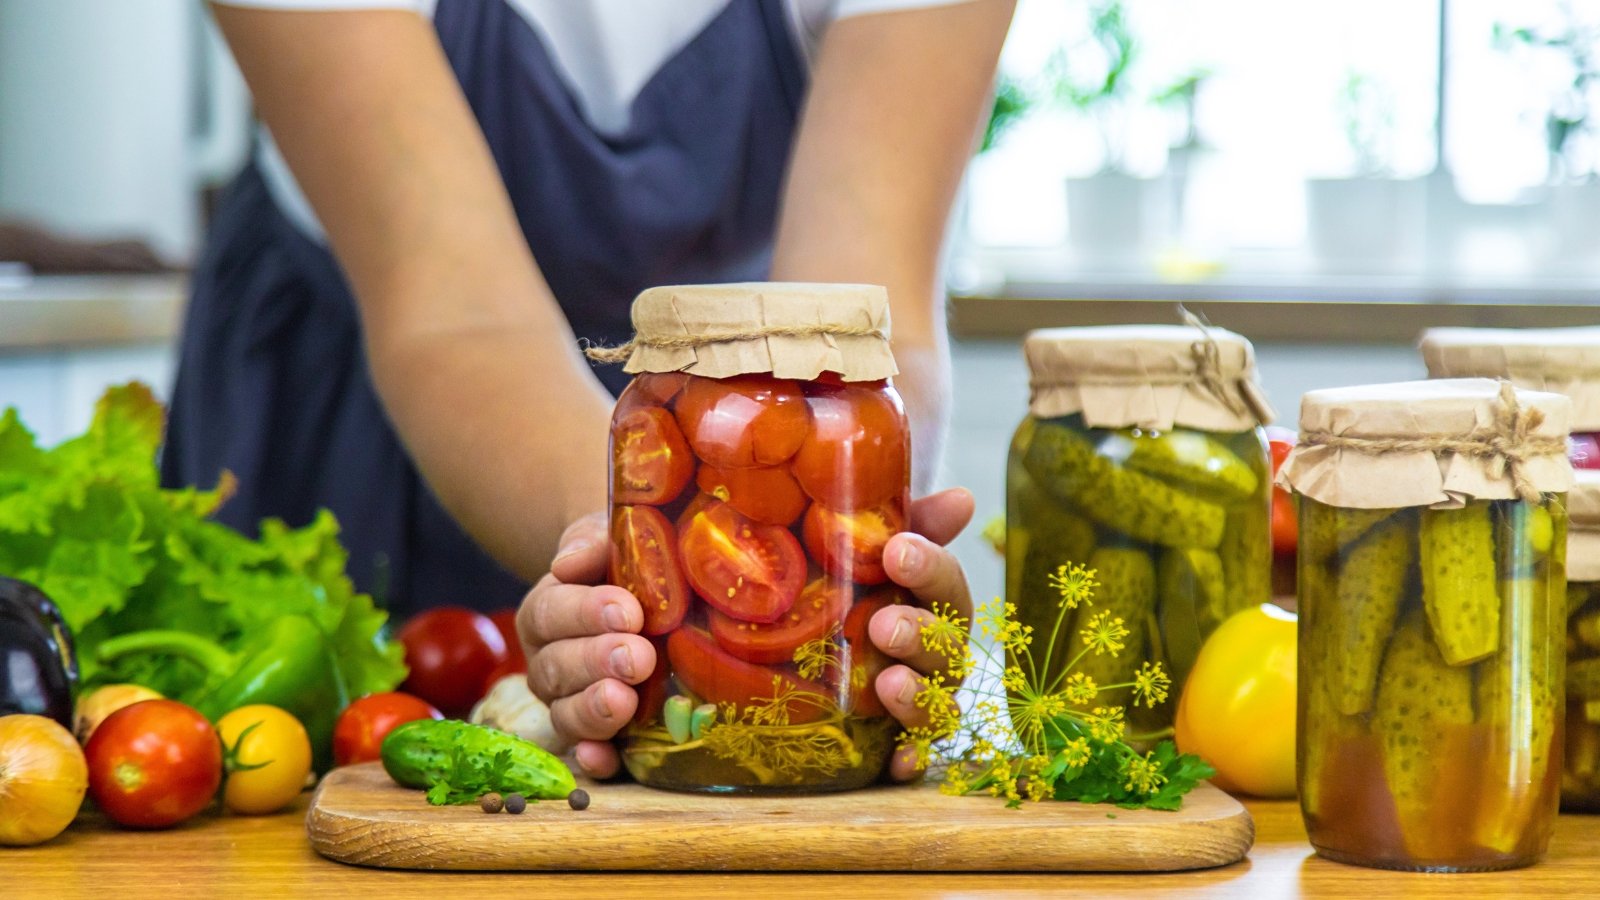 Spices in jars enhance flavor over long storage.
Canning is a tried-and-true method that growers have been using for decades to preserve their garden harvest. It’s how large-scale manufacturers preserve corn, peas, and beans in the cans you see in the grocery store. At home, it’s a superb way to retain the flavor and soft texture of produce you don’t want to freeze.
Canning may also work as a flavoring agent. When you can, put peppercorns, herbs, and spices in the canning water. This will flavor whatever you put in the cans, from green beans to black beans, and cucumbers to hot peppers.
Canning requires sterility and careful planning for good results. You don’t want pathogens getting inside the cans or jars. Use water bath canning for high-acid foods, and use pressure canning for low-acid ones with a higher risk of spoilage. Most vegetables, meats, and milks are low in acidity, while fruits, tomato sauces, and pickled goods are high in it.
Fermenting
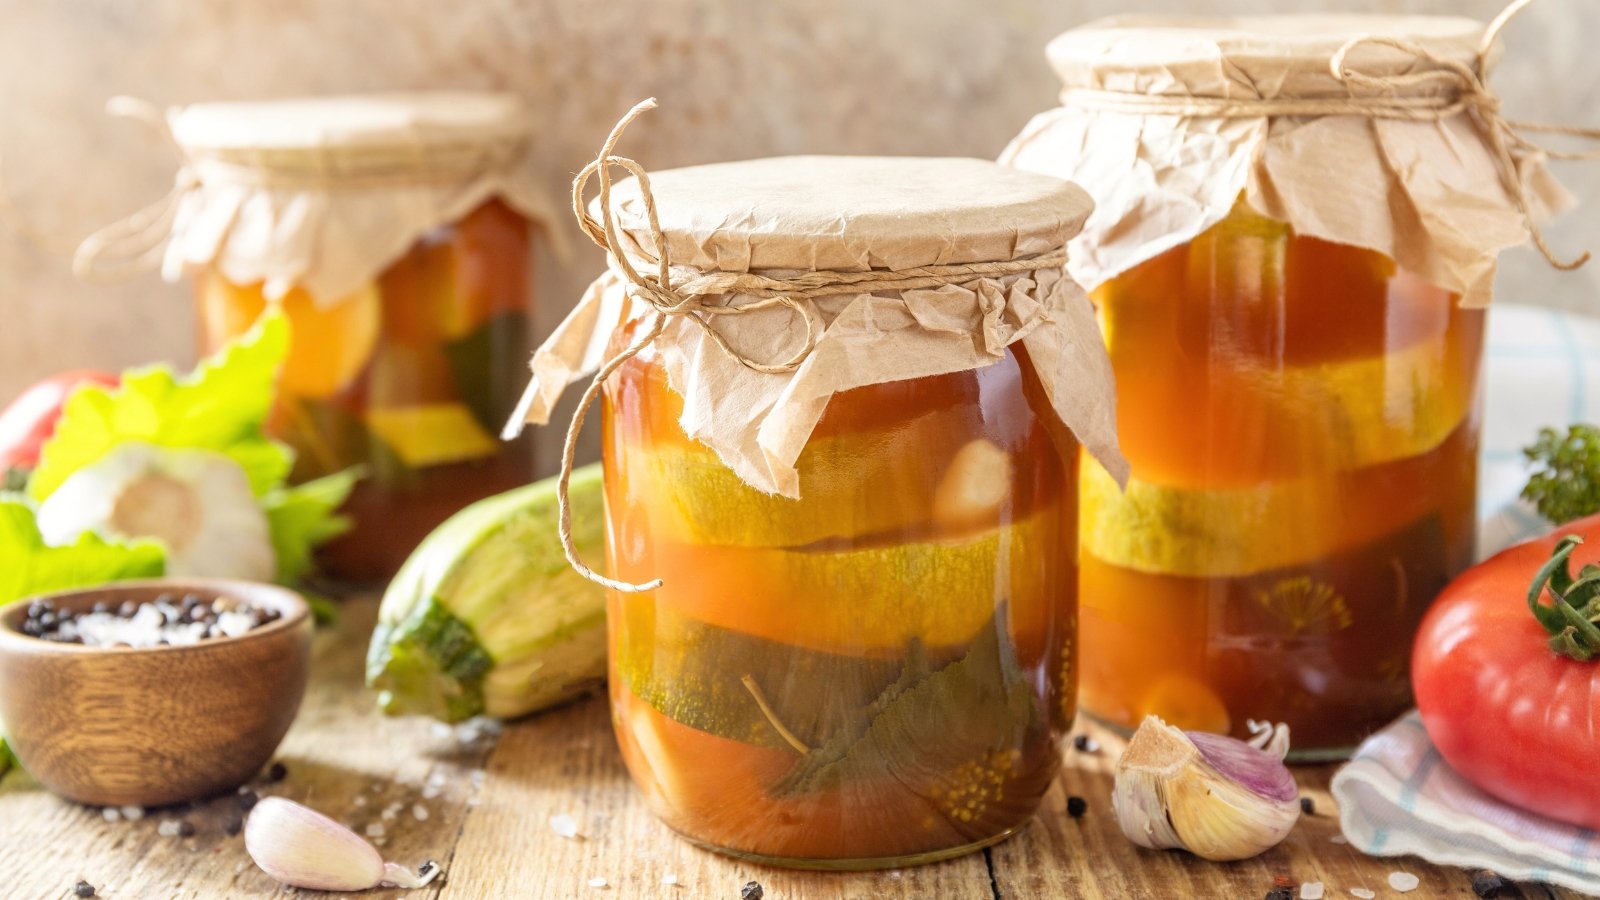 Salt and water coax out rich flavors.
I love fermenting! Fermented foods are good for your gut. They help boost your stomach’s microbiome by feeding the organisms within it. Sauerkraut, lacto-fermented veggies, and beet kvass are all examples of delicious fermented foods.
How much fermented taste you’ll like depends on your tongue’s taste buds. My partner dislikes extremely fermented foods, though I love the tart tang that they have. When starting your fermentation journey, taste the food often during the process to determine how much or little fermented flavor you like.
How to ferment depends on the vegetable in question. Lacto-fermentation uses a brine with water and salt. This creates bubbly, tangy foods. Other methods, like using a crock, are better for sauerkraut and kimchi. These foods make brine from their own moisture when you draw it out with salt.
Pickling
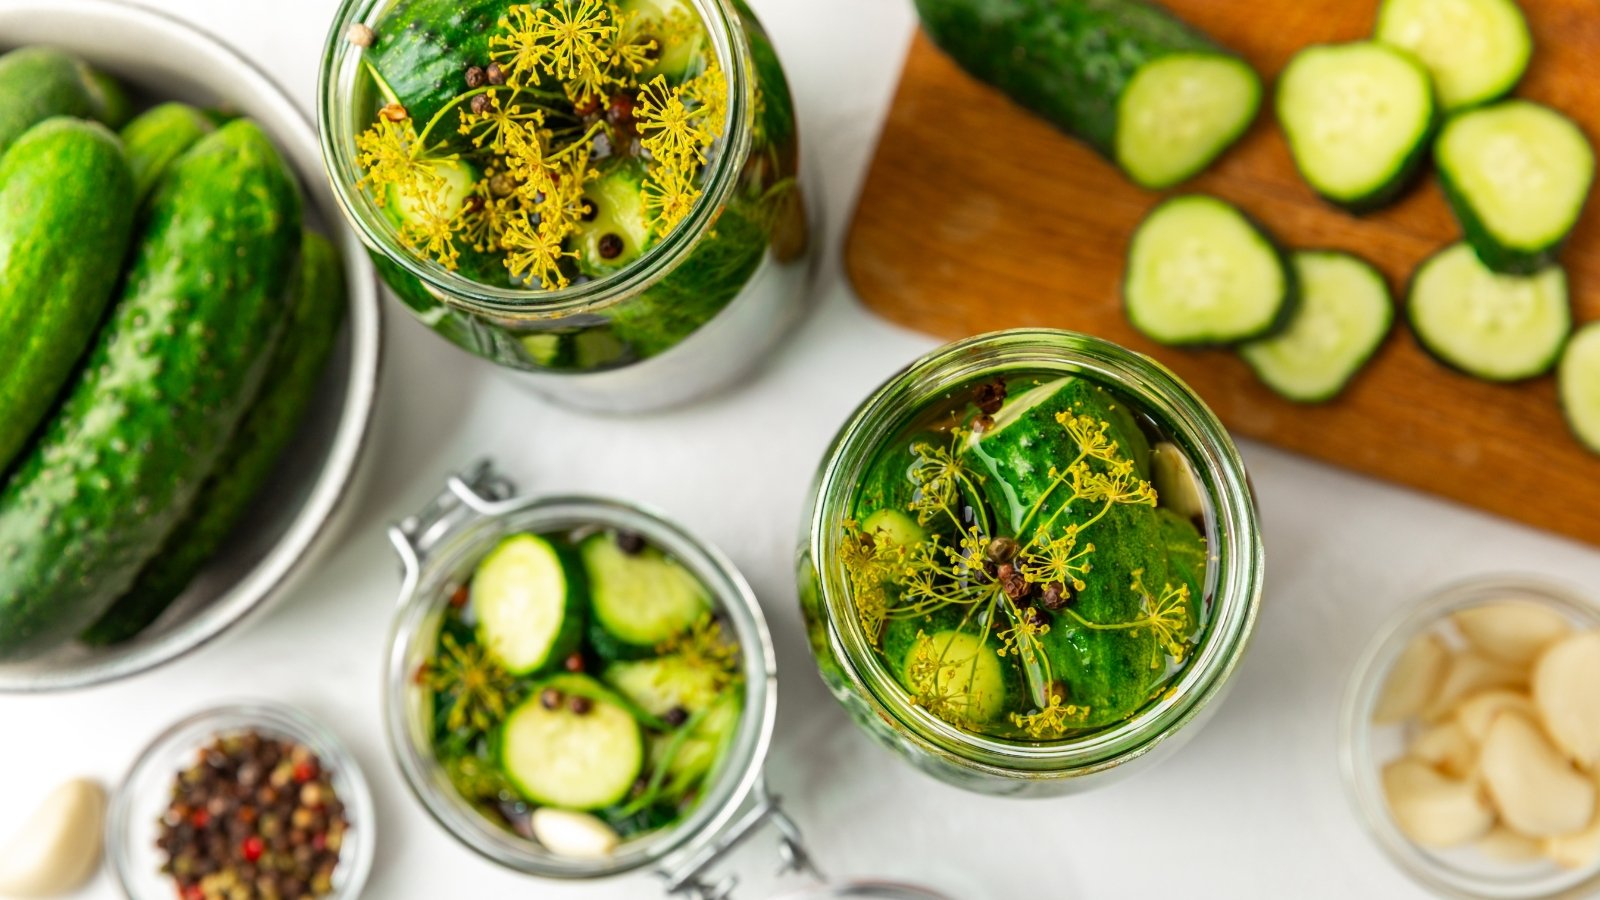 Crunchy textures and tangy notes develop over a short time.
Pickling is akin to fermenting, though it’s a bit easier to do. Think of pickled cucumbers, asparagus, and radishes—they’re to die for! Pickling involves bathing vegetables in vinegar. Instead of making a saltwater brine, you “cheat” by adding acidic vinegar.
Vinegar acts as a brine, converting the vegetables into a new form that’s shelf-stable. Pickling isn’t fermenting, and it doesn’t have the health benefits of fermented foods. It is, however, easy to do and quick to work.
To pickle, find a recipe that works for the vegetable in question. Dill pickles need white vinegar, dill, peppercorns, salt, and other seasonings. Over time, you can modify the recipe to your liking. You’ll eventually create your own recipes that fit your tastes.
Oil Infusions
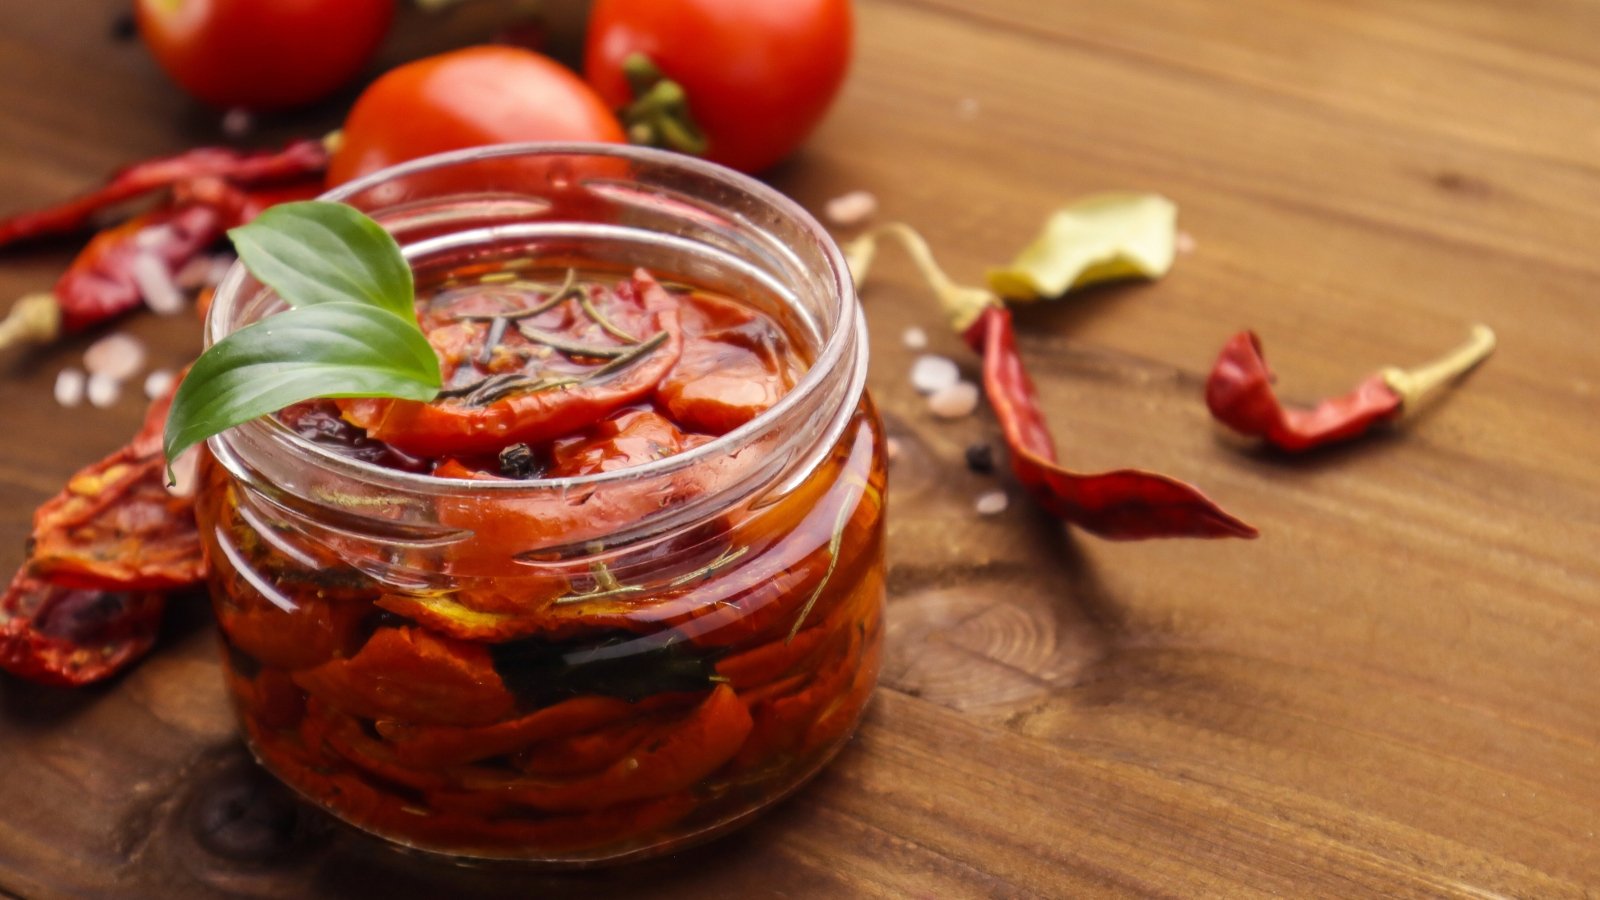 Sun-dried ingredients release deep flavor into rich oil.
Oil infusion is unique, and it doesn’t work well to preserve all garden harvests. It’s best for dried herbs and foods that flavor the oil while they infuse.
Sun-dried tomatoes infused in olive oil are delicacies. They cause the oil to taste savory and tomato-y, while they gain a chewy texture that’s lovely on toast or pizza.
Herbs are ideal for oil infusions. Make an Italian herb oil with oregano, parsley, and basil, or create one with savory, thyme, and tarragon. There are boundless possibilities to try.
Garlic is another crop that’s superb for infusing in oil. Garlic oil is incredibly versatile. Use it for sauces, marinades, and sautés.
Rack Drying
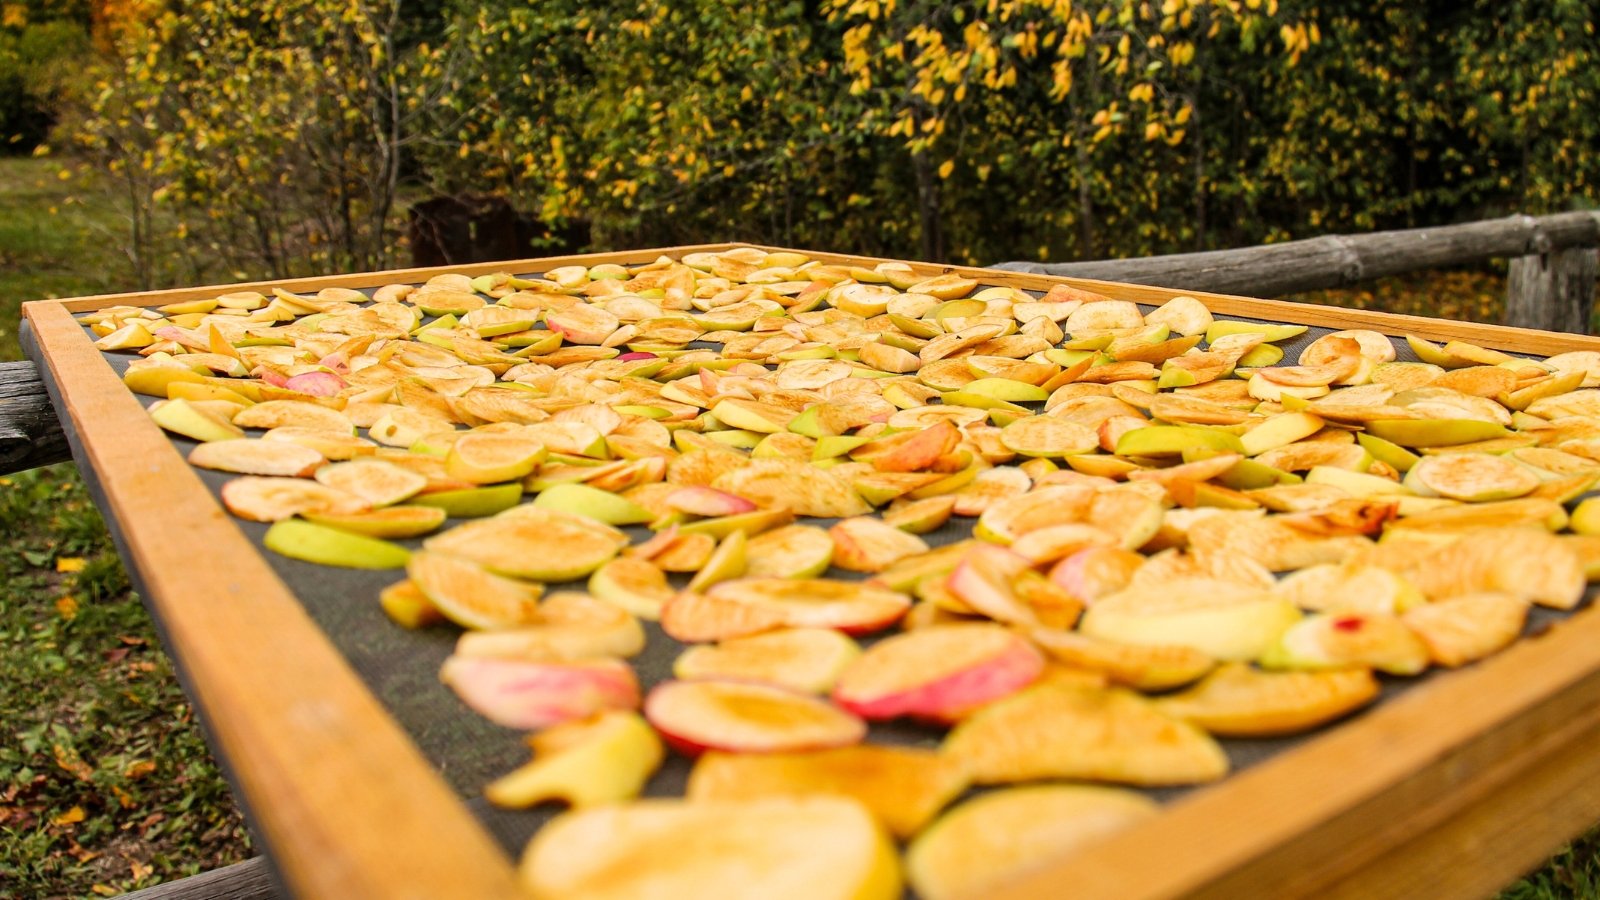 Properly dried foods last months without losing taste.
When in doubt, dry it out. Drying is a great way to preserve herbs, thin-sliced foods, peppers, and mushrooms. Dried goods make soups pop and marinades explode with flavor. They also keep as long as frozen ones, for three months to a year.
Rack drying is easier than hang drying. It involves setting the leafy herbs or meaty mushrooms on a mesh tray in a shady site. Direct sunlight can zap them of their nutrients, and they’ll dry too quickly. Keep them in the shade with good airflow, and move them daily to ensure no rots or molds form.
Once the foods are dry, bring them inside and store them in a container. You can also dry them indoors. This is best when it’s cold and stormy outside in fall, winter, or spring.
Hang Drying
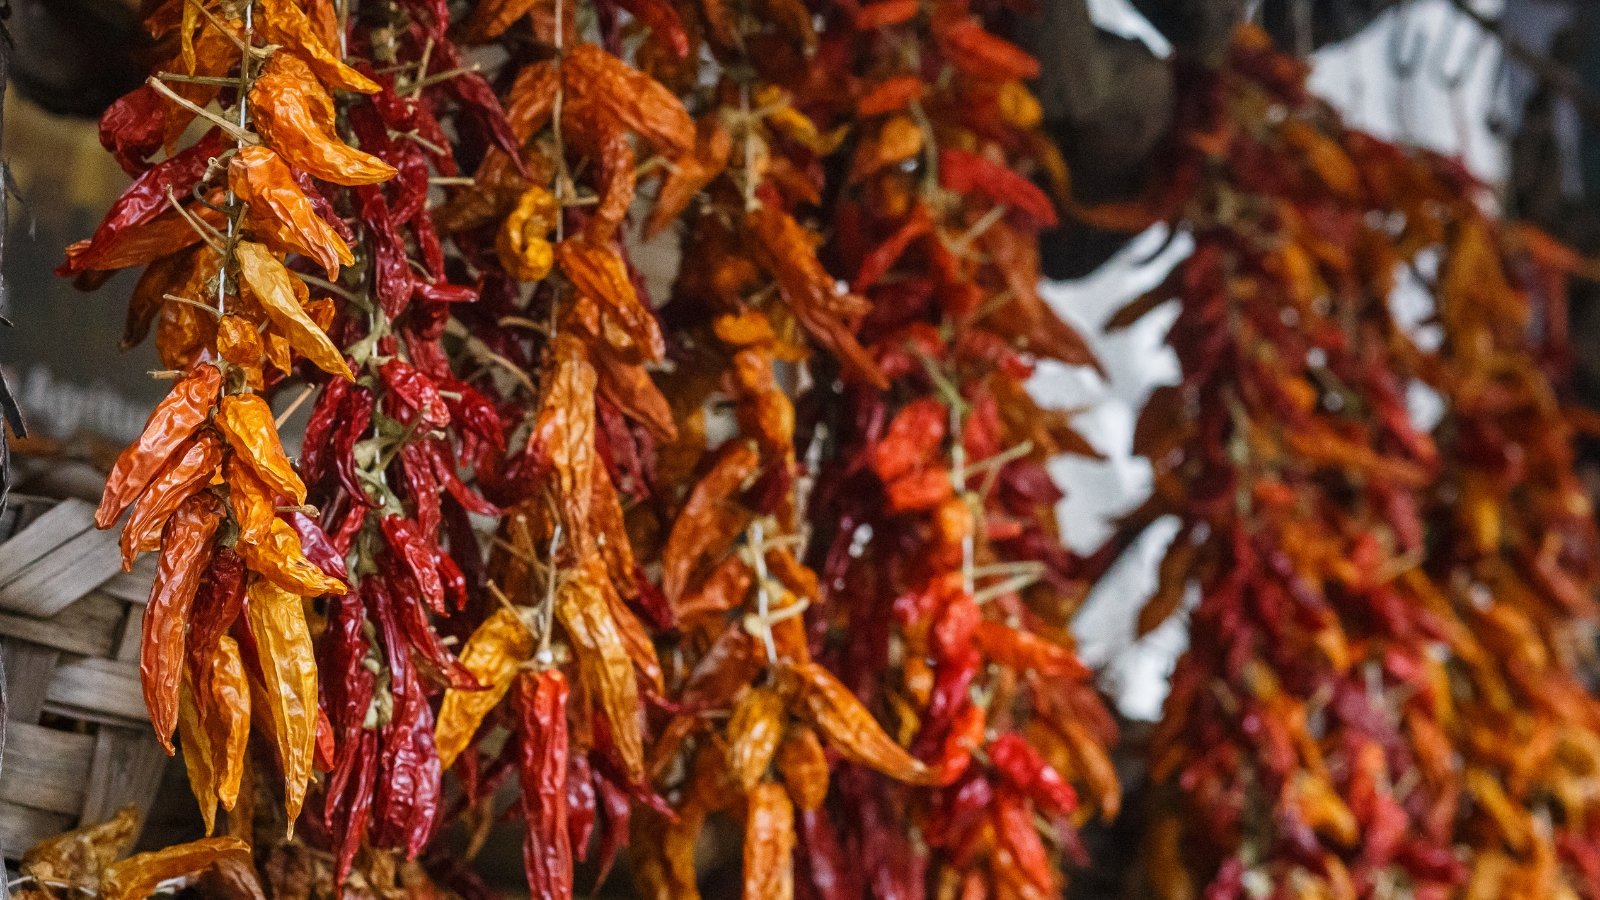 Shady spots help foods dry without losing flavor.
Hang drying is a pretty way to preserve your garden harvest. It creates gorgeous lines of citrus, peppers, and leafy herb bunches. You’ll need rope or string to tie everything together. You’ll also need nails to hang the string.
How to hang dry depends on the harvests in question. Poke a hole in the tops of peppers, and feed the string through the holes to hang them up. Others, like garlic, hang dry together! Tie softneck garlic stems together to make elaborate braids with multiple heads in each bunch.
As with rack drying, hang dry your harvests in a shady site with good airflow. The process may take a week for leafy herbs, and two weeks or longer for water-filled foods like peppers and citrus.


 English (US) ·
  French (CA) ·