
 6 months ago
179
6 months ago
179
PROTECT YOUR DNA WITH QUANTUM TECHNOLOGY
Orgo-Life the new way to the future Advertising by AdpathwayEvery year, we gather our seeds and starting supplies to start the spring garden. If we’re dealing with old seeds or hard-to-germinate ones, we can use a fun trick to save ourselves some space and money! Experienced gardener Sarah Jay walks you through why and how to pre-sprout seeds for more success in spring.

Written by Sarah Jay Last updated: December 31, 2025 | 4 min read

In my time as a gardener, I learned to pre-sprout seeds late. If only I had known about this practice before, I would have avoided multiple headaches. It’s a simple process that, when done with the right seeds, increases germination rates and, in turn, your success in the garden.
There are multiple ways to pre-sprout, and we’ll cover one of them in this piece. But overall, knowing about this process saves you money, in that the seeds that would otherwise fail to germinate become usable. Once you have an understanding of the kind of seeds you’re working with, you’ll know whether or not they’re good candidates for pre-sprouting.
This activity is especially fun when you already have a plan and some extra seeds lying around. If you already started your spring garden by planting indoors, add some pre-sprouts to the mix. Or if you haven’t begun, save a spot for some baggies!
Heirloom Tomato Seed Bundles
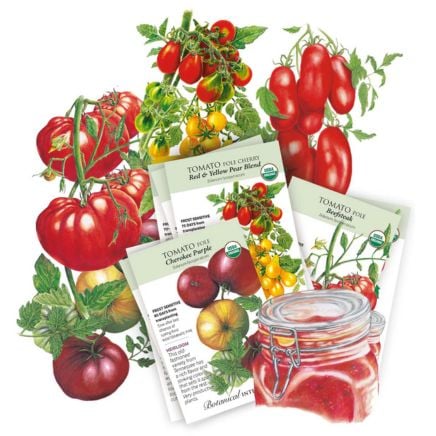
Heirloom Tomato Seed Bundles
Farmer’s Market Blend Mesclun Lettuce
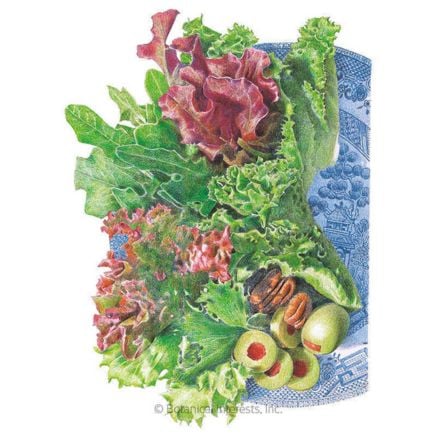
Farmer’s Market Blend Mesclun Lettuce Seeds
Purple Emperor Trailing Nasturtium

Purple Emperor Trailing Nasturtium Seeds
Why Pre-Sprout Seeds?
 Old seeds benefit strongly from pre-germination.
Flower farmers and grain farmers use pre-sprouting to kick-start seeds and help them germinate faster. Usually, they do this when they want to start the seed quickly to ensure seedlings are transplanted outdoors within the right temperature range and during the right season.
You can also pre-sprout seeds to determine the germination rate of old seeds. Most seeds have a shelf life of a few years, but many still germinate if you start them this way. So when you plan your garden and you have an old packet of heirloom seeds, pre-sprout them instead of sowing them to save space for newer seeds in your trays.
Old seeds benefit from pre-germination, as it speeds up the time it takes for them to sprout. Otherwise, they lay dormant for longer than normal in your seed starting trays. Pre-sprouting gets your eyes closer to the seed itself, rather than under the seed-starting mix, where you can’t see it.
Pre-sprouting also saves room in your seed starting station. Instead of planting your sprouted seeds in starter pots or trays, plant them directly in the garden soil as long as conditions are right. For those who don’t have room for a starting area, this is a great second option. Pre-sprouted seeds are also less susceptible to seedling diseases, like damping off.
Which Seeds to Pre-Sprout
 Both small and large seeds are good candidates.
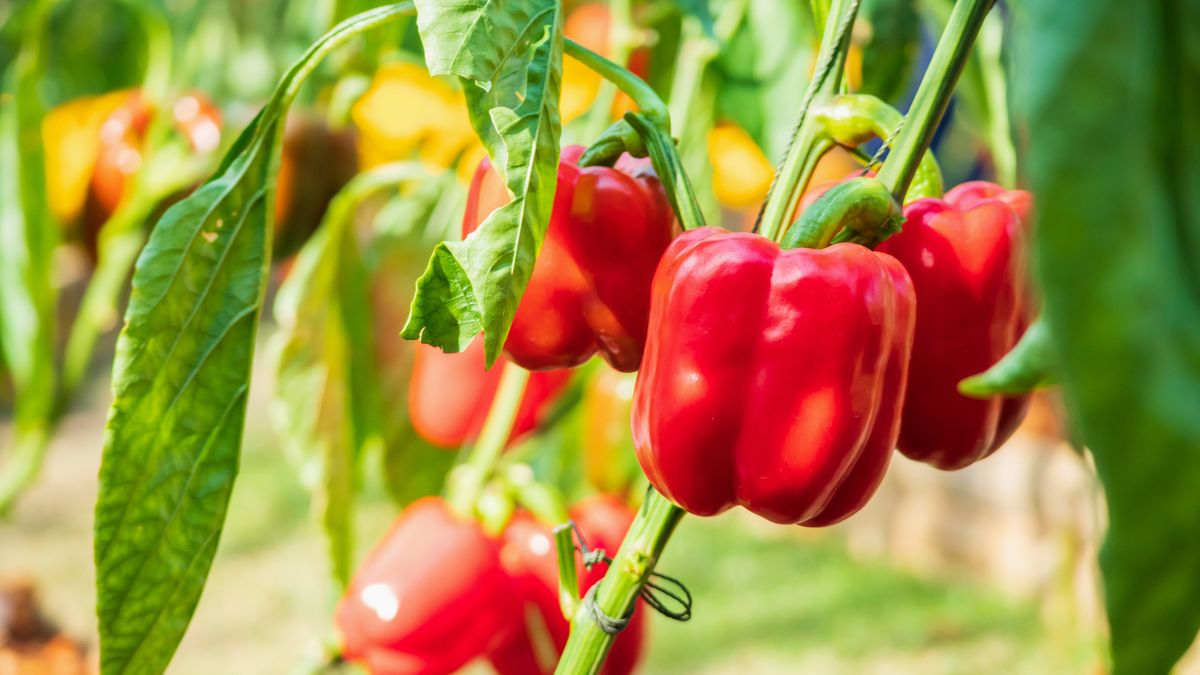
 Small seeds that take a long time to germinate in soil are your best candidates for pre-sprouting. Pre-sprout seeds of tomatoes, peppers, radishes, carrots, parsley, and onions. Larger seeds that respond well to soaking are also good for pre-germination (think sweet peas and cucumbers).
Lettuce seeds are perfect for this practice. I can’t tell you how many lettuce seeds I’ve wasted by just throwing them in the garden, only to have them attacked by pests. Instead of sowing them directly, pre-sprout them and plant them in a container to grow a bit before transplanting.
Just as vegetables and herbs with small seeds do well with pre-germination, so do minute flower seeds. For this process, select hard seeds rather than papery ones. If you have some wildflowers that have been cold stratified, they can be pre-sprouted, too.
Seeds to Avoid Pre-Sprouting
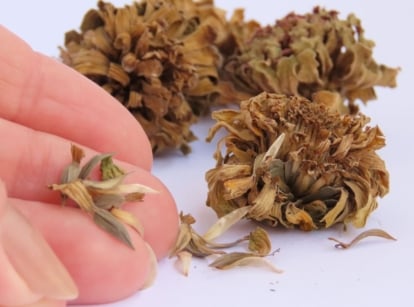
 Small, dust-like seeds become soggy when pre-sprouted.
Corn and beans are not suited to pre-sprouting. Soaking or exposing these seeds to moisture ahead of planting them in the soil leaves them susceptible to pathogens. Because you have to plant multiple corn and bean plants for a good harvest, you need as many healthy seedlings as possible.
Avoid sprouting small, dust-like seeds. Yarrow, oregano, and various orchids are a few examples of plants that produce these kinds of seeds. Their paper-like quality does not respond well to the continuously moist conditions required for pre-sprouting. Similarly, plants that are prone to transplant shock should be direct sown, rather than pre-sprouted.
How To Pre-Sprout Seeds
 Keep the seeds lightly moist throughout the process.
 There are multiple ways to pre-sprout your seeds, but we’ll cover the most basic way here. The first step is to gather your supplies. Get these together, and the rest of the process is simple.
- Seeds
- Resealable plastic baggies
- Paper towels or coffee filters
- Tape and a pen, or a permanent marker for labeling
- Transplant containers or a place to transplant your sprouted seeds
- A heat mat (optional, but heat is required for certain seeds)
Follow this step-by-step process to pre-sprout seeds of multiple kinds.
- Gather the seeds you’d like to pre-sprout and label the baggies with the variety name and date you sprouted them. Keep different types of seeds in separate baggies.
- Dampen the coffee filter or paper towel. This is the sprouting medium. The moisture from the towel kick-starts the germination process, breaking down the seed coat and stimulating the sugars inside the seed that signal it’s time for the cotyledon to emerge.
- Place your seeds on the damp filter or towel, and fold it over the seeds, covering them.
- Insert the moist towel or filter into the appropriately labeled bag and press out the air. Then seal and put them somewhere out of direct sunlight.
- Place seeds that need heat to germinate on a heat mat. If you don’t have any of these, skip this step.
- Check your bags daily and remove seeds as they sprout (meaning they have their first set of baby leaves), leaving unsprouted seeds in the bags. Add more moisture as needed to keep your medium damp. Remove any seeds, towels, or filters that take on mold and throw them away.
- As carefully as possible, move sprouted seeds into their transplant containers or into the garden. Any sprouts damaged in this process should be thrown away as they will most likely die.
- Use a toothpick to make a small hole, and gently place the seedling within. Press the soil lightly around to hold it in place. Plant at a depth appropriate for the specific plant you sprouted.
- If any seeds sprout through the medium, simply cut around the sprout and plant it with the towel or filter. This will break down as the seedling grows.
- Your sprouts need light to continue growing, so place them under a grow light or in direct sunlight once they are planted. Continue to monitor, water, and tend to the seedlings as they grow.

Key Takeaways
As you can see, the process is simple and provides a good start to the growing season. If you want to pre-sprout seeds this year, remember:
- Pre-sprouting gives you more room to grow the plants you want and helps you germinate old seeds, seeing what kind of germination rate they still have.
- It also provides a faster route to get the growing season started.
- Many seeds are good candidates for pre-sprouting, but avoid using this technique with dust-like seeds, corn, beans, and those prone to transplant shock.
- Follow the simple process of pre-sprouting and transplant your seeds. It’s easy and a fun project!
Learn to grow.
Join our community for future updates.

Native Wildflower Seeds That Need Winter Stratification
If you're adding native wildflowers to your garden this year, there's something important that you need to know. Join Florida gardener Melissa Strauss to talk about native wildflower seeds and the purpose of stratification.
Fall Seed Collection and Storage Techniques for Home Gardeners
As our garden tasks begin to mellow in fall, we can turn to the resourceful role of collecting and storing seeds from our most valuable performers. With seeds from the best of the best, we have strong plants tailored to our specific growing conditions. Gardening expert Katherine Rowe outlines seeds to collect and store in the fall for seasons of returns.
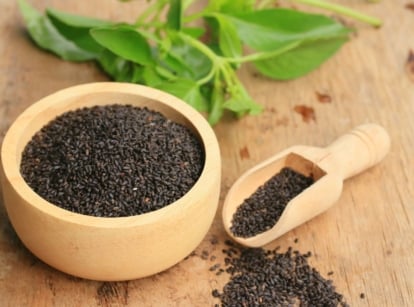
How to Harvest and Save Your Own Basil Seeds
Don’t buy basil from the store—save seeds instead! Basil produces hundreds of them at the end of the growing season. Collect these to propagate new seedlings the next spring. Join seasoned grower Jerad Bryant in following these seven easy steps for saving basil seeds.

What to Do With Your Thinned Seedlings: 5 Ideas
Thinning seedlings helps give small plants the space they need to grow. But what should you do with the unwanted plants? Join farmer Briana Yablonski to learn a handful of ways to use thinned seedlings.

How to Fix Overcrowded Seedlings in 5 Easy Steps
Did you start too many seeds and end up with overcrowded seedlings? Join farmer Briana Yablonski to learn how to give your tiny plants more room to grow.

10 Cost-Saving Seed Bundles to Kickstart Your Spring Garden
Seeds are the starting point for beautiful, productive gardens. Though you can source potted seedlings in spring, starting crops from seeds is rewarding and budget-friendly. You’ll have ready crops before most other gardeners! Save money this year by bundling your seeds—these 10 bundles are perfect for beginner, intermediate, and expert gardeners.


 English (US) ·
  French (CA) ·