

Plenty of homeowners shut off their sprinklers in fall and call it done. That valve keeps new water out, but the water in the pipes, valves, and heads stays put. If you’re wondering how to winterize sprinklers, start by getting that water out.
In-ground lawn irrigation systems hold water in spots a shutoff can’t reach, including the valves, low points in buried pipe, and the backflow preventer. Frozen water expands, and plastic pipe, fittings, and sprinkler cases can crack under that pressure.
A sprinkler blowout isn’t hard, but you shouldn’t rush it. Too much pressure can pop nozzles off and damage pipe, and compressed air is rough on eyes. Lots of homeowners handle it themselves while preparing the garden for winter. Some systems are better off with a pro, though.
Why Turning Off Your Sprinklers Isn’t Enough
So why isn’t the shutoff enough? Water swells by about one-eleventh as it freezes at 32°F (0°C), with enough force to burst pipes and crack valves or sprinkler casings. Electric valves are another problem. They hold water above an internal diaphragm, and only compressed air pushes it out.
Drain valves help, but they don’t catch everything. They count on evenly sloped pipe, and buried lines shift over time and trap water in low spots. Skip the blowout, and you may find split fittings and cracked valves at spring start-up.
When to Winterize Your Sprinkler System
Plan to winterize your sprinkler system before your area's first hard freeze. In colder regions, that often means tackling the job in early to mid-fall. An established lawn won't be harmed if you shut off the irrigation a little early – it will green up again once watering resumes in spring.
Backflow preventers and exposed pipework are the first parts of the system at risk because they're exposed to freezing air, while buried pipes are vulnerable only after prolonged cold drives frost deep into the ground. In some mild-winter regions, irrigation systems aren't designed with a blowout port because draining the above-ground components is usually enough. In these areas, simply shutting off the water supply, turning off the controller, and draining exposed parts may be all that's required.
What You’ll Need
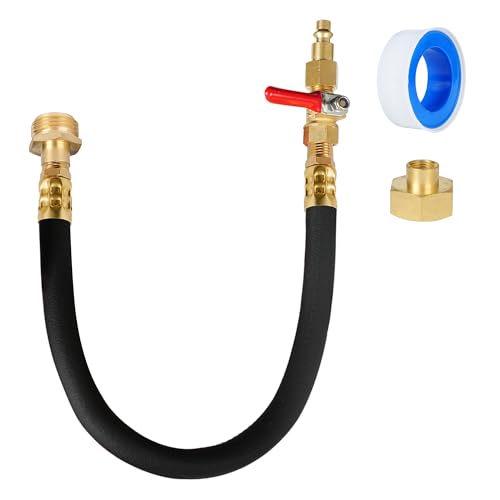 Adaptor Kit
Hourleey Sprinkler Winterizing Blowout Adapter Kit With Shut Off Valve
- Air compressor: You'll need an air compressor with enough airflow (CFM) to push water out of the sprinkler lines. Airflow is more important than maximum PSI, and a larger tank means you won't have to stop as often to let the compressor refill. I recommend the Craftsman 20-Gallon Vertical Air Compressor, available on Amazon, which delivers 5 CFM at 40 PSI – plenty for most residential sprinkler systems when blowing out one zone at a time.
- Sprinkler blowout adapter: You'll need an adapter to connect the compressor hose to your system's blowout port. I like the Hourleey Sprinkler Blowout Adapter Kit, available on Amazon, which includes durable brass fittings and a quick-connect adapter compatible with most home irrigation systems.
- Safety glasses: Always wear eye protection when blowing out sprinkler lines. A pair of NoCry Safety Glasses is a good option.
- Adjustable wrench: Keep a 10-inch wrench handy for loosening caps and fittings. I use this Husky adjustable wrench from Home Depot.
How to Winterize In-Ground Sprinklers
- Turn Off the Water Supply
Start by closing the water supply. It's often a stop-and-waste valve in a basement or underground box. Don't force it. If you're unsure how to drain sprinkler lines, look for manual drain valves at the low points or ends of each line and open them. Drain any pump, too, and store it indoors. - Connect the Air Compressor
Attach your sprinkler blowout adapter to the blowout fitting just downstream of the backflow preventer, then connect the air compressor hose. Close the isolation valve downstream of the backflow preventer first, as air should never be forced back through the backflow device. - Blow Out Each Zone
Open one irrigation zone at the controller, then slowly increase the air pressure until only a fine mist and air come out of the sprinkler heads. - Repeat and Finish Up
Turn the compressor off before switching zones, and give each zone two passes. When you're finished, leave the backflow preventer's ball valves and test cocks half-open to prevent trapped water from causing damage over winter.
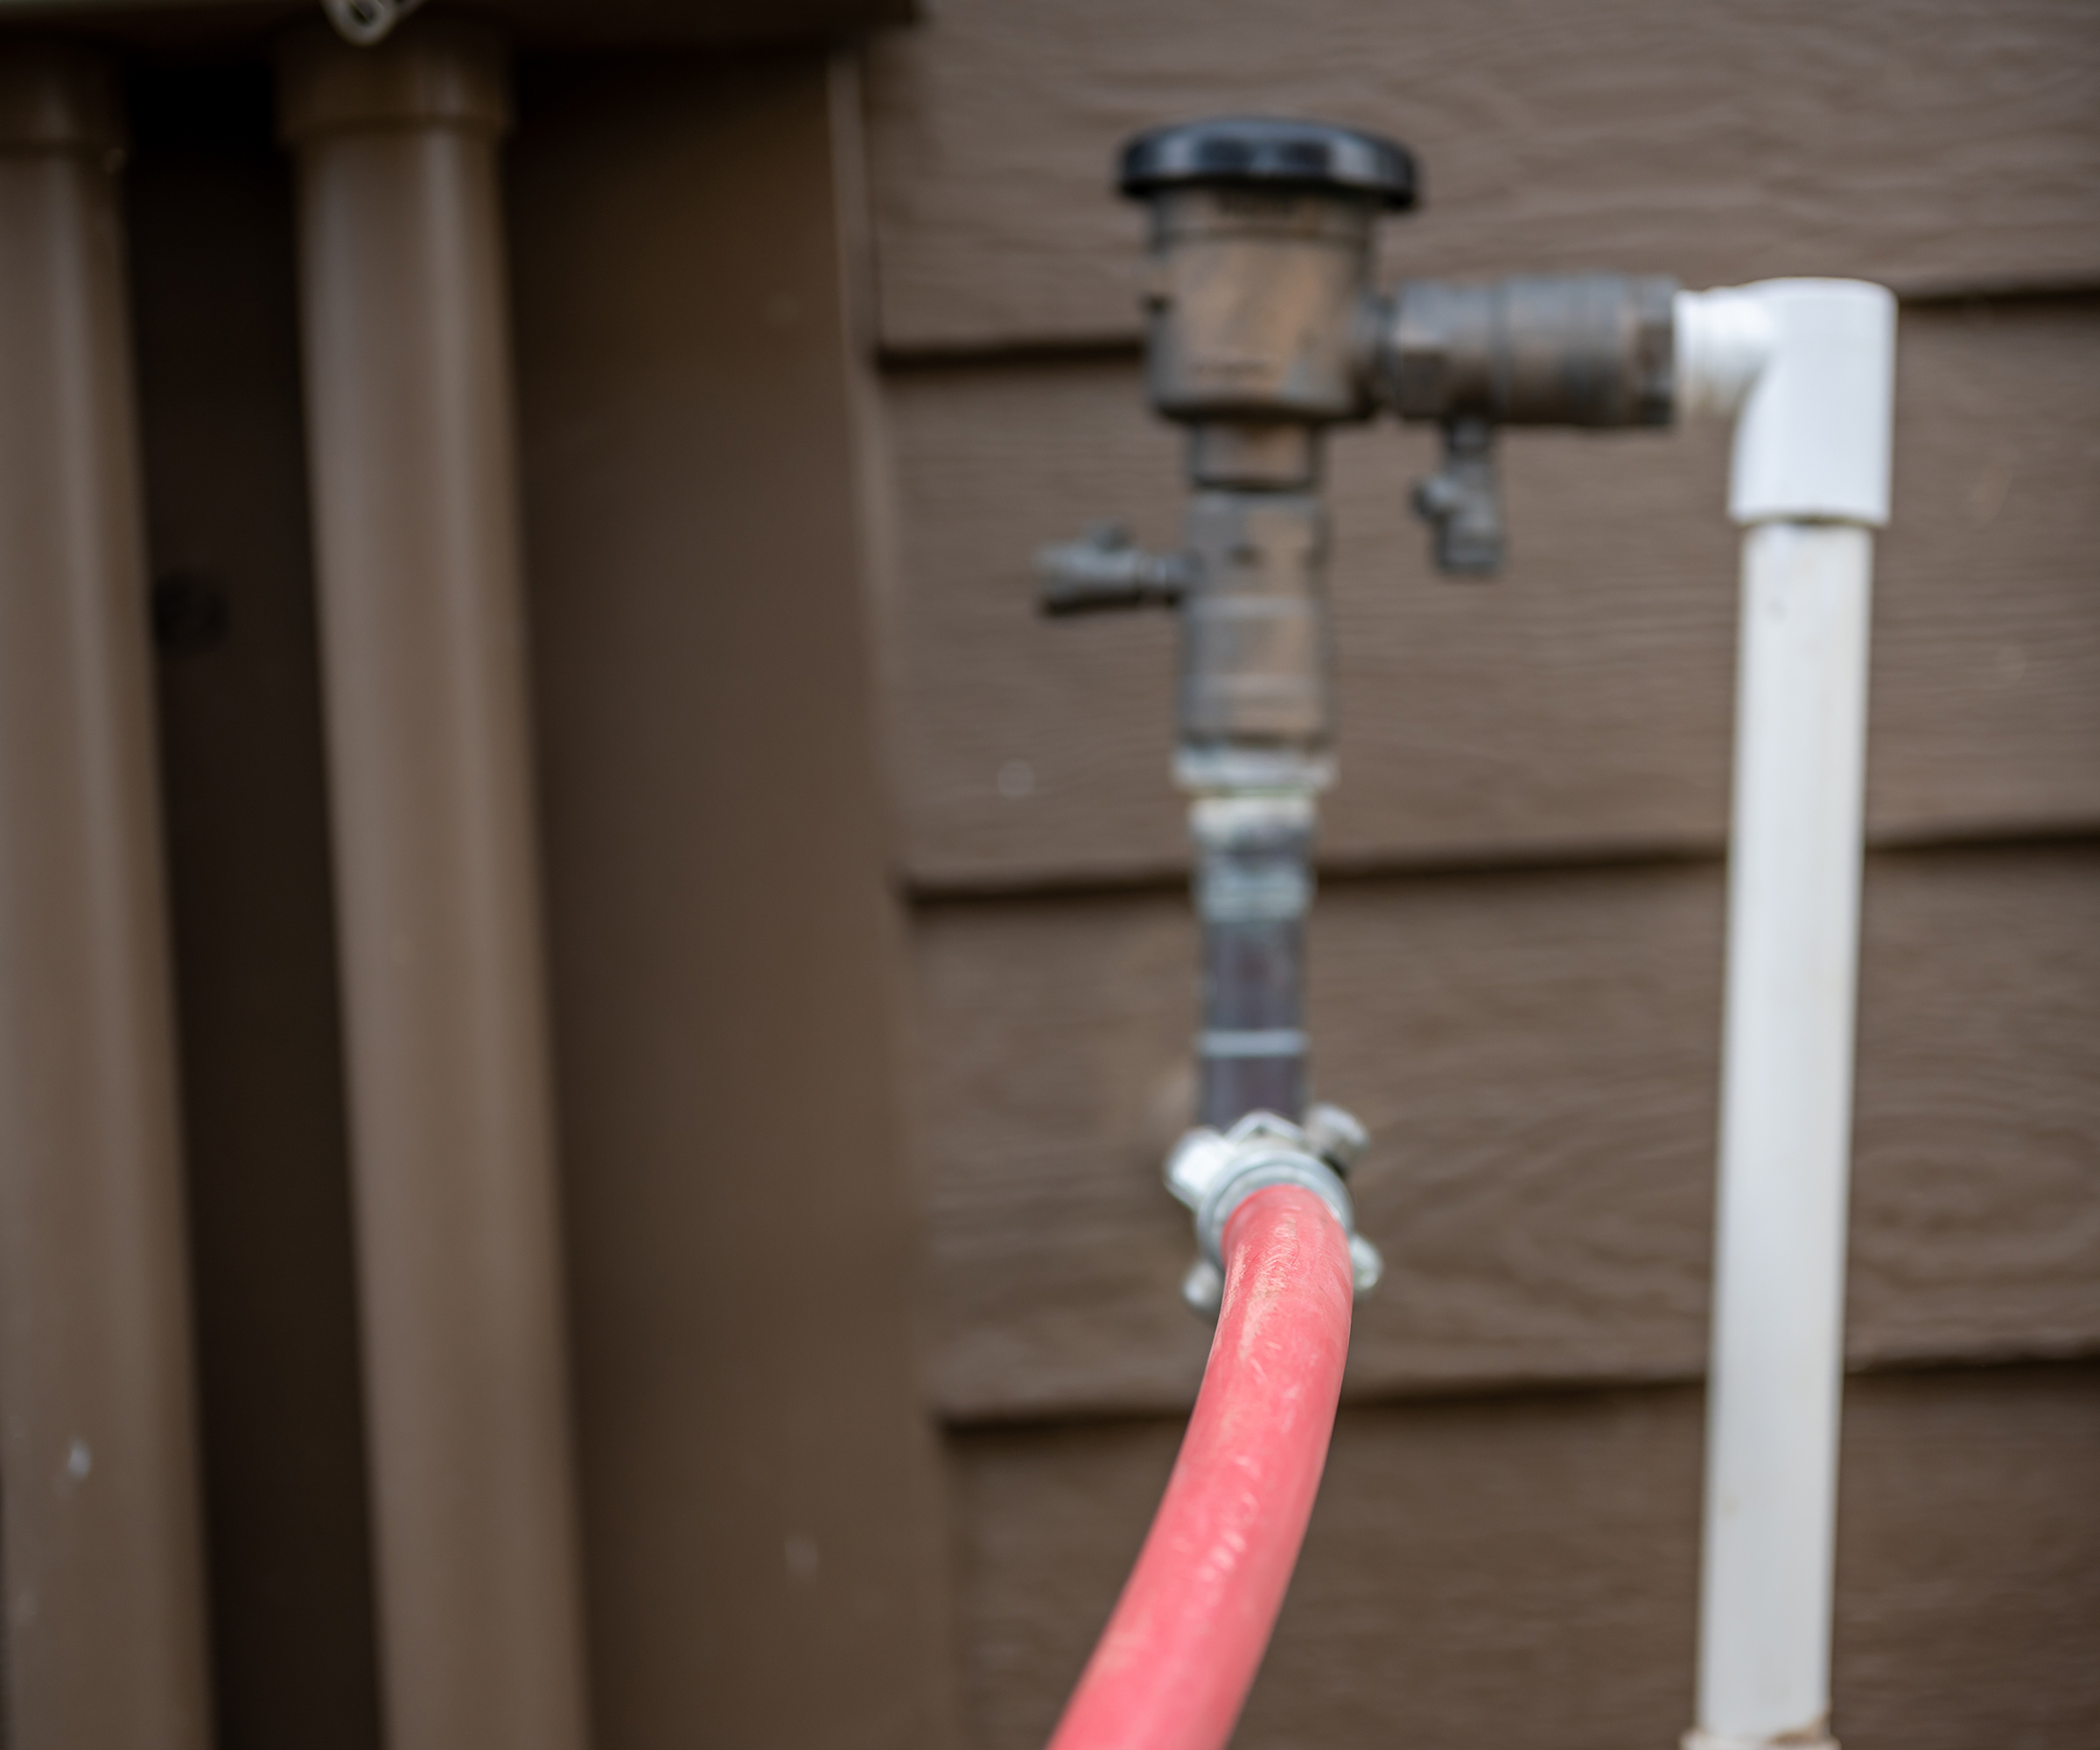
(Image credit: Getty Images)
How Much Air Pressure Should You Use?
Don't focus on pressure alone, though. Airflow (CFM) is just as important, as it determines how much water the compressor can push out of the pipes. A compressor with too little airflow may leave water trapped in low spots, increasing the risk of freeze damage.
For many residential irrigation systems, around 5 CFM is sufficient when blowing out one zone at a time. The Craftsman Vertical Air Compressor I recommended above is rated at 5 CFM (142L per minute) at 40 psi (276kPa).
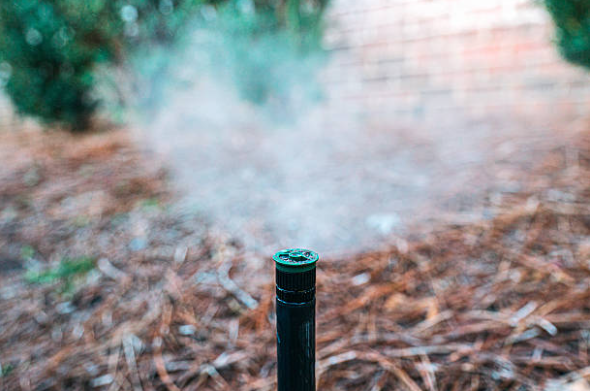
(Image credit: Getty Images)
Why Sprinkler Blowouts Can Be Dangerous
Wear safety glasses throughout the process. Air blasting from an open fitting can send water, grit, and small debris flying fast enough to cause eye injuries. Keep clear of sprinkler heads, valve boxes, and risers while the system is pressurized. If you have pets, it's also a good idea to keep them indoors, as the sudden bursts of air and loud whistling from the sprinkler heads can be startling.
Air should never be forced against a closed valve, so always open one irrigation zone before switching on the compressor. Once a zone is clear, don't keep blowing air through it. Running compressed air through dry pipes for too long can generate heat through friction, potentially damaging sprinkler heads, fittings, and seals. Likewise, never force compressed air through a backflow preventer, as it can damage the internal components.
When to Hire a Professional
If your irrigation system doesn't have a blowout fitting downstream of the backflow preventer, you'll need to install one before you can safely blow out the lines. Some systems also require more specialist knowledge. For example, reduced-pressure (RP) backflow preventers need to be partially disassembled and drained, while large irrigation systems or those with extensive polyethylene pipe can be more difficult to clear with a typical home compressor.
Professionals use high-volume commercial compressors that move far more air than most homeowner models, allowing them to clear larger systems more efficiently. They can also winterize the backflow preventer during the same visit. When hiring a contractor, look for one certified through the Irrigation Association or EPA WaterSense program. If you already use a lawn care or landscaping company, check whether sprinkler winterization is included in your seasonal maintenance package.
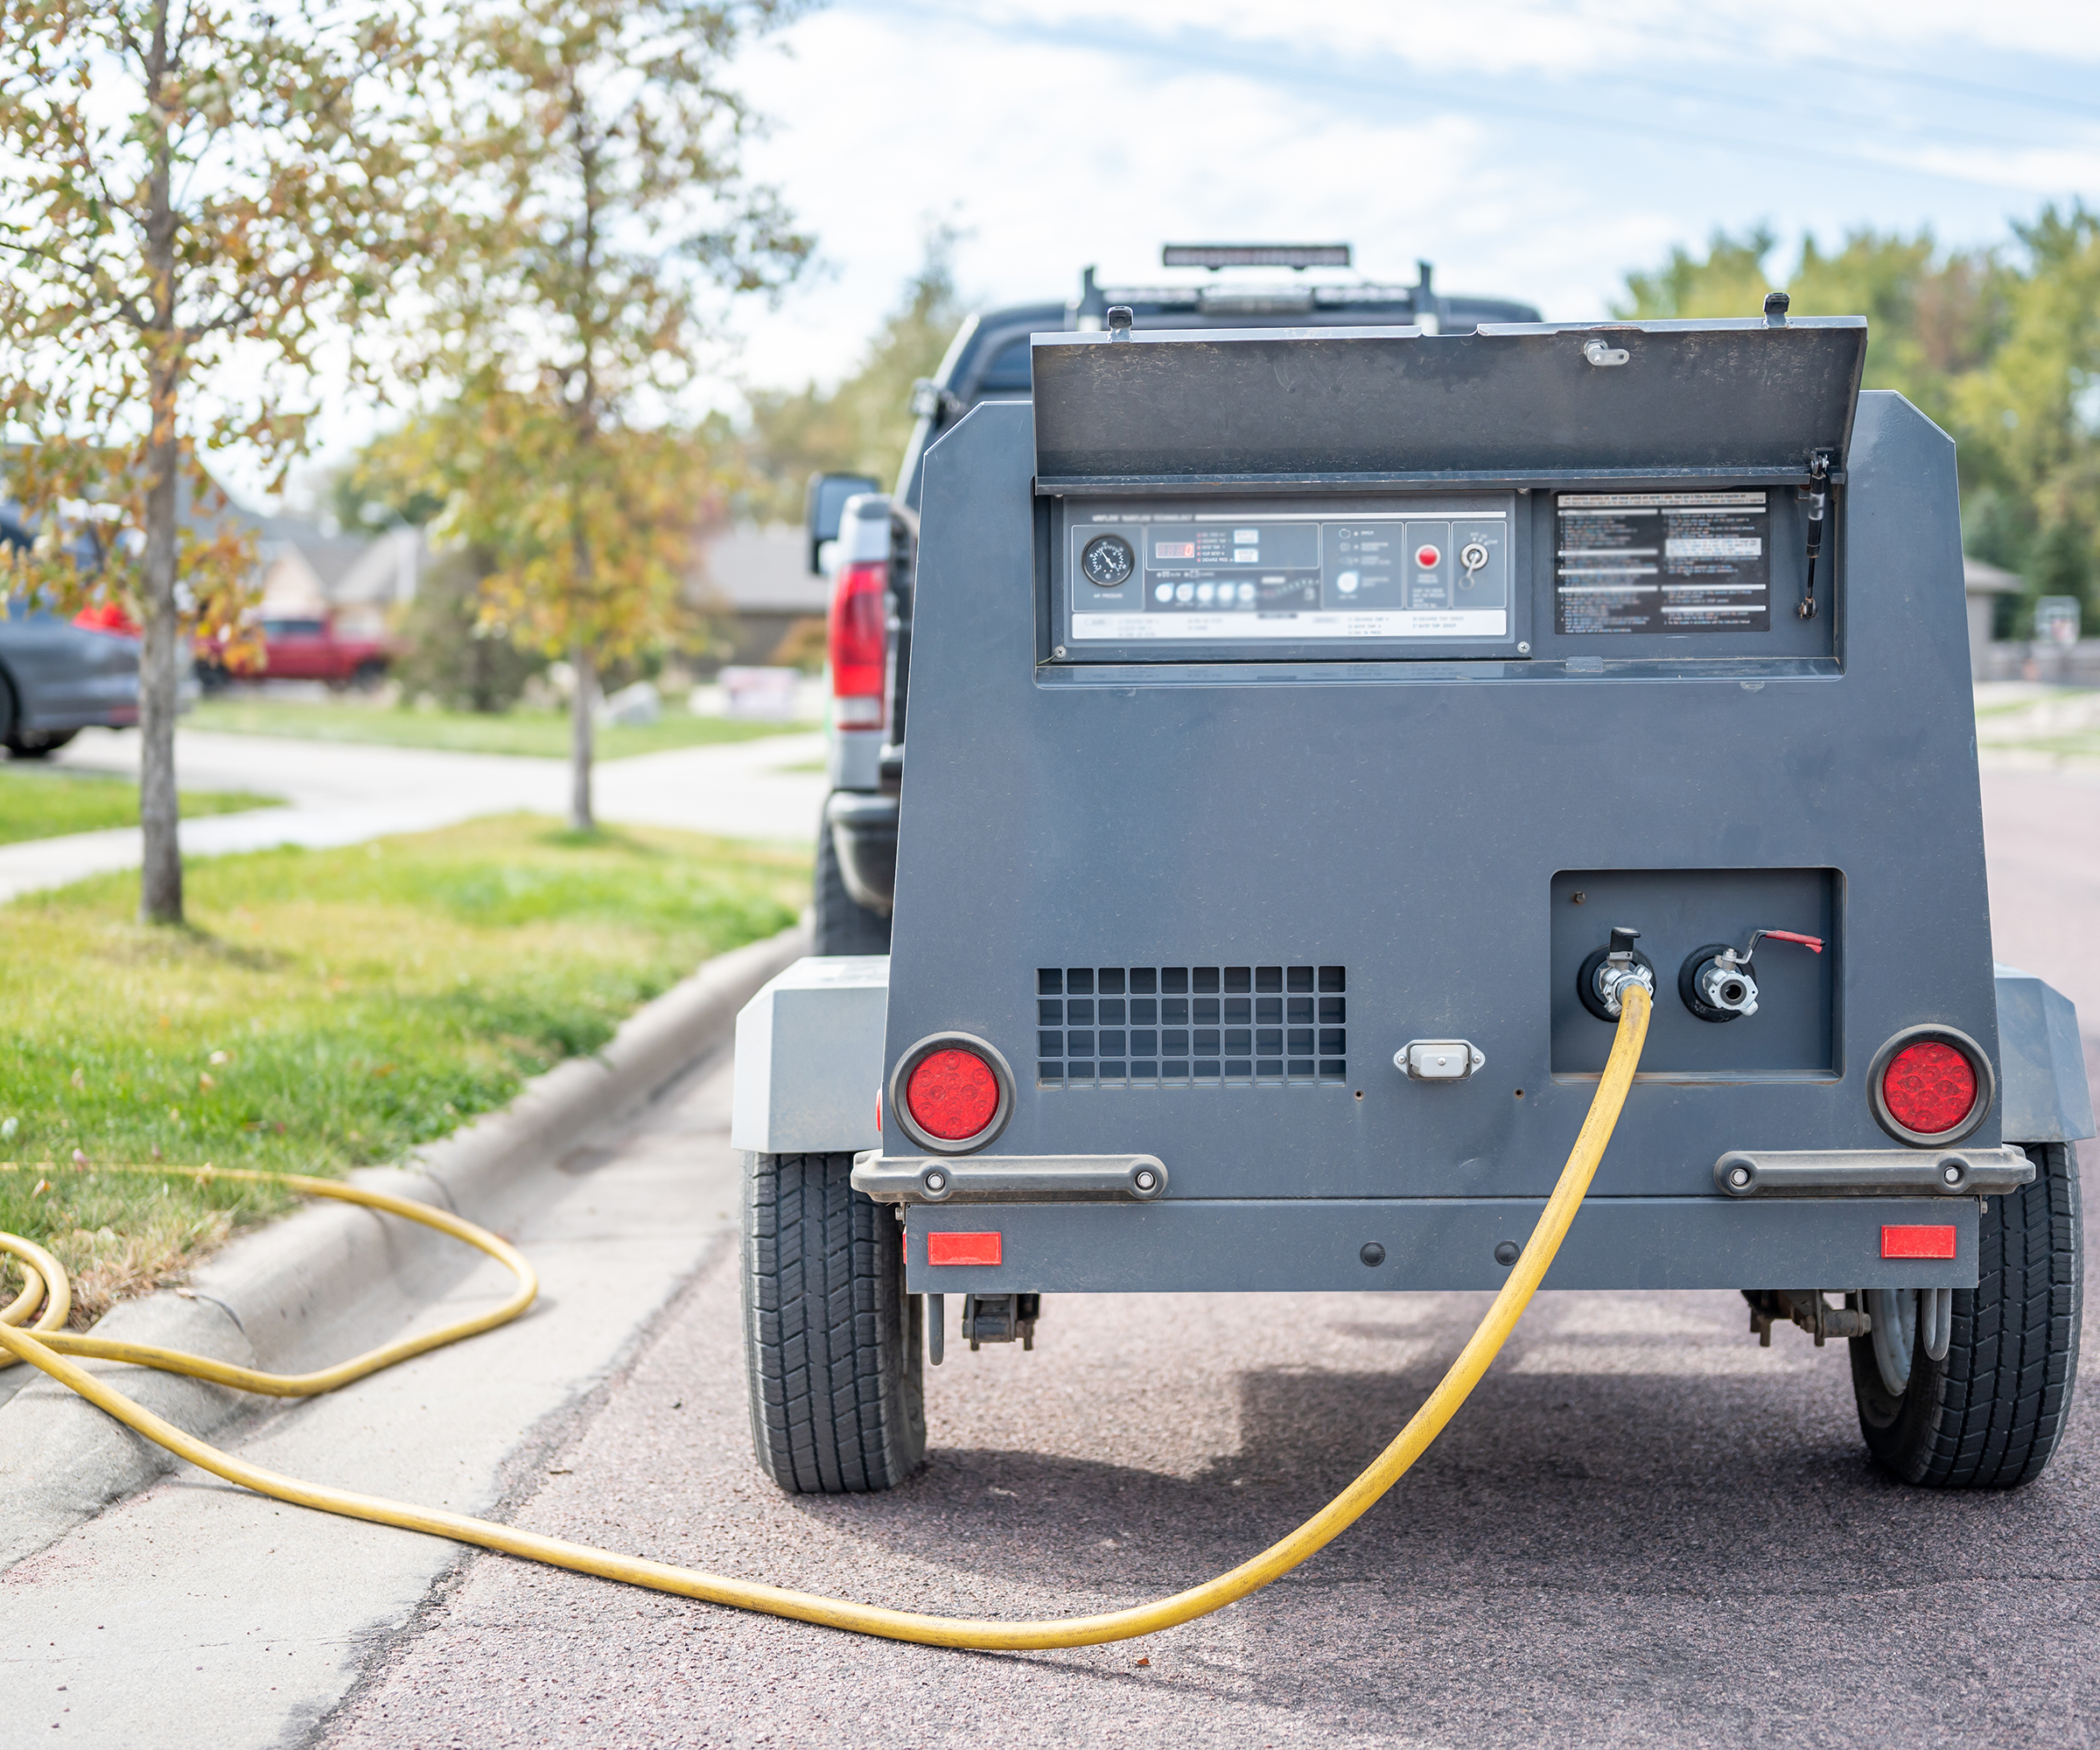
(Image credit: Getty Images)
What to Do With the System Over Winter
Leave the irrigation controller plugged in and set it to Off or Rain Mode. That may sound counterintuitive, but the transformer's small amount of heat can help reduce moisture buildup and corrosion.
Insulate any exposed pipework and above-ground shutoff valves, but don't block the vents or drain openings on the backflow preventer. For outdoor spigots, Frost King Foam Faucet Covers, available at Walmart, offer an easy way to add extra freeze protection.
If your backflow preventer is installed above ground, consider covering it with an insulated cover, such as this backflow preventer cover from Modern Leisure, available on Amazon. Just remember that a cover provides extra insulation – it doesn't replace properly draining and blowing out the system before winter.
When spring arrives, close the test cocks, open the ball valves slowly to avoid water hammer, and run each irrigation zone to check for leaks or cracked sprinkler heads. If any need replacing, Rain Bird 1800 Series pop-up spray heads from Ace Hardware are a reliable replacement for many residential systems.
Water that isn't in the pipes can't freeze in them. Remove it before winter, and spring start-up should be little more than a slow turn of the valve and a quick system check.
















 English (US) ·
  French (CA) ·