

You know those roses that grocery stores and gas stations sell near the checkout? They tend to be the kind wrapped in cellophane, they cost about $6, and you buy them on impulse because you love the color or want to treat yourself. Unfortunately, what tends to happen is that you watch them die within a week. But what if you didn’t have to? What if you could turn that impulse purchase into a more permanent fixture in your yard?
Well, with a bit of potting soil and a little ingenuity, you can make this happen. It is possible to give those cut stems a second life as a blooming bush. Just grab a pair of garden scissors, snips or small shears, like the super-sharp Kings County Tools Pruning Shears from Amazon, and you too could be cultivating a gorgeous living rose display that lasts long after the original store-bought bouquet has gone.
This trick takes just minutes, and doesn’t need lots of previous rose-growing experience: just a sense of adventure and some delicate snips. You’ll be surprised how effectively you can propagate a rose that seemed destined to see out a few days in a vase. I’m actually super-annoyed I didn’t know about this sooner! Give this easy trick a shot – and that cheap bunch of blooms could very easily be coming up roses…
Can You Try Just Any Rose?
Being able to save a rose this way seems like the stuff of dreams. But I’ve been inspired by popular TikTok creator Joe’s Garden (@joesgarden), whose recent viral video showed me how simple it can be to make that unassuming bunch of roses live on… and on. However, before you start snipping away at every bouquet in sight, it pays to give your potential future rose bush a quick once-over in terms of general health.
Stem health is crucial for this trick to work. You need greenwood or semi-hardwood stems that are fresh, firm, and plump. Good signs include deep green leaves and active bumps at the nodes. You definitely don’t want stems that are dried out, woody, or mushy at the base. You’ll also want to avoid trying this trick on stems that might be showing signs of pests like powdery mildew. Pests can wipe out a summer cutting long before roots can develop.

(Image credit: Marrakeshh / Getty Images)
If you’d like to get a closer look at the quality of your roses and potential areas for cutting, use a magnifying glass or loupe. A high-magnification tool like the Vivosun 30X Illuminated Jeweler’s Loupe with LED Light from Amazon can help you examine leaf nodes and check for microscopic signs of pests or spores before you start. Also, bear in mind that cuttings grown on their own roots might possess a slightly different growth habit than the original plant. But that’s part of the fun of the experiment!

(Image credit: Zoonar-GmbH / Alamy)
1. Prep Your Rose Stems
Joe’s Garden uses the kind of everyday roses you’d grab at Trader Joe’s or your local grocery store: nothing fancy required (that’s the beauty of this trick). Once you’ve had a look at your rose stems and you're happy that a few are up for the challenge, here’s what you do. First (and this might feel gut-wrenching), you’ve got to snip off the flower head. Leave an inch or two (5cm) of stem below the bloom when making your cut.
To make those ultra-clean cuts without crushing the tender stem fibers, it’s important to use really sharp snips, shears, or bypass pruners. The last thing you want is to wreck your stem tissue at the first pass. For a real bargain, the highly rated Fiskars Titanium Micro-Tip Pruning Snips from The Home Depot are also perfect for delicate snips.
Once you’ve removed the head, cut off a couple of inches (5cm) from the bottom of the stem. What you’re left with is the middle section, with 2-3 healthy leaf sets. For a healthy root cutting, make a 45-degree cut above one of the leaf nodes (the bumps on the stem where the leaves emerge). The angled cut makes more surface area available for rotting and stop water from pooling around the cut end, which can cause it to rot.

(Image credit: Andrii Borodai / Alamy)
Strip off the bottom leaves, leaving only the top set intact, so the plant can still photosynthesize without expending too much moisture. Too many leaves will cause the stem to dry out before any roots develop. You’re aiming for a stem length of 5-7 inches (12-17cm). If your original stem is really long, you can get a couple of usable cuttings from it.
2. Scrape Rose Stems (Optional But Worth It)

(Image credit: Anastassiya Bezhekenev / Getty Images)
This next step, while optional, is still recommended. It could be the difference between a cutting that roots quickly, and one that just sulks for several weeks. Joe lightly scrapes the bottom inch of each stem to expose the inner layers. You can do this using the back edge of a knife, a pruner blade, or even your fingernail. For delicate scraping, scalpels work well. You can pick Med Pride Scalpels from Amazon for a good price to gently shave your cuttings.
The scraping should be just enough to rough up the outer layer and expose the green cambium underneath (where cell growth happens fastest). To boost your odds of rooting success, immediately coat that freshly exposed cambium layer with a concentrated rooting hormone or gel. The Garden Safe TakeRoot Hormone Powder from Walmart is specifically aimed at encouraging fast root development on hardwood and softwood cuttings.
If you want a natural alternative, some gardeners dip the stem into raw unpasteurized honey or fresh aloe vera gel, both of which possess natural antimicrobial properties. If you’re using powder, just tap off any excess rooting powder, and you’re ready for the next step.
3. Place Stems into Potting Medium
(Image credit: Fir Mamat / Alamy)
You need a good-quality compost for this next bit. That old, dried-out stuff from the back of the shed just won’t do it. So find a light, well-draining, and highly breathable medium blend. Our team rates Back to the Roots Organic Compost from Lowe’s, which gives you an ultra-clean, nutrient-rich base (and it’s also manure-free). To help with drainage, add a little coarse sand or perlite. Miracle-Gro Perlite from The Home Depot can help with air circulation around developing roots.
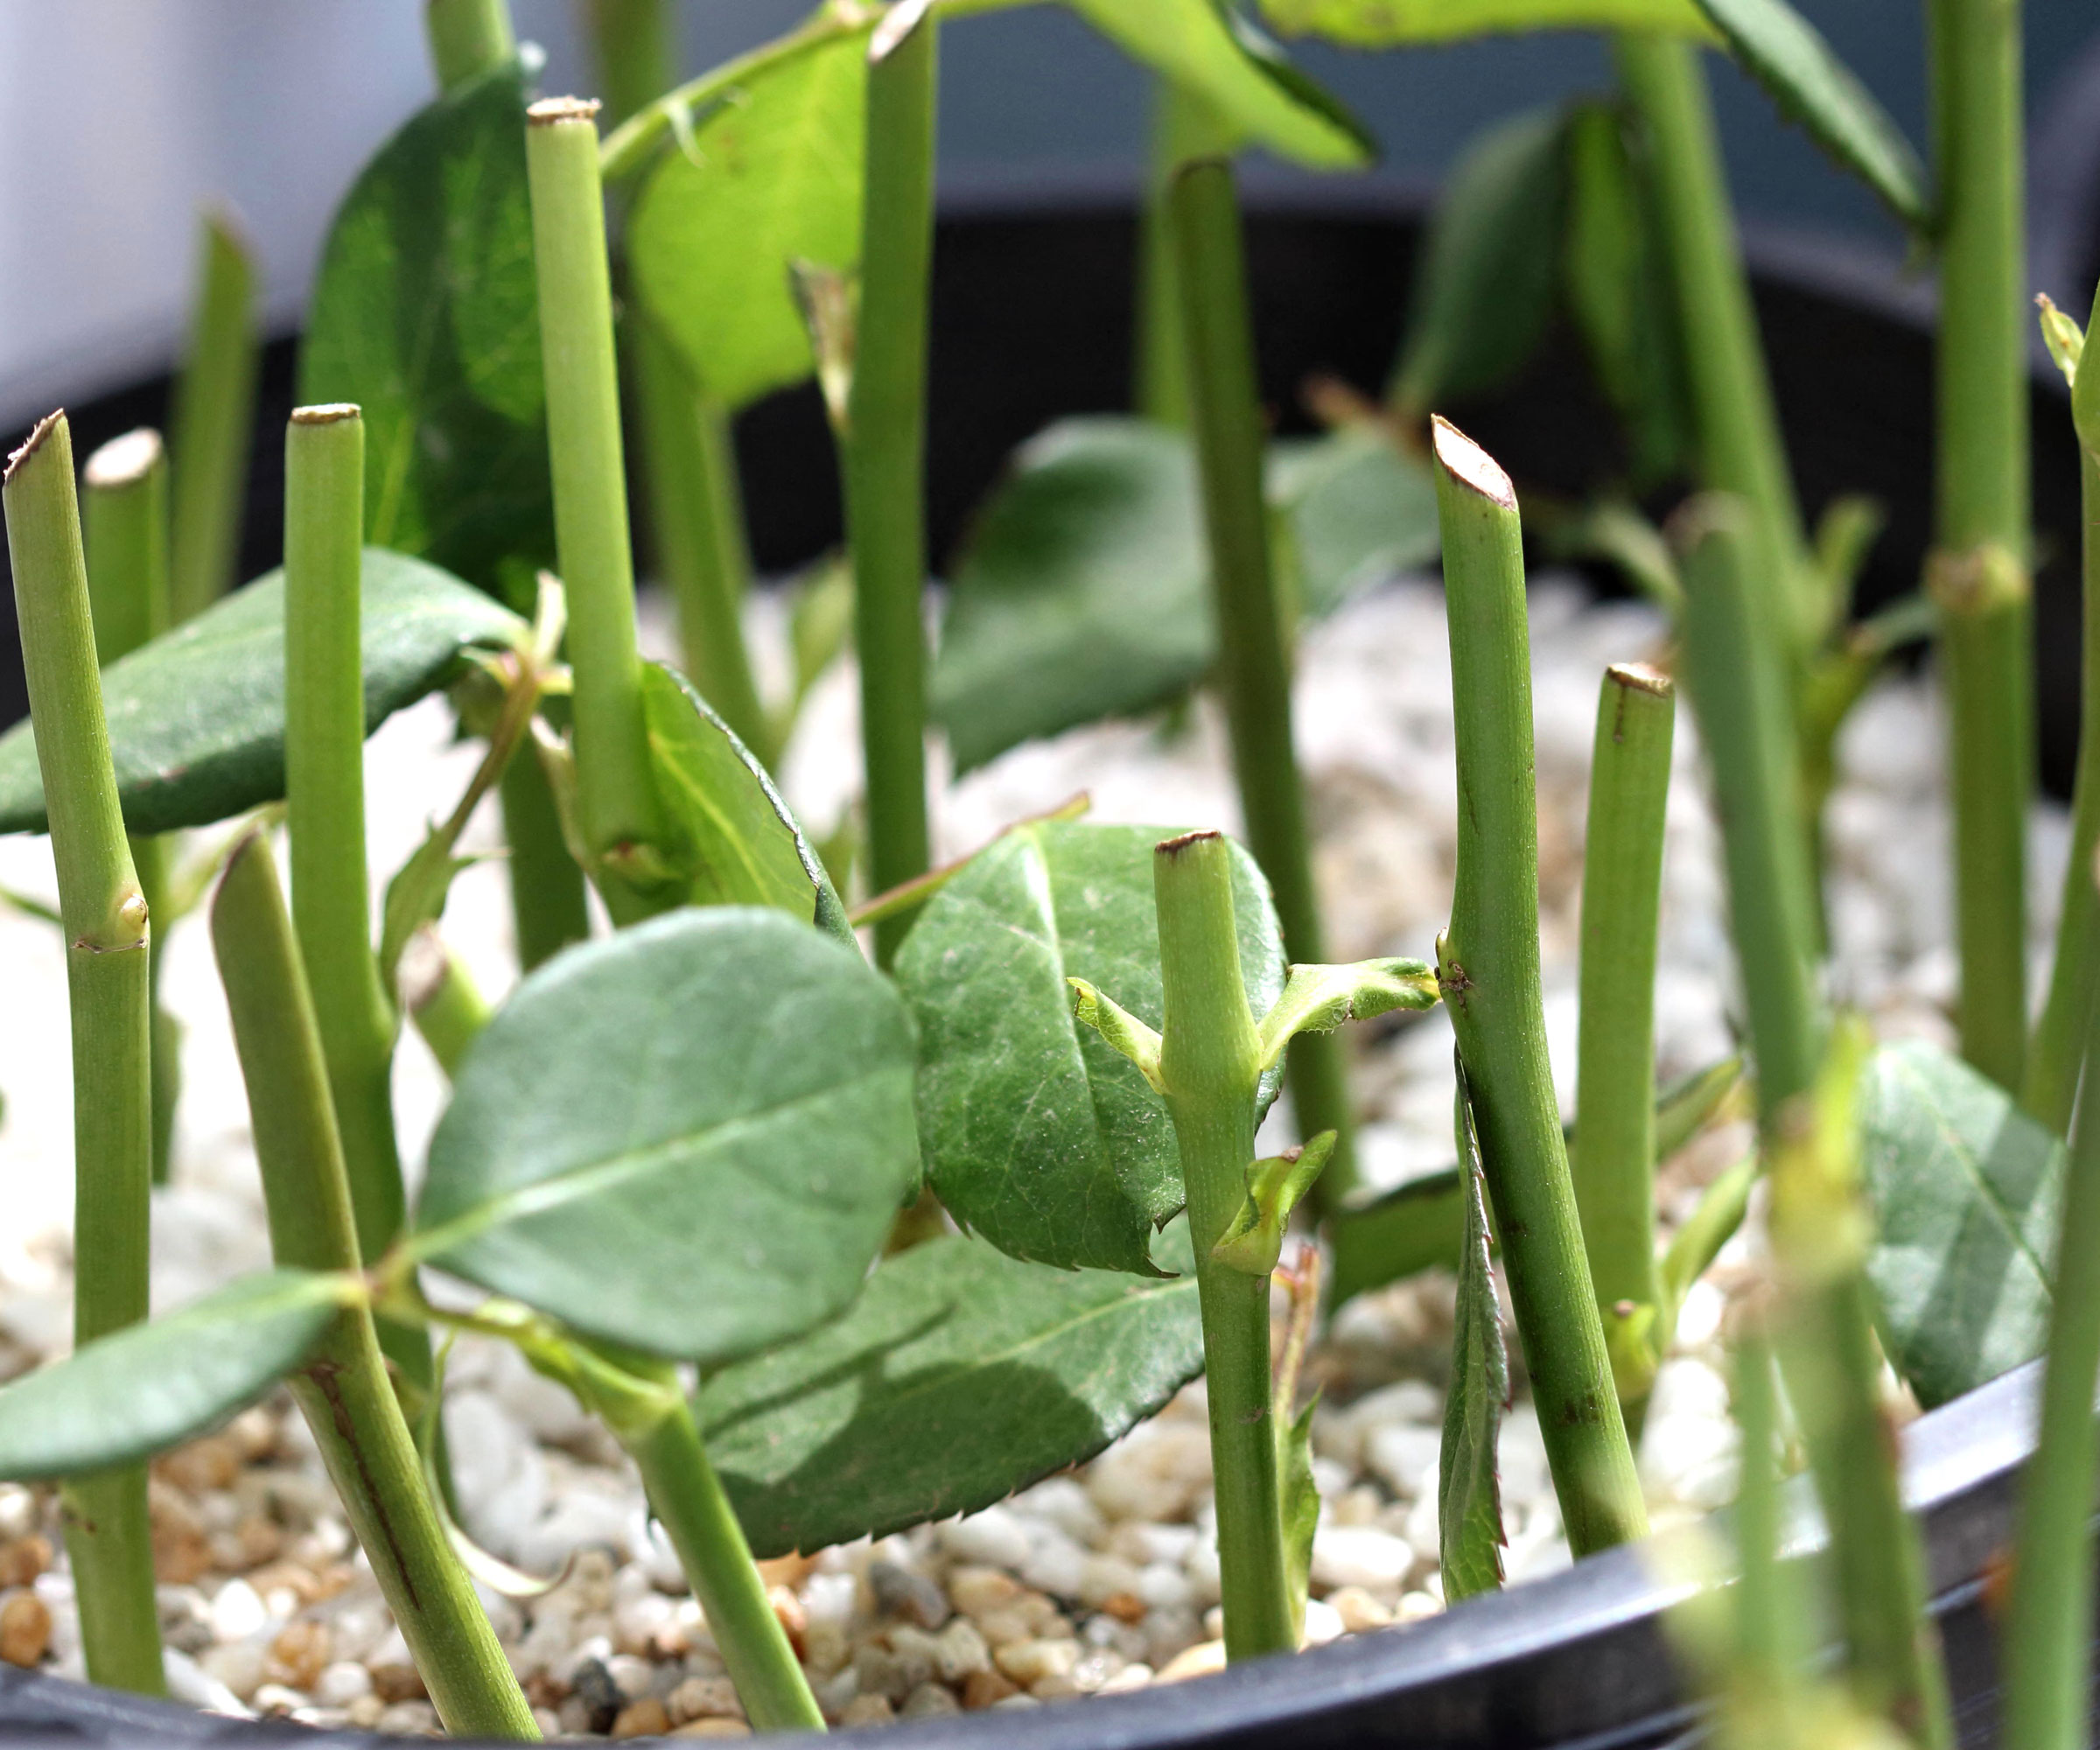
Fill up a medium-sized container with a fresh, sterile mix. Hopefully you should be able to fit a few cuttings in this container, depending on the size you use. Poke a hole in the medium using a pencil or stick first. This prevents the rooting powder from scraping off as you push the stem down. Then drop each prepared cutting 2-3 inches (8cm) deep. Space the cuttings a few inches apart so they have room to develop without competing.
In his viral video, Joe puts all of his cuttings together in the same spot in the garden, which is great if you have a sheltered, semi-shaded area to use. However, you might prefer to keep them in individual pots in different places to spread the risk, as it were. Wherever you place your pots, be sure to firm the soil gently around the stem to lock out air pockets, and water thoroughly until moisture drips out the drainage holes.
4. Wait for Growth and Nurture

(Image credit: Alex Avedessian / 500px / Getty Images)
Now comes the tough bit: waiting. Once your potted cuttings are settled in a warm, brightly lit location that receives indirect sunlight and a little afternoon shade, there’s not much more to do but wait. You can, if you like, create a little ambient humidity by placing a clear plastic bag over the top of your cuttings. This can help to accelerate root growth. But apart from that, this is when you need to step back. After 3-4 weeks, tiny green shoots will start to appear.
If you gently tug at a cutting at this point, you will hopefully feel resistance. Congratulations, that means you have root growth! Whatever you do, don’t pull them up to check: just trust the process. Keep the medium consistently moist, but never waterlogged. Once you see signs of growth, remove any plastic bags you may have placed over the cuttings.
Hold off on feeding until the plant has produced several sets of fresh true leaves. At this point, you can add a little gentle organic liquid kelp or seaweed that has been diluted to quarter-strength every few weeks. A nice gentle option is Neptune's Harvest Fish & Seaweed Fertilizer from Amazon. Once the new shoots are firmly visible and the roots show they are clearly establishing, it’s time for transplanting.
Plant them into a larger container or directly into a garden bed in a sunny spot with good drainage. Treat them very gently, and keep them thoroughly watered throughout their first season. You can also add a granular feed during the growing season once they are well established. A popular organic granular option is Espoma Organic Rose-Tone Plant Food from Walmart for sturdy stems and vibrant flowers.
Will They Flower?

(Image credit: Bowonpat Sakaew / Getty Images)
Whether or not your rose cuttings flower in the first year is up to mother nature, and Joe is honest about this. Some cuttings do produce flowers in the first year, but others won’t. But as Joe points out, roses are perennials. This means they will come back every year, and each time they will be bigger and stronger than they previously were. Think of them as little human beings: we all start as babies, then grow into toddlers, teens, and so on. So if things seem a little uneventful in the first year, keep the faith.
Even if you do see flowers in the first year, it is best practice to pinch off any early flower buds. This forces the young plant to direct all of its energy into developing a bigger root system (for a better blooming display next time). Just be patient. Even if your first summer only produces leaves and stems, the next season can be spectacular. And it all started with a 6$ bouquet of roses from the grocery store. What a time to be alive, right?
Shop Rose Care Essentials
To give your grocery store rose experiment the best chance of transforming into a gorgeous outdoor shrub, a few little care essentials can make a massive difference. A curated action pack of inoculants, conditioners, and slow-release feeds will help to turn a simple cutting into a thriving rose bush. Here are our top hand-picked essentials to help things along.
 Drainage Queen
Espoma
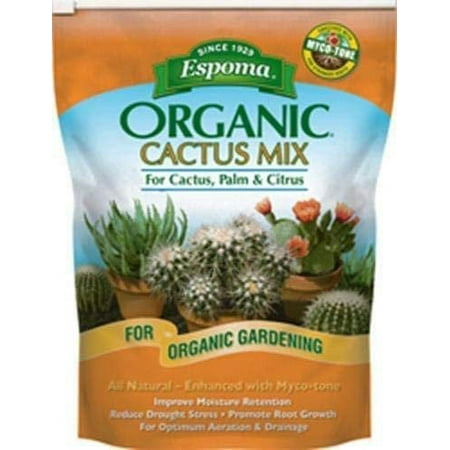
Espoma Organic Cactus Mix
If you aren’t too sure about custom-blending potting soils, this ready-to-use organic mix is a secret weapon for plant propagation. Containing perlite and sand, it provides the rapid drainage and airy texture your rose cuttings need to root and thrive.
 Biological Booster
TPS Nutrients
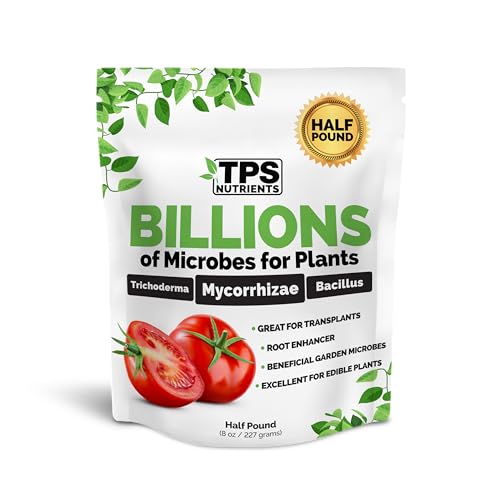
TPS Nutrients Billions: Mycorrhizal Fungi
When propagation roots start to emerge, this concentrated powder introduces beneficial fungi to the roots. It increases water absorption and nutrient intake, while protecting young rose roots from soil-borne pathogens.
 Classic Feed
Espoma
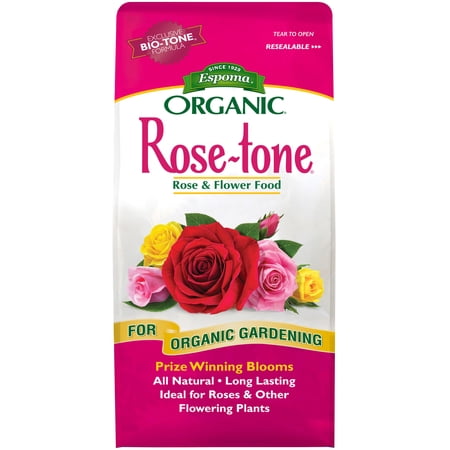
Espoma Organic Rose-Tone Plant Food
A staple used in rose gardens for decades, this dry granular plant food is packed with natural ingredients and micronutrients. It provides continuous feeding for sturdy canes, deep green foliage, and vibrant flower colors.
Need more ideas for timely gardening jobs and seasonal expert advice delivered straight to your inbox? Sign up for the free Gardening Know How Newsletter!
















 English (US) ·
  French (CA) ·